Wet rooms offer a clean, open look and space-saving practicality, but they demand meticulous waterproofing, reliable drainage, and careful ventilation to prevent mold and leaks. You’ll gain seamless surfaces and flexible design, yet poor installation or neglect can translate into costly repairs and safety risks. With these trade-offs in mind, you’ll want solid planning, quality materials, and professional guidance before committing to a wet room for your home.
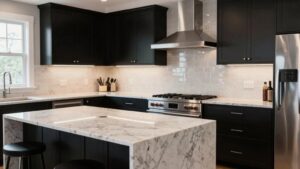
What Is a Wet Room?
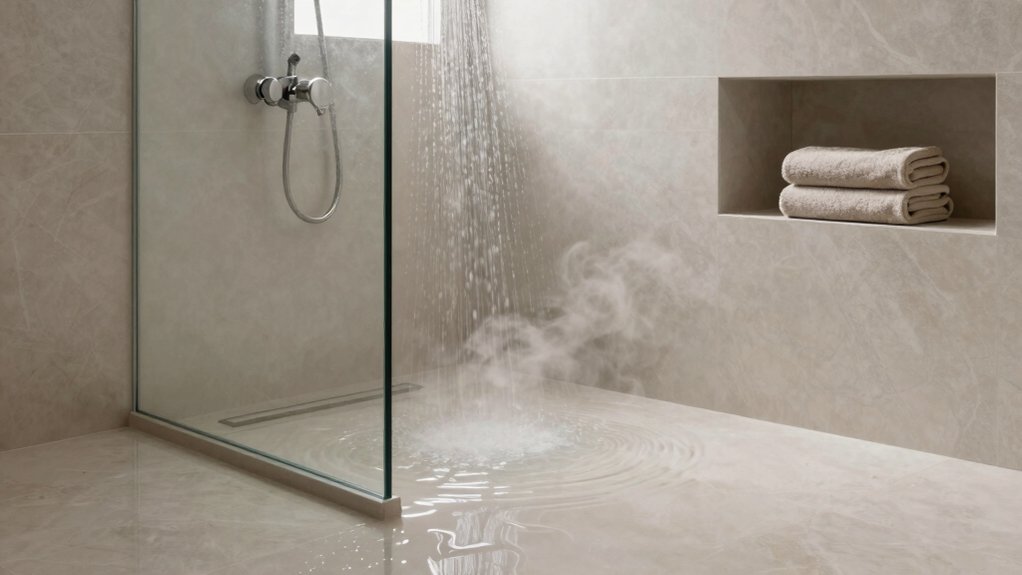
A wet room is a fully waterproofed bathroom space where the shower area isn’t enclosed by a shower tray or cubicle, allowing water to drain across the floor directly to a drain. You design it to minimize obstacles, with level access and a continuous waterproof membrane beneath tiling.
Installations prioritize correct fall and gradient to prevent puddling, plus efficient matt ceramic or porcelain tiles for slip resistance. In practice, you pair a linear drain with appropriate waterproofing detailing around edges, elbows, and penetrations, ensuring joints are sealed and tested.
You’ll appreciate luxury spa ambiance from controlled lighting, heated floors, and frameless glass screens, while modern convenience comes from simple maintenance, reliable drainage, quick drying cycles, and accessible service access. This setup emphasizes clarity, durability, and practical performance.
Space-Saving Benefits
Wet rooms inherently conserve space by removing the bulky enclosure surrounding the shower, enabling a single, open footprint that maximizes usable floor area. You gain a compact footprint that translates to easier hallway circulation and improved layout flexibility for adjacent fixtures.
Precision planning matters: allocate a linear drainage channel or low-profile tray to maintain a seamless plane and minimize visual clutter. Consider wall-to-wall tiling and a single curb or none at all to reinforce openness without sacrificing moisture control.
Lighting options should be integrated into ceiling and vanity zones to avoid shadowed corners, boosting perceived space. Address privacy concerns through strategic partitioning—glazed screens, frosted panels, or recessed shower nooks—without breaking the open feel.
Proper moisture management remains essential for long-term performance.
Aesthetic and Design Flexibility
You’ll achieve a seamless visual flow by choosing continuous surfaces and careful material shifts that minimize junctions.
Tile flexibility options let you tailor patterns, sizes, and textures to your space, ensuring durable performance and easy maintenance.
Together, these choices create an open space illusion that visually enlarges wet rooms while preserving practical zoning and safety.
Seamless Visual Flow
Seamless visual flow in a wet room hinges on deliberate material choices, precise edge detailing, and consistent color and texture across zones to create a cohesive space. You align wall, floor, and shower surfaces with minimal grout lines and flush *progressions*, avoiding abrupt breaks that interrupt perception.
Select materials with compatible sheen and slip resistance, and plan edge treatments that reveal continuous planes from entry to shower nook. Lighting should be integrated to emphasize planes without creating hotspots, while seams stay concealed through careful waterproofing and substrate prep.
Consider plumbing configurations that keep fixtures low-profile and visually receded, reinforcing the uninterrupted floor narrative. Maintain consistent grout colors and sealant finishes for durability and a unified look, ensuring maintenance stays straightforward and reproducible across zones.
Tile Flexibility Options
Tile options give you practical flexibility without compromising integrity. You’ll tailor texture, color, and scale to suit wet-room performance needs and aesthetic goals.
Choose tile grout options that balance waterproofing compatibility with maintenance ease; epoxy grout offers stain resistance for damp zones, while cementitious grout with sealant can yield a warmer look in low-traffic areas.
Consider larger formats to reduce grout lines and enhance seeming continuity, or small tiles for grip and visual interest. Mosaic patterns let you create focal points, gradients, or directional flow without sacrificing moisture management.
Align finishes with substrate and trim details to maintain clean joints and consistent water shedding. Document installation specs, ensuring proper acclimation, cut accuracy, and waterproofing overlap at junctions for long-term reliability.
Open Space Illusion
Open space illusion hinges on how you design sightlines, materials, and detailing to make wet rooms feel larger and integrated within the home. You achieve this by choosing continuous flooring, minimizing step breaks, and using flush transitions that reduce visual clutter.
Select light, reflective surfaces and restrained color palettes to enhance brightness without glare. Spatial planning matters: align plumbing walls, glass enclosures, and storage to maintain uninterrupted lines and reduce focal interruptions.
Use wall-hugging fixtures and concealed recesses to extend the perceived depth. Consider open shelving and frameless glass partitions to preserve visibility and airflow.
Materials with low grout potential and consistent textures support visual expansion. With precise detailing, you create an open space illusion that remains practical, durable, and aesthetically coherent.
Waterproofing Essentials
Waterproofing essentials start with a clear plan: identify all wet areas, choose appropriate substrates, and establish a continuous water barrier that covers joints, penetrations, and shifts.
You then specify Drainage systems that direct water away from critical joints and thresholds, preventing pooling around walls and floors.
Select Waterproof membranes with proven adhesion, compatibility, and durability for anticipated moisture loads; confirm compatibility with substrates and fasteners.
Detail substrate preparation: cleaning, priming, and crack mitigation prior to membrane installation.
Establish detailing for corners, transitions, and penetrations, including pipe sleeves and drain flanges, to maintain continuity.
Schedule inspection points during installation to verify coverage, seam integrity, and edge treatments.
Document curing times, temperature constraints, and warranty requirements to guarantee long-term performance.
Ventilation and Humidity Control
Effective ventilation and humidity control in wet rooms rely on a defined strategy that minimizes moisture buildup while maintaining occupant comfort. You prioritize continuous airflow with purpose, selecting ventilation systems sized to room volume and leakage, not guesses.
Implement a balanced approach: exhaust fans paired with make-up air or an inline diffuser to prevent negative pressure. Use low‑noise fans rated for wet locations and connect them to a timer or humidity sensor for automatic operation.
For humidity control, install a dew point–aware system, ensuring ducts and fittings minimize condensation, and choose materials with low water absorption. Schedule regular inspections to verify seals, grille cleanliness, and drain function.
Pair ventilation with surface finishes that resist mold and ease cleaning. Maintain consistent airflow, avoid stagnant zones, and document maintenance intervals.
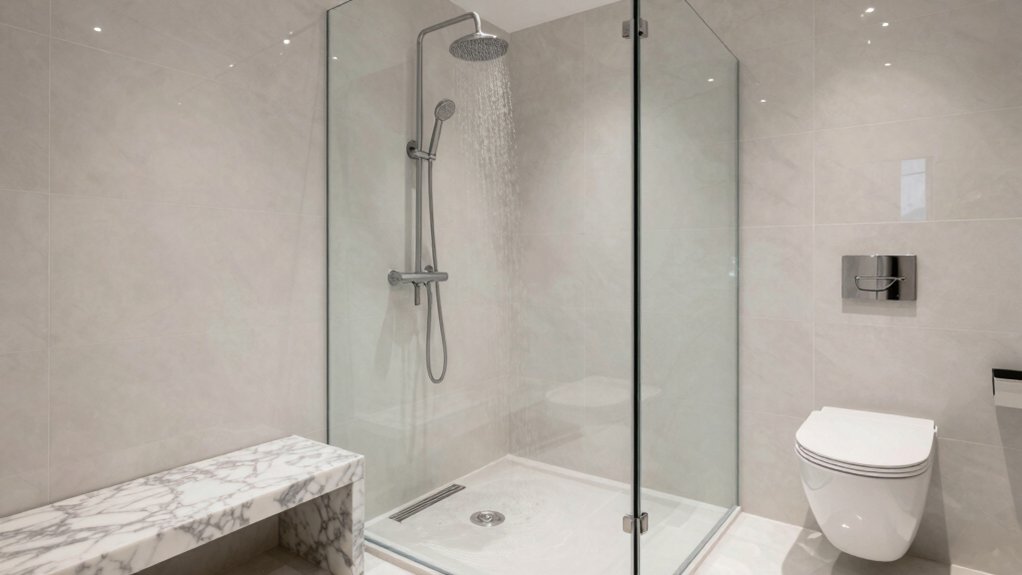
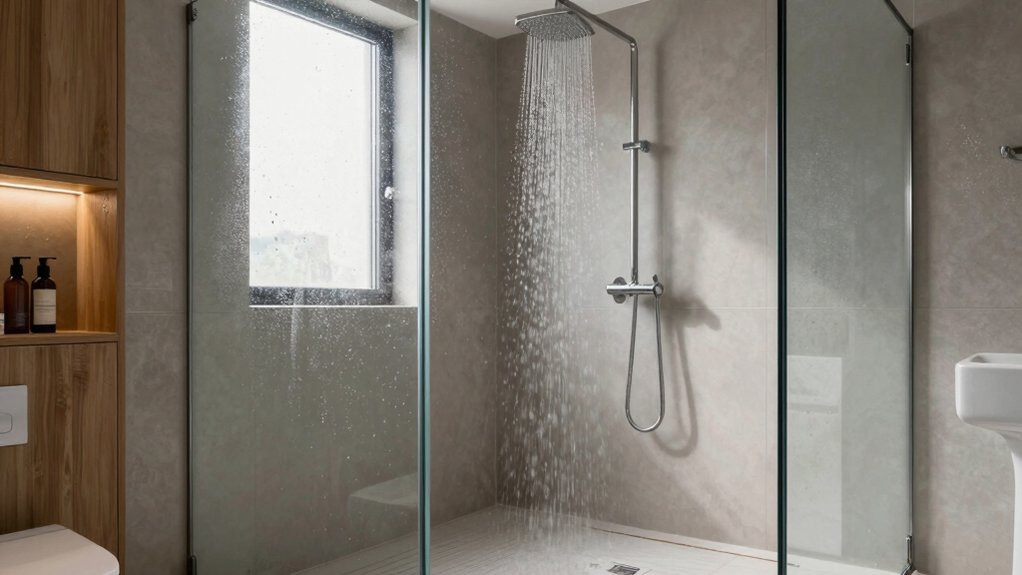
Slip Resistance and Safety
Slip resistance in wet rooms hinges on thoughtful surface design and dependable safety details. You’ll reduce slip risk by specifying textured, high-traction finishes and ensuring drainage paths don’t trap water.
Select non slip flooring with proven slip resistance ratings and consistent texture across thresholds and transitions. Implement a drainage layout that promotes rapid water removal without pooling, and cap edges to prevent hydroplaning.
Integrate built-in safety features such as grab rails, non-slip mats strategically placed near entries and showers, and accessible controls. Regular maintenance checks verify tread integrity and surface wear, while joint seals prevent water ingress that undermines traction.
Document material specifications, installation tolerances, and cleaning protocols to preserve performance over time. These measures balance aesthetics, durability, and user safety in residential wet rooms.
Cost Considerations
When planning a wet room, you’ll assess installation costs, including waterproofing, drainage, and tiling, to establish a realistic budget.
Ongoing maintenance—passive materials, seals, and potential resealing—should be predicted to avoid surprises.
Consider how upfront investments and durability influence long-term value, tradeoffs you’ll weigh against ongoing upkeep and lifespan.
Installation Costs
How much will it cost to install a wet room, and what factors drive that price? Costs vary by space, materials, and scope, but you’ll see primary drivers in substrate preparation, waterproofing, and drainage configuration.
A precise cost comparison requires detailing finishes, tile caliber, and underfloor heating integration. Expect higher bids for complex layouts, assisted accessibility features, or retrofits with structural reinforcement.
The installation process hinges on airtight waterproofing, slope accuracy for drainage, and robust moisture barriers, then follows with tiling, fixtures, and trim.
Labor hours correlate with room size and access, so plan for contingencies in collective tasks like plumbing re-runs or shower enclosure fitting.
Budget transparency matters; request itemized line items, timelines, and warranty terms to avoid hidden overruns.
Ongoing Maintenance
Ongoing maintenance costs for a wet room stem from routine care, inspection, and timely repairs that protect waterproofing and drainage systems. You should implement a disciplined schedule: visual checks after heavy use, quarterly sealant inspections, and targeted drain tests to prevent clogs.
Keep access panels dry and seals intact to avoid moisture intrusion that triggers costly remediation. Cleaning routines matter: choose pH-neutral cleaners, avoid abrasive agents on tiling surfaces, and regularly rinse grout lines to prevent soap scum buildup that degrades joints.
Document every service event for warranty compliance and budgeting. Product selection influences long-term expenditure; select proven, compatible sealants and drainage components rated for bathroom humidity.
Budget for periodic professional audits if you’re upgrading finishes or adding fixtures, ensuring consistency with system warranties and performance expectations.
Long-Term Value Impact
Long-term value in a wet room hinges on upfront specification and disciplined maintenance that protect waterproofing, drainage, and finish systems, thereby reducing lifecycle costs and downtime. You’ll optimize value by selecting high-quality membranes, robust drains, and compatible tiles, then enforcing detailed installation checks.
Durability concerns hinge on consistent surface integrity, joint sealing, and where movement occurs, so plan for movement gaps and expansion joints in progressions. Consider future adaptability by detailing modular fixtures, accessible plumbing, and scalable finishes that accommodate renovations without complete overhauls.
Document maintenance regimes, leak monitoring, and warranty scopes to minimize surprises. Budget for periodic resurfacing and reseal cycles aligned with materials’ expected lifespans. A disciplined, design-aware approach yields lower total cost of ownership and preserves performance through occupancy cycles.
Maintenance and Upkeep
Maintaining a wet room requires a disciplined, routine approach to prevent leaks, mold, and structural deterioration. You’ll establish a preventive schedule that targets waterproofing joints, seals, and drainage slopes, ensuring operability and reliability.
Regular inspections focus on grout integrity, tile adhesion, and the shower base, with immediate repair if any moisture appears behind finishes. Cleaning routines should prioritize mineral buildup removal from drains, weep holes, and sealants, using non-abrasive cleaners to preserve waterproof layers.
Monitor ventilation performance to curb humidity-driven mold growth, adjusting fan runtimes as needed. Document wear, caulk aging, and tile lippage for proactive planning.
Budget for repair costs by categorizing components (membrane, grout, fittings) and scheduling replacements before failure. Maintain a concise log to optimize maintenance intervals and minimize disruption.
Resale Value and Market Appeal
Resale value and market appeal hinge on presenting a wet room as a durable, low-maintenance, and visually cohesive space. You guarantee this by prioritizing waterproofing quality, reliable drainage, and consistent tile transitions that read as a single, unified surface.
Emphasize understated materials, neutral tones, and wall-to-wall enclosure to convey longevity and easy cleaning. Highlight professional installation and code compliance to reassure buyers about durability.
From a design stance, demonstrate how a well-executed wet room aligns with contemporary bathroom aesthetics, boosting perceived value.
Address market trends by citing flexible layouts and accessibility options as factors driving appeal, while preserving luxury appeal through precision finishes and purposeful hardware.
Provide a clear maintenance plan to sustain the space’s polished look over time.
Potential Drawbacks and Limitations
Wet rooms introduce water-related risks that you must address upfront, including material choices and detailing to mitigate water damage, mold, and leaks.
You’ll need to anticipate slippery surface hazards and specify non-slip finishes, proper drainage, and progressions that reduce trip risks.
Regular maintenance demands vigilant monitoring of seals, joints, and ventilation to preserve long-term safety and performance.
Water Damage Risks
Water intrusion risk is the primary drawback of wet rooms, so you must plan for robust moisture control and rapid response. You assess enclosure integrity, substrate conditioning, and drain placement to minimize capillary rise and pooling.
Implement a disciplined leak prevention strategy: verify sealing at joints, test vapor barriers, and specify continuous waterproofing membranes beneath tile finishes. Enable precise moisture management with low-permeance materials and appropriate slope gradients that direct water toward drains.
Include reliable under-slab monitoring and a dedicated sump or pump for any unexpected water ingress. Design details matter: accessible cleanouts, clearances for maintenance, and unobstructed pathways to alarms.
Slippery Surface Hazards
Slippery surface hazards are a practical drawback of wet rooms, demanding deliberate texture, drainage, and finish choices to reduce slip potential. You’ll mitigate risk by selecting non-slip or texture-enhanced flooring that maintains compatibility with gradients and runoff.
Prioritize a consistent surface slope toward the drain to prevent pooling, while avoiding abrupt transitions that invite missteps. Integrate safety measures such as integrated drainage channels, grab bars, and seating options where appropriate.
Use matt or satin finishes with appropriate abrasion ratings, and ensure consistent, uniform texture across wet and dry zones to minimize abrupt changes in footing. Maintain clear delineation of wet areas via subtle contrasts, resisting overly glossy surfaces.
Regularly review footwear recommendations and entry thresholds to sustain slip hazards awareness and safety measures effectiveness.
Maintenance Demands
Maintaining wet rooms introduces ongoing demands that can offset initial benefits if not planned for early. You’ll need a clear maintenance schedule tied to your enclosure materials, drainage, and ventilation performance.
Prioritize accessible cleanouts and easy-to-reach seals to minimize downtime. Cleaning routines should target soap scum, mineral deposits, and grout lines without damaging assemblies; specify non-abrasive cleaners compatible with waterproof membranes.
Regularly inspect waterproofing, seals, and joints for hairline cracks that can harbor moisture intrusion. Ventilation effectiveness matters: confirm fans run adequately and are sized for the space to reduce humidity peaks.
Mold prevention hinges on consistent dryness after use, prompt spill response, and alerts for rising moisture. Document tip-offs, replace worn components, and adjust routines seasonally to sustain long-term reliability.
Frequently Asked Questions
How Long Does a Wet Room Renovation Typically Take?
A typical wet room renovation takes about 1–3 weeks, depending on bathroom size and complexity. You’ll plan the installation timeline carefully, coordinate trades, and expect possible delays. Budget for renovation costs, contingencies, waterproofing, and finishing touches.
Can a Wet Room Be Installed in an Existing Bathroom?
Yes, you can install a wet room in an existing bathroom. You’ll need bathroom remodeling attention to drainage, waterproofing, and plumbing upgrades, plus professional layout planning, sealing, and moisture management for a durable, modern, accessible space.
Do Wet Rooms Require a Floor-To-Ceiling Enclosure?
No, wet rooms don’t require a full floor-to-ceiling enclosure; you can use partial barriers. Prioritize waterproof barriers at seams and corners, plus a splash zone. Enclosure necessity depends on your design, shower placement, and drainage strategy.
Is Underfloor Heating Compatible With Wet Rooms?
Underfloor heating is compatible with wet rooms when you install waterproof membranes and robust drainage systems, ensuring correct slope and thermal expansion jointing. Prioritize insulated, moisture-rated components and verify sealing, load, and electrical zoning compatibility throughout the system.
What Maintenance Products Are Best for Wet Rooms?
You should use waterproof sealants and slip resistant surfaces, applying them with meticulous prep, curing times, and compatible primers. Maintain joints, re-seal periodically, and inspect drainage; clean with non-abrasive, pH-neutral products to preserve waterproof integrity.
Conclusion
Wet rooms can deliver sleek space and flexible layouts when properly planned, but they demand meticulous waterproofing, reliable ventilation, and disciplined maintenance. If you prioritize accessibility and a seamless aesthetic, they’re worth considering; otherwise, the risk of leaks and mildew rises. Plan with a waterproofing specialist, install resilient drainage, and choose durable, non-slip materials. Think of the room as a delicate machine—efficient, but only when every component is correctly engineered and regularly serviced. Your investment pays off with careful care.