Did you know that improper bonding is a leading cause of overlay failures within the first year? You’ll need a precise, methodical approach: assess the substrate, guarantee moisture and cleanliness, roughen the surface, and verify structural integrity before deciding if an overlay is viable. If you skip steps, you risk adhesion loss and cracking, so you’ll want to weigh alternatives and follow proven guidelines to determine whether pouring over concrete is the right move. The next steps matter.
Assessing When an Overlay Is Appropriate
Evaluating whether an overlay is appropriate starts with appraising the surface condition and the desired outcome. You examine existing coatings, texture, and color uniformity, noting any spalling, cracks, or moisture signs.
Determine if the substrate will bond reliably; you test adhesion and substrate porosity with standardized methods.
You quantify structural requirements, load expectations, and aesthetic goals to decide if an overlay will meet them without introducing reflective issues or uneven profiles.
You also review environmental constraints, cure times, and installer capabilities.
If moisture, alkalinity, or bond failures threaten performance, you conclude that an overlay is inappropriate or requires remedial steps first.
You document findings with objective criteria, then compare them to product specifications and industry guidelines to reach a technically sound decision.
Surface Preparation Guidelines
You start with thorough surface cleaning to remove dust, oils, and debris so the new concrete bonds properly.
Next, you guarantee proper bonding surface prep by profiling and outlining the substrate to promote adhesion.
Then, address cure and seal tips to protect both the existing and new layers during and after placement.
This initial groundwork sets the foundation for reliable adhesion, durable performance, and a smooth, long-lasting finish.
Surface Cleaning Basics
Surface Cleaning Basics: Before applying new concrete, prepare the surface by removing contaminants, debris, and coatings that could impede adhesion. You’ll inspect the area for oil, grease, curing compounds, dust, and loose material, then eliminate them with targeted methods.
Pick cleaning methods based on contamination type: degrease oily spots with solvent or detergent, pressure wash to dislodge dust and particles, and mechanically abrade glossy coatings or sealers to create a rough interface.
Confirm the surface dries completely before proceeding. Use a tack coat or contact cleaner if specified by your project plan, and verify no residue remains that could trap moisture.
Document cleaning results, noting any compromised areas that require additional treatment or repair prior to bonding. Maintain containment to limit runoff and protect adjacent surfaces.
Bonding Surface Prep
Now that you’ve cleaned the area, you’ll prep the bonding surface to maximize adhesion. Inspect the concrete for contaminants, laitance, dust, oil, or coatings. Remove these by grinding, light scarifying, or shot blasting until a uniform, open-textured surface remains.
Sweep and vacuum thoroughly to eliminate debris, then dampen the substrate with a mist of water to reduce dust without pooling. Allow surface to reach surface-dry condition before applying bonding agents.
If you’re using a polymer-modified adhesive or primer, follow the manufacturer’s exact mixing and application instructions, including ambient and substrate temperature ranges. Apply within the specified open time, ensuring a uniform coat without puddling.
Avoid contaminants during cure; protect treated areas from rapid drying and traffic until the product sets.
Cure and Seal Tips
To guarantee a durable bond after pouring, establish a controlled cure and a proper seal plan that protects the substrate from moisture loss and contaminants.
Start by selecting a compatible curing method, such as a misting routine or curing compound, aligned with the concrete mix and ambient conditions. Maintain stable temperatures and humidity to prevent premature drying or cracking.
Immediately seal the surface after final finishing with a compatible penetrating sealer or surface-applied sealant, following manufacturer instructions for dwell time and cure phase. Clean all dust, laitance, and contaminants before sealing.
Apply in thin, uniform coats, avoiding ponding. Monitor for blisters or tackiness, addressing defects promptly.
Document cure duration, sealant type, and environmental limits to ensure consistent performance and bond integrity.
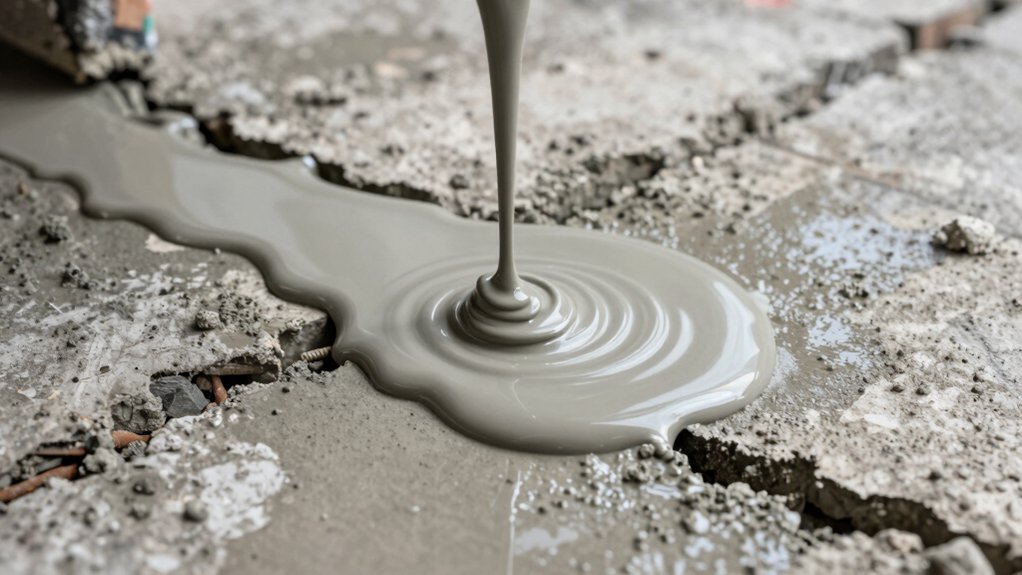
Bonding and Adhesion Considerations
Adequate bonding between freshly placed concrete and an existing slab hinges on surface preparation, material compatibility, and proper timing.
You assess substrate condition, remove laitance, and expose a clean, cohesive surface to maximize shear transfer.
You select compatible mixes, ensure moisture levels align with the new pour, and avoid contaminants that hinder adhesion.
You verify beam, joint, and control locations don’t create slippage or differential movement, then plan a continuous pour to sustain contact pressure.
You implement appropriate surface roughness and roughness profiles to enhance interlock without causing excessive aggregate protrusion.
You monitor temperature and slump to maintain a stable interface, adjusting curing methods accordingly.
You document conditions, techniques, and results to inform future pours and minimize delamination risk.
Priming and Mixing Standards
Primers and mixing standards guarantee the bond with the existing slab remains consistent; you must select primers compatible with both the substrate and the new concrete, then follow the manufacturer’s coverage and cure recommendations.
Begin by confirming surface cleanliness, moisture risk, and porosity, as these factors influence primer adhesion and mixing ratios. Use primers specified for concrete-to-concrete bonds, applying evenly to create a uniform substrate for the new layer.
For mixing, follow the designated water-to-cement ratio, aggregate size, and admixture guidelines; avoid deviations that could alter strength or set time. Stir thoroughly to achieve a homogeneous blend without entrapped air.
Verify pot life, slump, and air content per project specs, adjusting placement windows accordingly. Document batch identifiers, environmental conditions, and cure protocols to ensure traceability and consistent results.
Substrate Repair and Leveling Techniques
Substrate repair and leveling lay the groundwork for a successful pour, so inspect the existing slab for edges, cracks, spalls, and high or low spots. Then prioritize fixes that restore surface planarity and load transfer.
You assess delaminations, honeycombing, and loose sections, documenting dimensions and locations. Remove unsound material, clean debonded areas, and cure joints as needed to prevent differential movement.
For cracks, select injectable resurfacing mortars or epoxy injections that match compressive strength and bonding, avoiding cementitious mortars that create trapped stress.
Spalls are bonded with patch mortars, feathering edges to blend with surrounding concrete.
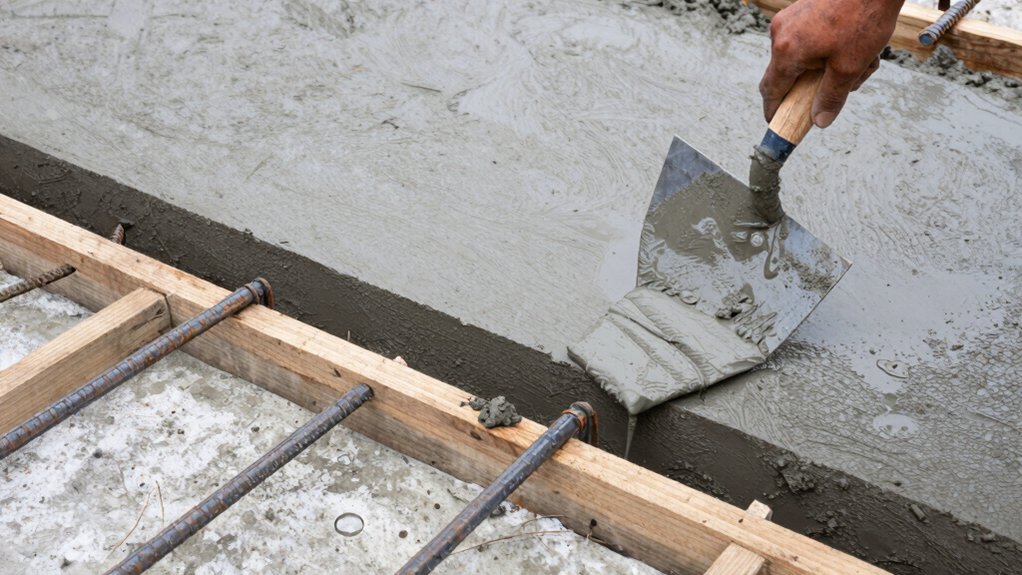
For leveling, apply self-consolidating overlays or calibrated flowable fill, ensuring slip planes are eliminated and the surface is crowned correctly.
Verify tolerance with straightedges and gauges, then proceed only when planarity, adhesion, and cure conditions meet spec.
Pros, Cons, and Risk Management
Surface preparation is essential for bond reliability, so you’ll verify substrate cleanliness, moisture, and profile before proceeding.
We’ll weigh surface prep challenges against the benefits of a strong, durable overlay, then outline risk mitigation steps to prevent delamination and cracking.
Your discussion should compare practical pros and cons, and establish clear risk controls, including inspection checkpoints and quality criteria.
Surface Preparation Essentials
Proper surface prep is essential to guarantee adherence, durability, and a uniform finish when pouring concrete over existing slabs. You assess the substrate, remove contaminants, and target a sound bond interface.
Begin with cleaning to remove oils, grease, dust, and coatings; use mechanical abrasion or high-pressure washing as appropriate.
Inspect for cracks, spalls, and laitance; quantify depths and stabilize by repairing or profiling to a minimum roughness.
Control moisture and relative humidity to meet the concrete mix requirements; perform tests like moisture meters or calcium chloride as specified.
Apply a compatible primer or bonding agent where specified, ensuring even coverage without ponding.
Implement a cure plan and protection measures post-placement.
Document conditions, test results, and deviations for quality assurance.
Risk Mitigation Strategies
Risk mitigation in pouring concrete over concrete centers on identifying likely failure modes and implementing targeted controls. You systematically map bonding risks, cracking, differential settlement, and moisture-related delamination.
You deploy controls at design and execution stages: substrate profiling, surface prep checks, and cure management to minimize curl and shrinkage. Pros include clearer performance expectations, measurable quality, and reduced rework when controls are validated.
Cons involve added preparation time, cost, and meticulous monitoring requirements. You implement risk assessment techniques, like failure mode and effects analysis, to prioritize actions.
You establish clear acceptance criteria, implement redundancy where feasible, and maintain documentation for traceability. Ongoing verification through test pours and non-destructive testing confirms performance, enabling timely adjustments and enhanced long-term durability.
Safer Alternatives If Full Overlay Isn’t Feasible
If full overlay isn’t feasible, safer alternatives exist that still protect structural integrity and curb negative outcomes. You should evaluate partial overlays, epoxy- or polymer-modified overlays, and raised deck systems as targeted solutions.
Partial overlays address localized weaknesses without full surface remediation, preserving substrate behavior while distributing loads more evenly. Epoxy- or polymer-modified overlays improve bond strength, reduce permeability, and resist chemical and freeze–thaw cycles, offering a durable, lower-profile option.
Raised decks or pedestal-supported toppings create separation from damaged slabs, enabling load transfer without complete resurfacing.
For each option, verify substrate condition, moisture content, and reinforcement status; perform surface preparation with adequate profiling; and follow manufacturer specifications for mix design, cure time, and joint detailing.
Document testing, tolerances, and inspection criteria to ensure predictable performance.
Conclusion
You stand at the seam where history meets new skin. The old concrete is a weathered ledger; the overlay is a fresh page, but only if the ink binds. When moisture, texture, and integrity align, the bond grows roots through the surface like a quiet orchard. If not, the page tears. Prepare, test, and prime as a craftsman would calibrate a instrument. Then, let the overlay sing, or admit the archive must remain intact.