Yes, you can paint bathroom tile, especially if the tile is sound and the glaze is in decent shape. Start with thorough cleaning, repair cracks, and dull the glossy surface for primer adhesion. Use a bonding primer and a breathable, moisture-friendly topcoat with mildew inhibitors. Choose durable, colorfast paints and sealers designed for high humidity, applying in thin, even coats. With careful prep and technique, you’ll get a durable, refreshed look and hints for longer-lasting results as you proceed.
Assessing When Tile Painting Makes Sense
Evaluating when tile painting makes sense hinges on a few practical checks. You’ll assess condition, cost, and long-term goals before committing to color or finish.
Start with tile durability: note existing glaze, cracks, or loose pieces that signal replacement might be wiser than repainting. If tiles are solid and grout is sound, painting can extend life without full retrofits.
Mold resistance matters too; ensure any moisture niches won’t trap moisture post-pinish, as improper sealing undermines durability. Consider the room’s usage and humidity: bathrooms with steady steam benefit from high-quality, mildew-resistant coatings.
Aesthetic goals shape decision: if you crave modern updates or color harmony with fixtures, painting can be cost-efficient and reversible.
Finally, plan for maintenance: durable finishes demand gentle cleaners and periodic touch-ups to preserve look and function.
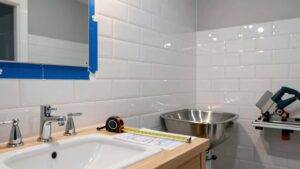
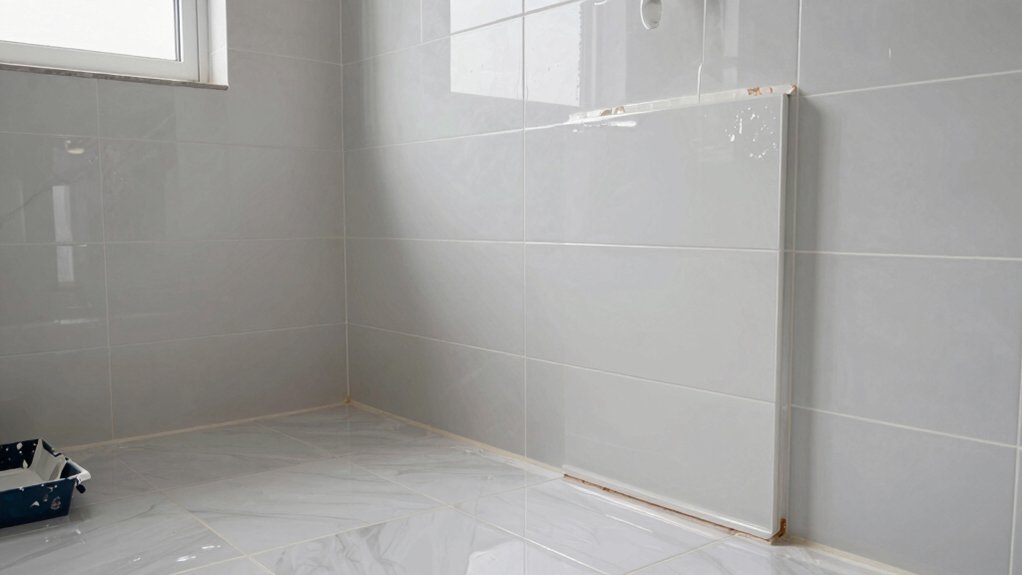
Surface Prep: Cleaning, Repairing, and Priming
Before you pick a color, start with a clean slate: thoroughly cleaning, repairing, and priming the surface sets the foundation for lasting results. You’ll remove soap scum, mold, and mineral deposits, then fix cracks or chipped tiles with appropriate epoxy or filler.
Clean, dry, and dull any glossy glaze to improve grip for primer. Choose a primer compatible with tile and sealer; a bonding primer helps with adhesion and stain resistance. Allow full cure times, then lightly sand for a key, dust-free finish.
As you plan, consider color trends and historical tile styles to guide your approach without overwhelming the project. A well-prepped surface improves longevity, ensures uniform color uptake, and prevents peeling, chipping, or dull spots, delivering a durable, aesthetically cohesive result.
Choosing the Right Paint and Sealer for Bathrooms
Choosing the right paint and sealer for bathrooms hinges on choosing products that handle humidity, mildew, and frequent cleaning without losing color or gloss. You’ll want a stained-free, washable finish that resists bathroom-caused creep—steam, splashes, and cleaners.
Look for high-humidity ratings, mold inhibitors, and adhesion promoters to ensure lasting performance on tile, grout, and backing surfaces. For color, seek products with stubborn color retention, and expect minimal fading under bathroom lighting; color options should stay true after multiple cleanings.
For protection, select sealers designed for irregular tile textures, providing a breathable yet water-tight layer. Finish choices matter: matte reads modern, satin balances glow and scrubbability, and semi-gloss offers the easiest wipe-down.
Choose combinations that align with your aesthetics and cleaning routine.
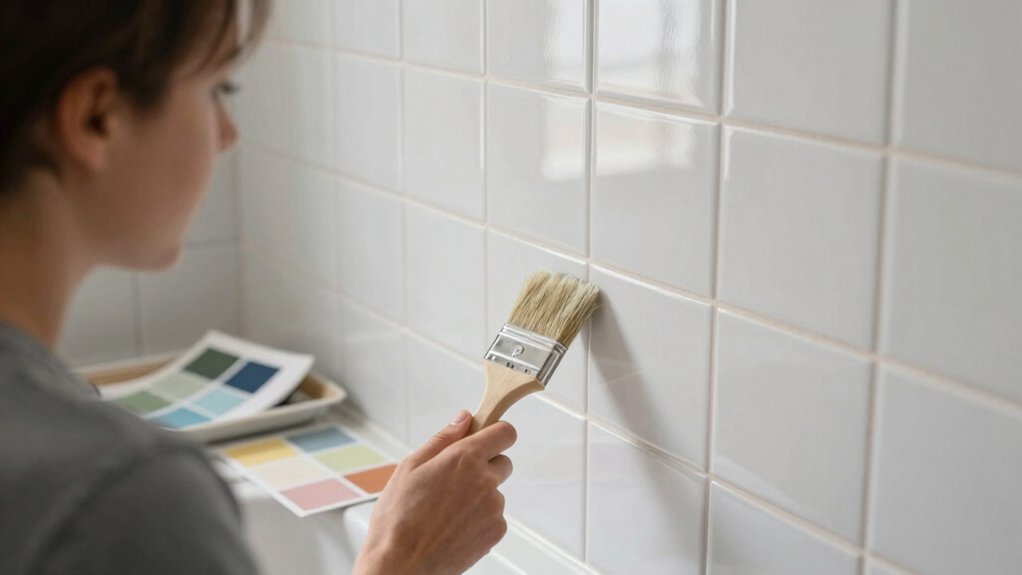
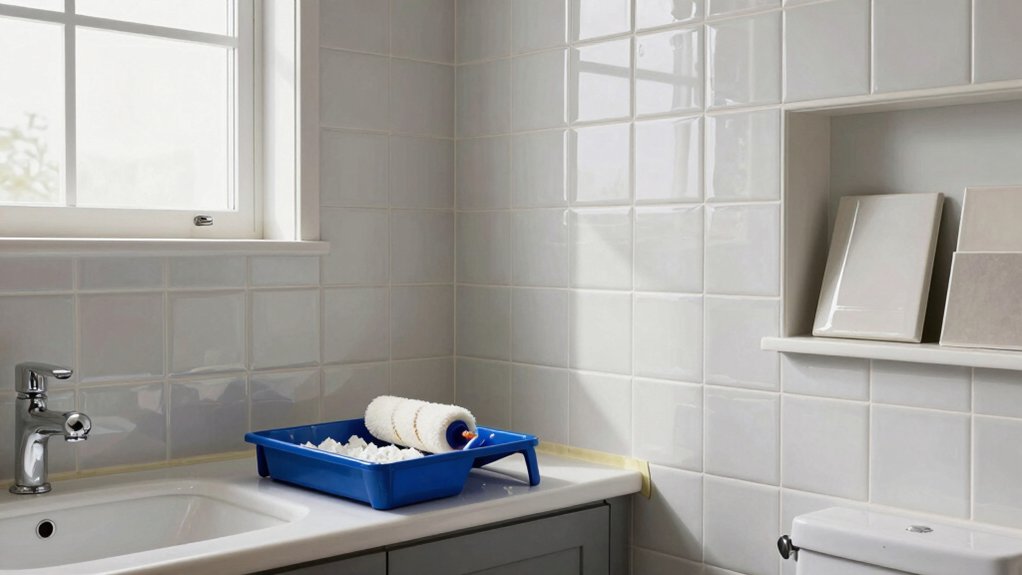
Application Techniques for Durable, Water-Resistant Finishes
Once you’ve picked paints and sealers suited for moisture and cleaning, applying them correctly is what locks in durability. Start with a clean, dust-free surface and verify the tile is fully dry.
Use low-skid steps and a steady pace to prevent drips, working in small sections. Apply a thin, even coat of primer where needed, then follow with the first film of color, keeping brushes or rollers at a consistent angle.
Allow proper curing time between coats, and don’t rush the seals; sealers should form a consistent, glossy or satin film without pooling.
Choose color options that hide minor imperfections, and add decorative accents with careful tooling or stencils.
Finish with a uniform top coat for lasting water resistance and easy maintenance.
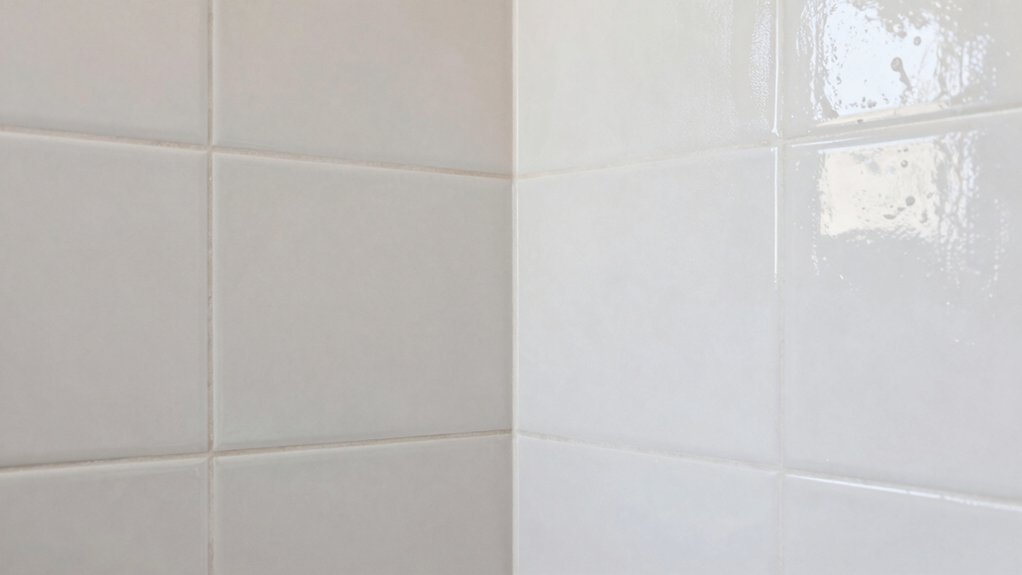
Common Pitfalls and Maintenance Tips
Common pitfalls can derail a bathroom tile paint job, so stay vigilant for moisture, adhesion, and cure-time missteps. You’ll keep results crisp by prechecking substrate health, repairing cracks, and priming with a bond-friendly coating.
Avoid washing surfaces with harsh cleaners right before painting; residue invites peeling and cloudiness. When selecting decorative patterns, plan your layout to minimize cuts and edge wear, then seal edges with careful caulk or painter’s tape to prevent tugs and feathering.
Maintain paint durability by pursuing thin, even coats rather than thick layers, and allow complete curing between steps. Ventilate well during dry-time to prevent mildew, and clean together with a non-abrasive sponge to protect gloss.
Regular touch-ups and a breathable sealer extend longevity and preserve color, texture, and overall aesthetic.
Conclusion
If you’re considering painting bathroom tile, you can pull it off with smart prep and patient application. Clean thoroughly, fix chips, and prime the right surfaces. Choose a bathroom-rated paint and a durable sealer, then apply in thin, even coats with steady, overlapping strokes. Don’t skip ventilation or cure times. Expect maintenance and touch‑ups down the line. And yes, embrace the timeless vibe of a chiseled, midcentury sink—an anachronism that quietly anchors your updated tile.