You’ll start by evaluating your stone type and porosity, then plan cleaning, repairs, and drying before any sealant touches the surface. Choose a compatible sealant, verify coverage on a hidden patch, and gather uniform tools for even coats. Apply in thin, consistent layers and follow curing guidance closely. If results aren’t clean or uniform, you’ll need to adjust technique or product—a misstep now can affect durability for years, and the next step waits with careful insistence.
Assessing Your Stone Type and Sealant Needs
Evaluating your stone type and sealant needs begins with correctly identifying the stone you have and understanding how its porosity and hardness influence sealing requirements. You’ll determine porosity by observing absorption rate and stain susceptibility, then match sealant chemistry to that profile.
For dense stones with low porosity, you may opt for penetrating sealers that form a molecular barrier without changing appearance. Highly porous materials benefit from deeper penetration or impregnating sealants to slow moisture ingress and minimize efflorescence.
Consider hardness to predict wear resistance and capture maintenance implications, such as abrasion resistance and cleaning effectiveness over time. Document stone provenance, finish, and prior treatments, then align sealant choice with anticipated use, ongoing maintenance, and environmental conditions.
Validate compatibility with cleaners and periodic reapplication intervals to ensure long-term performance.
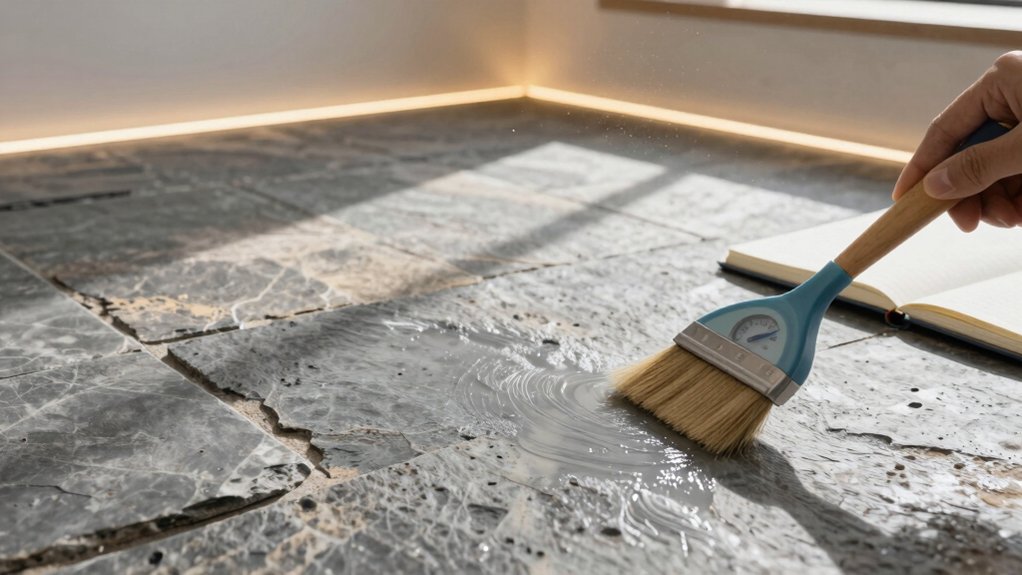
Preparing the Floor: Cleaning, Repairs, and Drying
Preparing the floor begins with a thorough cleaning to remove debris, dust, and residues that could compromise adhesion or inspection. You’ll vacuum, then damp-wipe with a neutral pH cleaner to lift surface contaminants without etching or dulling.
Avoid soaking porous joints; use minimal moisture and follow with a precise, lint-free dry pass.
Inspect for cracks, chips, or loose grout, and flag areas needing repair before sealing. For hairline fractures, scrub with a stone-safe adhesive in accordance with manufacturer guidance, then smooth and dry the surface completely.
Drying must be uniform; use a dehumidified environment to prevent moisture entrapment.
Avoid alkaline cleaners on natural stone and bypass acidic solutions that can etch.
Document findings and correct deficiencies prior to sealant selection.
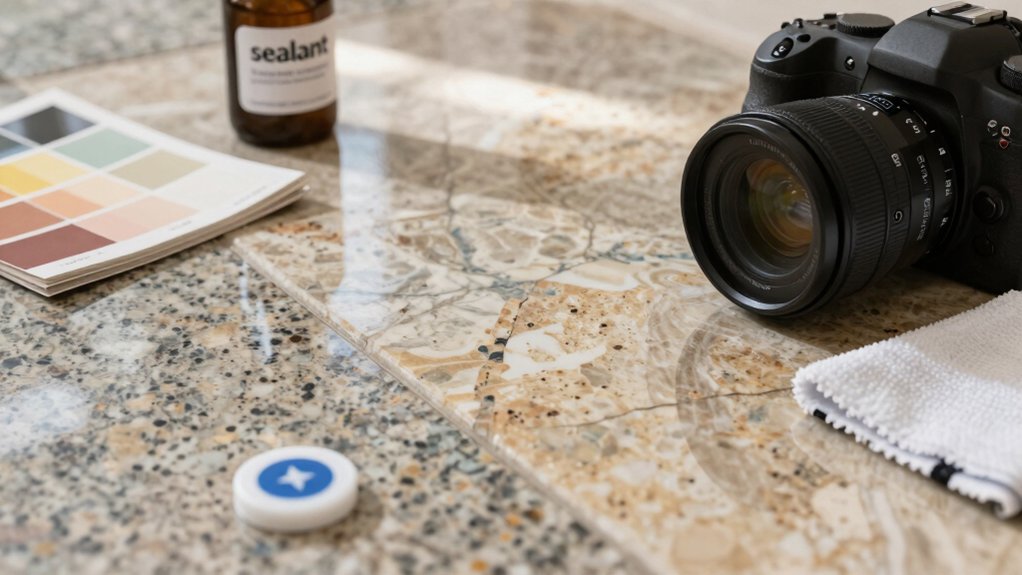
Choosing the Right Sealant: Types and Compatibility
Choosing the right sealant hinges on knowing your stone type, the intended wear, and the environment; match the product’s chemistry to the stone’s porosity and finish to guarantee proper adhesion and performance.
You select sealants by evaluating porosity, hardness, and grain density, then align film-forming or penetrating chemistry with expected traffic and moisture exposure.
For dense, honed surfaces, opt for low-evaporation, breathable formulations that resist staining without altering slip resistance.
For polished stones, prefer sealants that preserve gloss while offering targeted surface protection; consider water-based versus solvent-based options and their cure profiles.
Epoxy and urethane chemistries deliver robust protection but may alter appearance; penetrants emphasize color retention and natural look.
Confirm compatibility with sealant manufacturers’ data sheets and your stone’s sealer history before application.
Testing Sealer Compatibility on a Hidden Area
To verify compatibility without exposing visible stone surfaces, perform a hidden-area test that mirrors real-world conditions. Select a discreet, representative patch, ideally a small area.
Apply sealant the same way you’d on a full surface, maintaining your normal thickness and technique. Allow curing under identical ambient factors—temperature, humidity, and ventilation—to ensure results reflect service conditions.
Document substrate type, stone finish, and any preparatory steps performed beforehand. Use a compatible cleaner on the test patch only if your process requires it, then wait the standard dwell time before evaluating.
Inspect for color change, gloss alteration, streaking, or surface tackiness. If you observe changes beyond acceptable tolerances, reassess sealant choice before proceeding.
Maintain records for traceability and future maintenance planning.
Application Tools and Techniques for Even Coverage
Tools and techniques must deliver uniform sealant distribution across irregular stone textures, so you’ll choose applicators and methods that promote consistent contact and minimize puddling. Select tools that match texture scale and porosity, such as micro-fiber sleeves for large expanses and tapered foam rollers for seams.
Pre-wet porous stones lightly to reduce adsorption, then remove excess before curing begins. Maintain a steady, overlapping pass pattern to avoid lap marks, avoiding sudden directional changes that create streaking. Use a controlled flow system or tray with calibrated rims to limit excess pickup.
Work in sections, masking adjacent finishes to prevent spillover. Monitor ambient conditions—temperature, humidity, and substrate dryness—throughout application, and reflow sealant within the working time to achieve uniform penetration without surface pooling. Document observations for future batches.
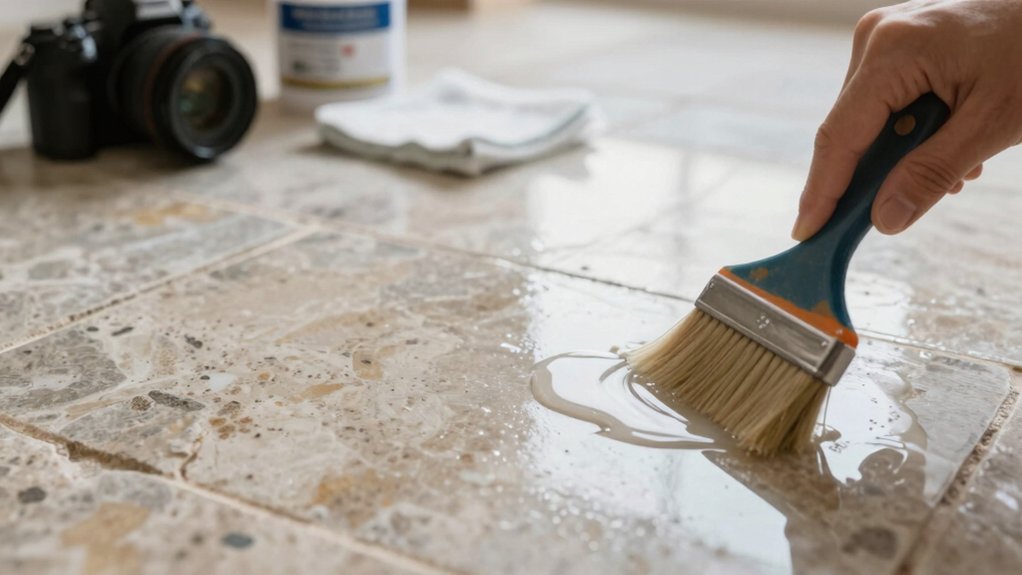
Sealing Process: Step-by-Step Application
After selecting the appropriate tools and techniques for even sealant distribution, you’ll begin the sealing process with a controlled, methodical approach. Prepare the surface by dusting, wiping, and ensuring it’s dry and free of debris.
Pour or pour-and-drail the sealant into a tray, then use a compatible applicator. Apply thin, uniform coats along the stone grain, maintaining a steady pace to avoid runs. Overlap sections slightly to preserve continuity, and routinely inspect edges for missed spots.
Allow each coat to adapt to the substrate’s porosity, resisting the urge to oversaturate. Monitor ambient temperature and ventilation, adhering to manufacturer guidelines for pot life and tack time.
Finish with a consistent, light pass to harmonize coverage, preventing pooling and surface haze.
Curing Time and Post-Seal Care
Curing time and post-seal care require careful attention to environmental conditions and surface handling to guarantee ideal performance. You must control temperature, humidity, and ventilation according to the sealant manufacturer’s specifications, because deviations can alter cure kinetics and final hardness.
After application, avoid foot traffic and immersion for the recommended window, typically 24 to 72 hours, depending on product chemistry. During curing, protect the surface from dust and rapid temperature shifts with clean, unobtrusive barriers.
Once cured, you perform post-seal care by frequent light cleaning using a pH-neutral detergent and soft microfiber tools to prevent residue buildup. Don’t abrade the surface until full cure is confirmed, and always document curing dates for future maintenance planning.
Adhere to manufacturer guidelines to preserve gloss, stain resistance, and film integrity.
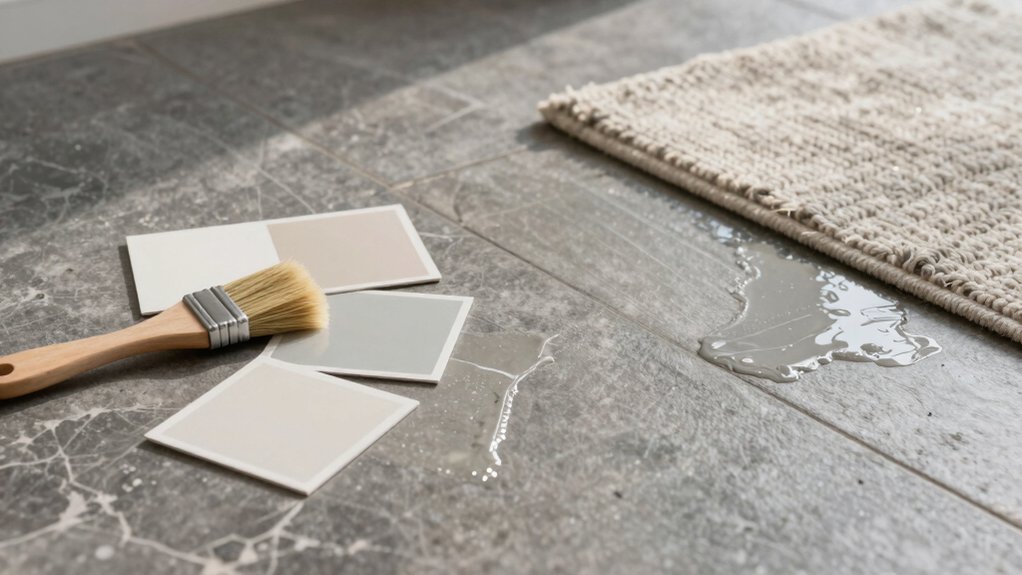
Maintaining Sealed Stone Floors: Daily and Routine Tips
Maintaining sealed stone floors requires consistent, deliberate care to preserve gloss and stain resistance without compromising the seal. Daily routines start with prompt, dry dusting to prevent abrasive grit from scratching surfaces.
Use a neutral pH cleaner sparingly for routine maintenance, following manufacturer directions and avoiding concentrated solutions. Mop with a well-wrung microfiber head, ensuring the floor remains slightly damp, not wet.
Place mats at entrances to reduce soil ingress, and lift rather than drag heavy furniture to prevent micro-abrasions. Wipe spills immediately with a soft cloth to prevent staining, especially acidic or highly pigmented liquids.
Schedule periodic deeper cleanings per product guidelines, and reseal only after the surface shows signs of wear or as recommended by the sealant manufacturer. Regular inspections detect microdamages before they escalate.
Troubleshooting Common Sealing Issues and Remedies
Even when you follow sealant instructions precisely, issues can arise that compromise protection; identifying them early lets you apply targeted remedies. You’ll assess surface porosity, contamination, and incompatible coatings with a systematic checklist.
If gloss fades or white haze appears, you likely under- or over-applied; recoat using thin, even coats after solvent evaporation. For high-foot-traffic floors, increase cure time between steps and verify ambient conditions meet manufacturer specs.
Penetrating sealants require clean, dry substrates; if staining occurs, neutralize contaminants with an appropriate cleaner and re-seal after complete drying. Etching or dulling signals pH mismatch or improper cleaners—switch to pH-neutral formulations and recondition the floor before resealing.
Document batch numbers, cure times, and environmental data to refine your protocol and prevent recurrence.
Frequently Asked Questions
How Often Should I Reapply Sealant on Naturally Porous Stone?
You should reapply sealant every 1 to 3 years, depending on traffic and porosity. Assess by testing with a water droplet; if it soaks in within minutes, reseal. Opt for breathable, high solids formulas and proper curing times.
Can Sealing Affect Slip Resistance on Polished Stone Floors?
Sealing can affect slip resistance on polished stone: certain sealers may create a slicker surface if too glossy, while new matte or anti-slip formulations preserve traction. Test small areas, follow manufacturer specs, and re-evaluate after cleaning.
Is There a Difference Between Penetrating and Topical Sealants for Stone?
Yes, there is a difference: penetrating sealants coat pores and cure internally, while topical sealants form a surface film; you’ll weigh breathability, slip resistance, and maintenance when selecting either option for stone floors.
What Factors Influence Sealant Color Changes or Hazing?
You’ll notice color changes or hazing when moisture, pH shifts, or incompatible sealants react; you’ll ironically appreciate the meticulous science, because precise surface prep, formulation, and timing govern stability, consistency, and predictable, non-mystifying appearance after sealing.
Should Sealing Be Done Indoors vs. Outdoors for Stone Floors?
Sealing should be done indoors or indoors-like environments with controlled humidity and dust-free conditions; outdoors increases dust, variable temperatures, and rain exposure, risking incomplete cure. Use proper ventilation, masking, and surface prep for ideal bonding and durability.
Conclusion
You’ve strapped on your stone-sleuth cape, followed every step, and waited with clinical patience for the seal to cure. Congratulations—your floor now pretends to resist spills like a smug sculpture. If you missed a patch or skipped a test, you’d know by the first stubborn stain shouting, “I wasn’t invited.” So seal, maintain, and document, or enjoy the drama of etch marks and mop-water gossip. In short: meticulous care, flawless gloss, forever boring grout.