
Replacing a kitchen sink starts with a clean, protected workspace and careful removal of the old unit, noting the cutout and cleaning the opening. You’ll test-fit the new sink, adjust as needed, then pre-install the faucet and accessories. Mount the garbage disposal flange with plumber’s putty, secure the sink with clips, and seal the edges for a watertight fit. Get the layout right now, because the next steps determine fit, fixtures, and a leak-free finish that lasts.
Preparing the Countertop and Work Area
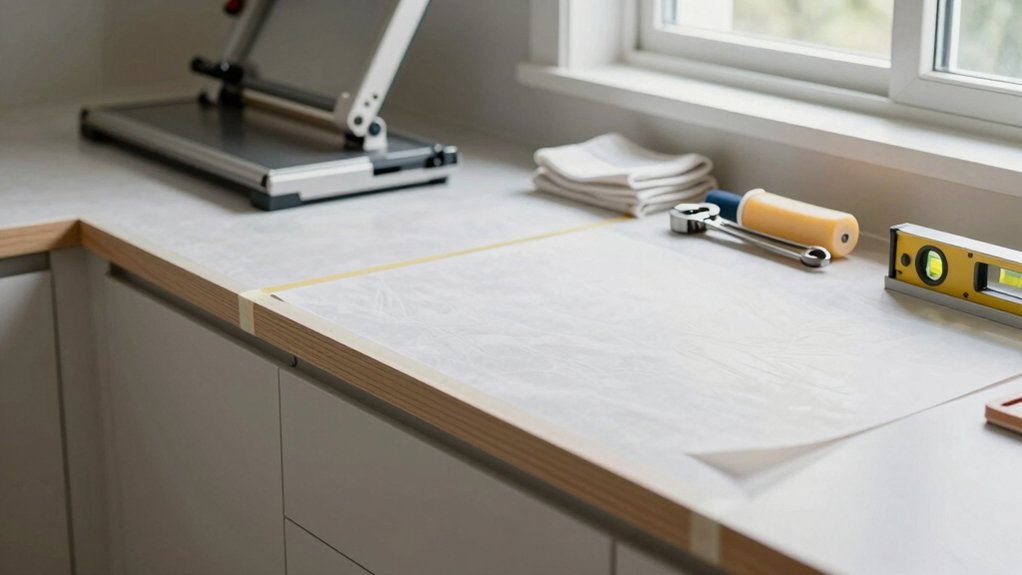
To start, clear the area beneath the sink and remove any stored items so you have easy, unobstructed access during installation. You’ll cover the surrounding countertop with painter’s tape to protect the surface and help mark cutout lines.
Use a measuring tape and a pencil to accurately mark the sink opening, ensuring proper fit and coverage of previous damage.
Remove the old sink carefully, noting the existing cutout size, and clean the opening thoroughly with a scraper and mild cleaner.
Check the countertop for any damage or irregularities around the cutout area and make necessary adjustments before installing the new sink.
Keep the workspace organized, plan your steps, and verify that the opening aligns with the new unit for a secure, leak-free fit.
clear the area, mark cutout, clean opening, damage check.
Testing the Fit of the New Sink
Now, place the new sink into the countertop opening to see how it fits. You perform a dry-fit to confirm the cutout matches the sink’s dimensions, ensuring full coverage without gaps or excess. Check that the rim sits flush against the countertop surface for a proper seal.
Inspect for cracks, chips, or bent edges during the dry-fit to prevent leaks or future damage. Verify that drain openings align with the existing plumbing, paying attention to any offset drain scenarios.
Note any adjustments needed, such as enlarging the cutout or smoothing rough edges, before permanently securing the sink. If the fit isn’t perfect, refine the cutout or edge progression, then recheck until the seal and alignment are correct.
Installing the Faucet and Accessories First
Before placing the sink, mount the faucet and accessories directly on the sink so you can verify fit and alignment. Then drop the assembly into the countertop opening.
You’ll install the faucet using rubber gaskets, align holes, and secure from underneath with washers and nuts to prevent leaks.
Pre-assemble accessories, such as sprayers and handles, on the sink first to simplify later installation. Attach pull-down sprayers and side sprayers per manufacturer instructions, fit weights, and test hose retraction.
Apply plumber’s putty or silicone around the sink flange for a watertight seal before inserting the unit.
Tighten mounting hardware evenly to secure from underneath and ensure the faucet and accessories remain aligned after final seating.
Focus on installing faucet, align holes, and pre-assemble accessories for smooth mounting.
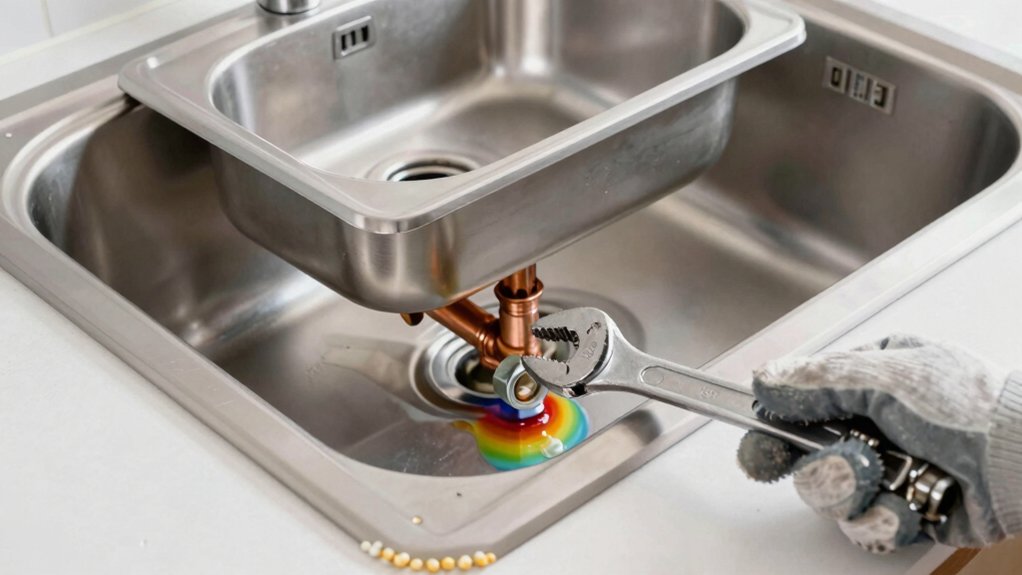
Mounting the Garbage Disposal Flange
First, remove the old disposal flange and clean the sink opening so you’ve got a solid seal. You’ll apply a generous bead of plumber’s putty or silicone around the flange’s underside before inserting it into the sink opening.
Then, insert the flange so it sits flush against the sink surface. From underneath, secure it with the mounting assembly. Tighten the mounting screws evenly in a crisscross pattern to compress the putty and create a watertight seal.
Next, attach the rubber gasket and metal mounting ring securely to hold the flange in place and prepare for disposal installation.
This step marks the progression from loose fit to a solid, stable base, enabling your disposal to install flush and securely mounting with confidence.
Securing the New Sink
To secure the new sink, install clips evenly around the rim and tighten them in a crisscross or alternating pattern to pull the edge snug.
Apply a continuous bead of sealant around the edge of the sink before placing it into the countertop opening.
Place the unit carefully, then tighten the mounting brackets and clips gradually to keep the sink flush against the countertop surface.
Verify that the sink is level and properly seated, adjusting clips or shimming as necessary before fully tightening.
Ensure the rim fully covers the cutout and any previous damage, maintaining a watertight seal.
As you work, attach everything securely, check for gaps, and confirm the seal remains continuous around the perimeter.
This step completes a stable, leak-free installation.
Conclusion
You now know how to replace a kitchen sink, from prep to seal. Follow the steps, test-fit, pre-install the faucet, mount the disposal flange, and secure with clips and sealant for a watertight finish. If you’re unsure, imagine a real kitchen where a homeowner measured the old cutout, adjusted the new sink’s fit, and saved time by pre-assembling parts. In that case, the cabinet stays dry, and you avoid costly call-backs. Practical, concise, and repeatable.


