
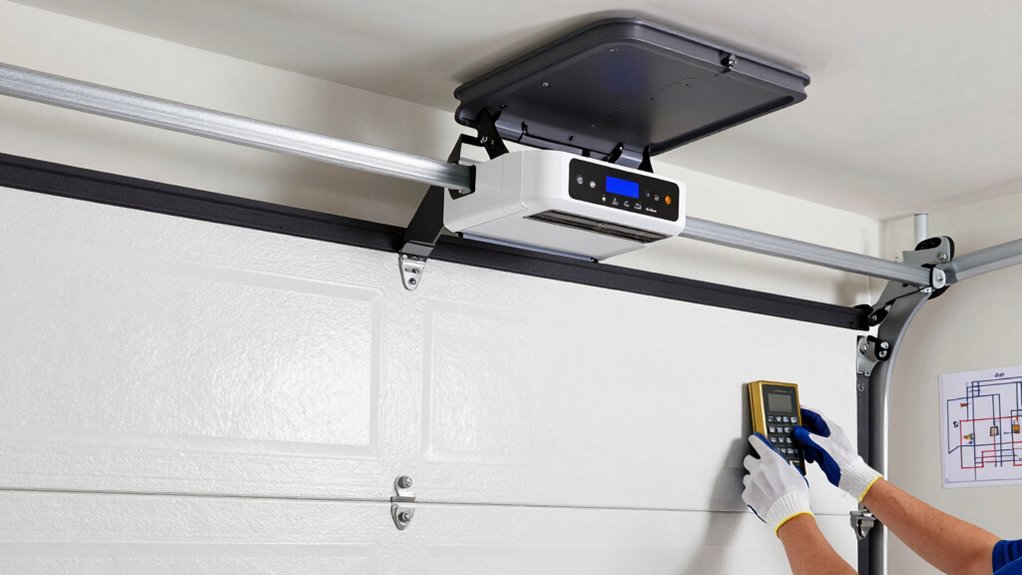
To program a garage door opener, locate the Learn button on the motor unit, usually on the back or side. Press and release it to enter programming mode, then re-press if the indicator light doesn’t blink. Pair your remote by holding its button until the light blinks or goes off, then test the door. Repeat for extra remotes or a keypad, and if issues pop up, you’ll find troubleshooting tips below that can help you keep going.
How to Locate the Learn Button
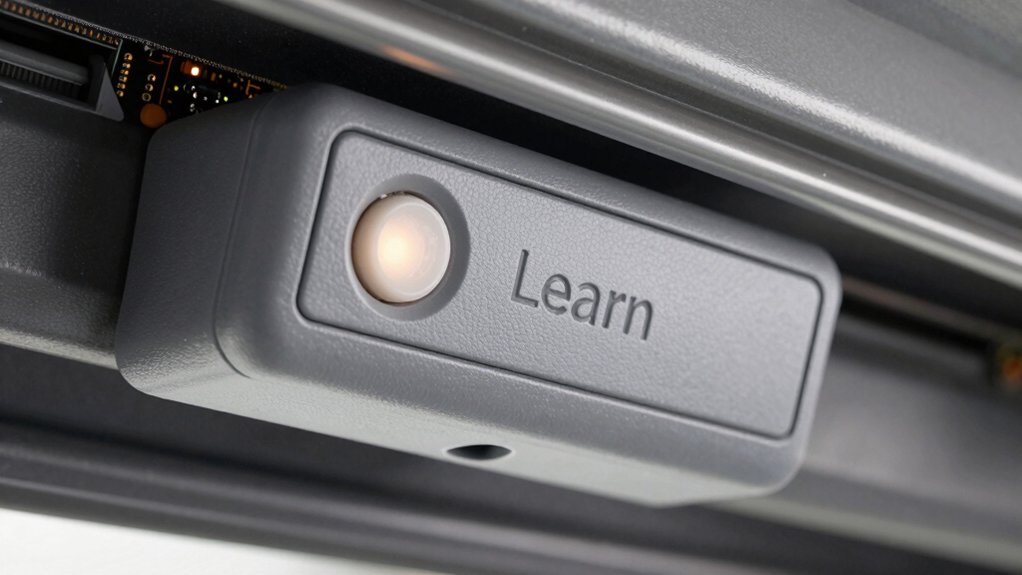
The Learn button is usually on the back or side of the garage door opener motor unit, near the hanging antenna wire. You’ll spot it behind a small flap or cover, requiring a careful glance to locate.
Common colors include red, orange, yellow, purple, or green, so scan the sides and back of the unit for a small recessed button. When you press and release this button, you activate programming mode for remotes and keypads.
You may need to hold a remote button until the indicator light blinks or turns off to confirm pairing. As you work, note safety features and a Garage door sensor that helps detect obstructions.
Follow clear, model-specific instructions to guarantee secure, reliable operation.
How to Enter Programming Mode Safely
You’ve located the Learn button and are ready to proceed; now enter programming mode safely by pressing and releasing the Learn button on the motor unit to activate the prompt.
Press and release again if the indicator light doesn’t blink, then press the button within 30 seconds to prevent reset.
If the light blinks or turns off, re-enter programming mode by pressing the Learn button once more.
Use a sturdy ladder and have assistance handy to safely access the unit.
Once the prompt appears, complete sensor calibration as needed, following device prompts.
Before any steps, verify the unit’s battery is fresh; perform a battery replacement if the indicator shows low power.
Move deliberately, confirm stability, and keep hands clear of moving parts during the process.
How to Program a Remote Control for Your Garage Door Opener
To program a remote for your garage door opener, start by locating the Learn button on the motor unit—usually near the antenna wire or on the side or rear. Press and release the Learn button to activate programming mode; the indicator light will turn on or blink.
Then press and hold the button on your remote control until the opener’s indicator light blinks or turns off, signaling successful pairing. Test the remote by pressing its button to confirm the door opens or closes as intended.
Repeat the process for additional remotes, pressing the Learn button again before programming each new remote.
Consider remote compatibility with your model to ensure seamless operation, and follow the manufacturer’s guidance for programming security measures to prevent unauthorized access.
How to Test Remote Functionality After Pairing
After pairing, test each remote by pressing its button and watching the door respond. You should see the door open or close within a few seconds, confirming smooth operation.
Listen for the remote’s indicator light; it should blink or turn off during the button press, signaling proper communication. If a remote doesn’t trigger action, reattempt the pairing steps and test again.
Perform this Remote testing for every programmed remote to verify consistent results across all units. Observe that the door moves fully to its end positions and doesn’t stall or drift during the response.
If a remote fails, reprogram it and test once more to ensure reliable control. Use these checks to confirm reliable signal confirmation and overall pairing success.
How to Add Additional Remote Transmitters
If you want to add more remote transmitters, start by locating the Learn button on your garage door opener motor unit, typically near the antenna wire. Press and release the Learn button to enter programming mode; the indicator light will signal readiness.
Press and hold the button on the remote transmitter you wish to add until the indicator light blinks or turns off.
Test the new remote by pressing its button to verify that the garage door responds accordingly.
Repeat the process for each additional remote you want to program to the garage door opener.
Confirm remote compatibility with your model, and when needed, perform a battery replacement in the remote to maintain reliable operation.
Follow the manual for any model-specific steps.
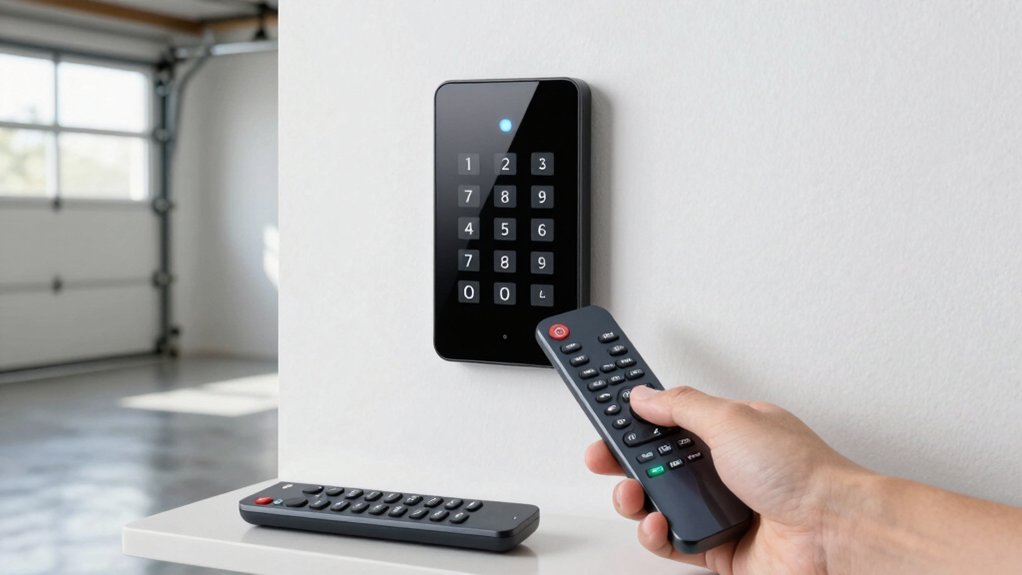
How to Program a Garage Door Opener Keypad
Locating the Learn button on your garage door motor unit—usually near the antenna wire and under a small panel—gets you started.
To program a keypad, enter your desired four-digit PIN on the keypad, then press and hold Enter until the indicator light blinks or turns off.
Once you finish, press the PIN and then the door control button to test if the door responds.
If you need to change the code, re-enter a new PIN and press Enter to overwrite the previous one.
If the keypad doesn’t respond, ensure the battery is fresh and replace it if needed.
Be mindful of security features that protect access, and refer to your model’s manual for model-specific steps.
Battery replacement is a common maintenance step.
How to Change or Re-Program the PIN on the Keypad
To change or re-program the keypad PIN, start by locating the Learn button on the motor unit and press it to enter programming mode.
Then enter your new four-digit PIN on the keypad and press Enter to save the new code.
Hold the Enter button until the keypad’s indicator light blinks or turns off, confirming the PIN reset.
Test the new PIN by entering it and pressing Enter to ensure the door responds correctly.
If you need to overwrite an existing PIN, repeat the process with a new four-digit code, and the previous code will be replaced.
For best results, keep your PIN secure and avoid sharing it.
Maintain keypad security by not leaving it visible or accessible to others.
Always follow model-specific instructions.
How to Troubleshoot Common Programming Issues
When troubleshooting common programming issues, start by ensuring the remote or keypad has fresh batteries and is within range.
If signals falter, confirm the garage door opener’s Learn button is active and pressed within the typical 30-second window.
Check for interference from other devices or nearby remotes that could disrupt signals.
If issues persist, perform a Battery replacement to rule out weak power as the culprit.
Repress the Learn button and retry programming, observing the indicator lights for proper feedback.
If errors continue, reset the system to factory settings only after reviewing the manufacturer’s instructions.
If the indicator lights still misbehave, consult the user manual or contact professional support.
Avoid hardware alterations beyond the defined procedure to maintain safety and warranty.
How to Maintain and Safely Operate Your Garage Door Opener
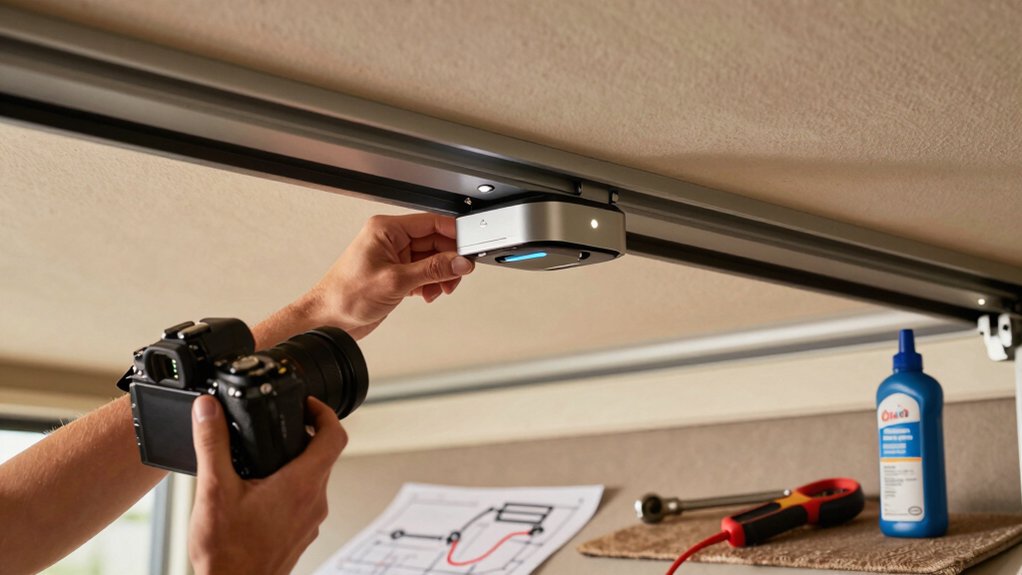
Regular maintenance keeps your opener safe and reliable. Start by inspecting and lubricating moving parts—rollers, hinges, and tracks—to ensure smooth operation and prevent wear.
Implement maintenance routines like monthly safety checks: test the auto-reverse by placing an object in the door’s path and confirming it reverses on contact. Keep photo-eye sensors clean and aligned to prevent accidental closures.
Use the remote and keypad within the recommended range, and never force the door open or closed to avoid damage or injury.
Schedule annual professional maintenance to verify mechanical and electrical components and address potential issues.
For ongoing safety, routinely verify that all safety features function correctly and follow the manufacturer’s instructions specific to your model. Safety tips and routine upkeep protect you and your home.
Conclusion
You’ve got the basics down: locate the Learn button, enter programming safely, pair remotes or keypads, test everything, and add extra devices as needed. Keep obstructions clear, doors closed during setup, and avoid memory conflicts by starting fresh when adding newer remotes. If issues pop up, recheck button presses and limits. With these steps, you’re prepared to operate your garage door confidently, maintain it properly, and keep your family safe. Happy, trouble-free opening and closing.


