A surprising detail: finalizing flooring can cut overall costs by preventing rework and mismatched finishes later. When you lock in cabinets, wall finishes, and fixtures first, you avoid order changes and scheduling glitches that drive up prices. You’ll also align material sourcing with the actual project timeline, reducing waste. But there’s more to balance—think durability, maintenance, and how every decision echoes through the budget. Ready to weigh the practical steps that keep costs in check without sacrificing style?
Understanding the Cost-Saving Principle of Flooring Choices
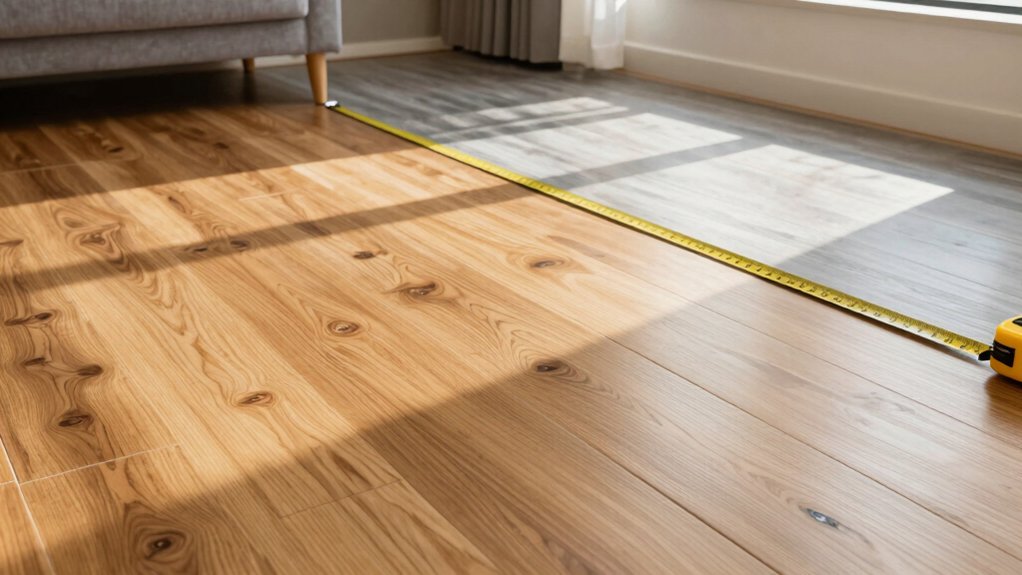
When you’re choosing flooring, the core cost-saving principle is simple: invest where it yields the most value over time. You’ll compare upfront price, durability, and maintenance, then translate those into long-term costs. Use a total-cost-of-ownership view: factor installation, expected lifespan, and replacement frequency.
Harder wear areas justify higher upfront for reduced ongoing repairs, while low-traffic spaces can tolerate cheaper materials with minimal resale impact. Durability metrics matter: abrasion resistance, moisture tolerance, and stain ease align with actual usage. Maintenance costs matter too; finishes requiring rare or costly upkeep can erode savings.
Schedule-focused decisions—quick installs or fewer shifts—lower labor once, not repeatedly. Finally, quantify risk: warranties, return policies, and supplier reliability influence total value, not just sticker price.
How Early Flooring Decisions Impact Material Sourcing and Scheduling
You’ll see that material lead times and scheduling dependencies set the pace for your project, not the other way around.
By aligning early decisions with supplier timelines, you can prevent delays and locking in costs before prices move.
Tracking lead times and mapping dependencies helps you time purchases and crew availability for a smoother rollout.
Material Lead Times
Material lead times set the pace for your flooring project: the earlier you specify materials, the more accurately you can forecast delivery windows, storage needs, and on-site scheduling. Lead times aren’t just days; they’re buffers against delays, backorders, and supplier constraints.
You’ll want to map product categories by priority: order-critical items first, then optional finishes. Compare vendor lead times, confirm minimum order quantities, and note version changes that affect availability. Include transit times, potential customs hiccups if importing, and any required installation materials that accompany core products.
Build a pending-purchase log to track approvals, deposits, and expected ship dates. Maintain contingency windows for weather or fabrication delays. Track actuals versus estimates weekly to refine future forecasts, reducing downtime and enabling smoother sequencing on site.
Scheduling Dependencies
Early decisions about flooring options set the pace for sourcing and on-site scheduling by defining lead times, quantities, and delivery windows upfront. You’ll map material arrivals to trades, aligning subfloor prep, subinstall, and finishing weeks with supplier calendars.
Data shows misaligned deliveries cause bottlenecks, rework, and idle crew time, increasing costs by 5–15% per phase. By specifying product SKUs, thickness, and finish early, you reduce substitutions that trigger hold-ups and price jumps.
You should build a phased plan that links order dates to installation sequences, with buffer windows for cut-to-size adjustments and delivery delays. Track vendor reliability metrics, such as on-time percentage and defect rates, to refine scheduling assumptions.
The result is smoother workflows, fewer downtime periods, and tighter cost control across the project timeline.
Durability and Maintenance: Aligning Flooring With Room Demands
Consider how Long-Term Wear Needs vary by room, so you match material durability to real usage patterns rather than aesthetics alone.
In high-traffic or moisture-prone spaces, expect higher maintenance intervals and consider floors with better scratch- and stain-resistance.
Think through Room-Specific Care, then align cleaning, protective measures, and finish choices to each area’s demands.
Long-Term Wear Needs
Durability and maintenance must match how a space is used and aged over time, so start by identifying the room’s wear patterns, spill frequency, and foot traffic.
In high-traffic zones, prioritize hard-wear surfaces with solid cores, dense composites, or reinforced finishes that resist scratches and dents.
For spill-prone areas, quantify exposure risk—wet versus dry, acidic versus alkaline—and choose materials with non-porous, sealed profiles and easy cleanup.
Factor maintenance windows into cost, noting that some floors require periodic refinishing, sealing, or recoating; others offer spill resistance with low upkeep.
Analyze stain longevity, cleaning ingredient compatibility, and fade resistance under typical lighting.
Compare lifecycle costs: initial price, installation, expected service life, and maintenance cycles.
Align choices with room-specific usage frequency to minimize replacements and optimize total expense.
Room-Specific Care
Room-specific care starts with matching maintenance cadence and wear expectations to how each room is used. You’ll quantify foot traffic, spill likelihood, and furniture impact, then align cleaning frequency and product choices accordingly.
In high-traffic hallways, choose hard-wearing materials and implement daily routine sweeps plus damp mopping, reducing long-term scuffs.
In kitchens, prioritize moisture resistance and stain-tested finishes, pairing mats with spill protocols to minimize damage over time.
Bathrooms demand waterproof substrates and rapid-dry routines to deter mold growth, while bedrooms benefit from softer, comfortable surfaces and periodic deep clean cycles to preserve texture.
Document warranty terms, care instructions, and replacement timelines, ensuring you schedule preventative maintenance before failures occur.
Consistency across rooms lowers lifecycle costs and preserves resale value.
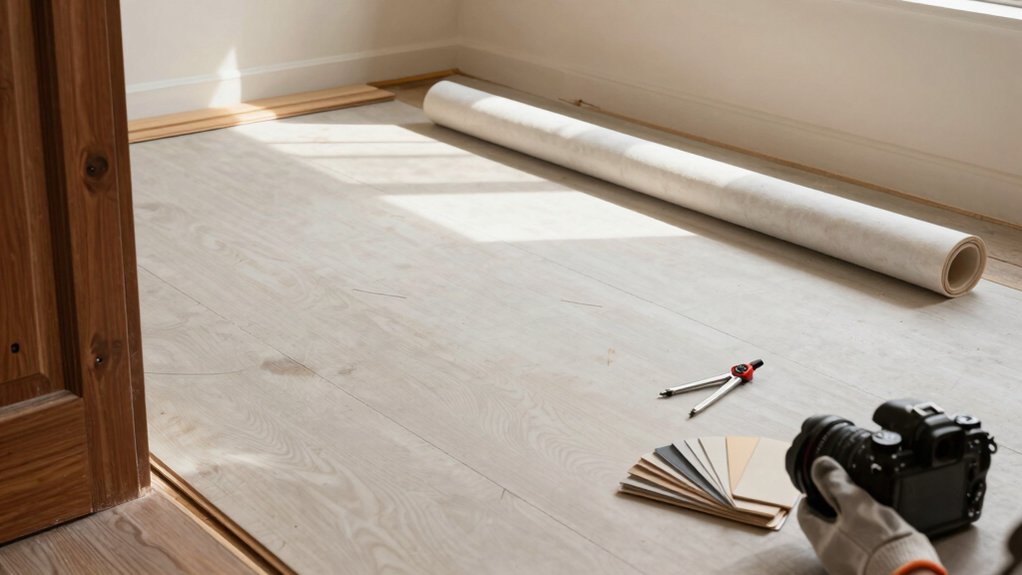
Budgeting Strategies: Preventing Waste and Redo Costs
Effective budgeting stops waste before it starts by forecasting material needs precisely and building in contingencies only where they add value. You’ll model quantity estimates from floor area, subfloor condition, and pattern repeats, then lock in supplier lead times and pricing windows. Track unit costs with real-time quotes, and convert waste allowances from historical data into target percentages.
Use a baseline contingency—low enough to deter panic purchases, high enough to cover discovery work—so you don’t pay twice. Create a dual-tracked plan: material acquisition and disposal costs, plus installation labor buffers, calibrated to project phase milestones.
Incorporate change-control protocols to prevent scope creep; require written approvals for deviations. Review spend weekly, comparing forecasts to actuals, and adjust orders before funds slip away. This disciplined routine minimizes redo costs and preserves value.
Coordinating With Other Renovation Elements for Efficiency
Coordinating with other renovation elements is essential for maximizing efficiency, preventing clashes, and keeping timelines tight. You’ll align flooring with plumbing, electrical, and HVAC rough-ins to avoid rework and material damage.
Start by mapping critical path dependencies: when subfloors are prepared, underlayment installs, and finish flooring arrives. You should confirm substrate tolerances and moisture tests early, then lock in supplier lead times to prevent shortages.
Use a single project schedule that tags flooring milestones to drywall, paint, and trim tasks, so trades don’t wait or duplicate work. Communicate change orders promptly and log decisions in a shared brief.
Track risk factors like seasonal delivery delays and permit approvals, updating contingencies monthly. This disciplined coordination minimizes seams, defects, and delays while preserving budget integrity.
Practical Steps to Decide on Flooring Last Without Compromising Style
In flooring decisions, you can finish strong without sacrificing style by sequencing choices that keep options open while protecting aesthetics and budget. Start with a baseline plan: define room-specific performance needs, then set asset thresholds for durability, maintenance, and resale value.
Gather objective data on material lifecycles, cost per square foot, and installation timelines, comparing options like vinyl planks, engineered wood, and tile. Prioritize a universal color or texture theme that complements existing fixtures, then choose the final flooring last after fixtures, cabinetry, and wall finishes are locked in.
Use a staged budgeting approach: reserve a contingency of 5–10% for surprises, and document decision criteria for quick stakeholder sign-off. Confirm compatibility with underlayment, subfloor, and moisture requirements to prevent rework.
Frequently Asked Questions
How Does Flooring Last Influence Resale Value?
Flooring lasts influence resale value by signaling durability, reducing maintenance, and aligning with upgrades. You gain confidence, attract buyers, and justify asking price more easily; you preserve value, curb appeal, and confidence through proven, long-lasting materials.
Can Last-Flooring Decisions Affect Room Acoustics?
Yes, your last-flooring choices can affect room acoustics by altering sound absorption, diffusion, and reflection; choose materials with appropriate density, texture, and underlay, and consider room size, furniture, and ceiling height for predictable, data-driven acoustic outcomes.
Which Flooring Types Are Most Cost-Effective Over Time?
Composite vinyl and ceramic tile offer low long-term costs, with durable wear and easy maintenance; laminate and engineered wood stay cheaper upfront but may spike replacement needs. You’ll save most if you factor lifecycle costs, not just sticker price.
Do Installers Offer Discounts When Flooring Is Chosen Last?
Yes, installers often offer discounts when flooring is chosen last, leveraging project efficiency and inventory turnover; you’ll typically see lower per-square-foot prices, bundled labor, or waived material minimums, though exact terms vary by contractor and schedule.
How to Coordinate Last-Flooring With Wall and Cabinet Finishes?
You coordinate last-flooring with walls and cabinets by sampling finishes side-by-side, aligning undertones, and mapping tolerances. You compare swatches, plan shifts, and confirm lighting reflects grout, seams, and hardware, then finalize specs and schedule sequential installations.