
A typical homeowner spends about $3,000 to $15,000 on a full insulation and air-sealing upgrade, depending on house size and conditions. You’ll see the most value when you target envelope leaks, insulation gaps, and drafty doors. This spread also covers simple upgrades like programmable thermostats and sealing kits up to major changes like windows or heat-pump upgrades. How these choices stack up for your home depends on your current performance and goals, so you’ll want a clear plan and cost range to compare.
Assessing Baseline Energy Use and Goals
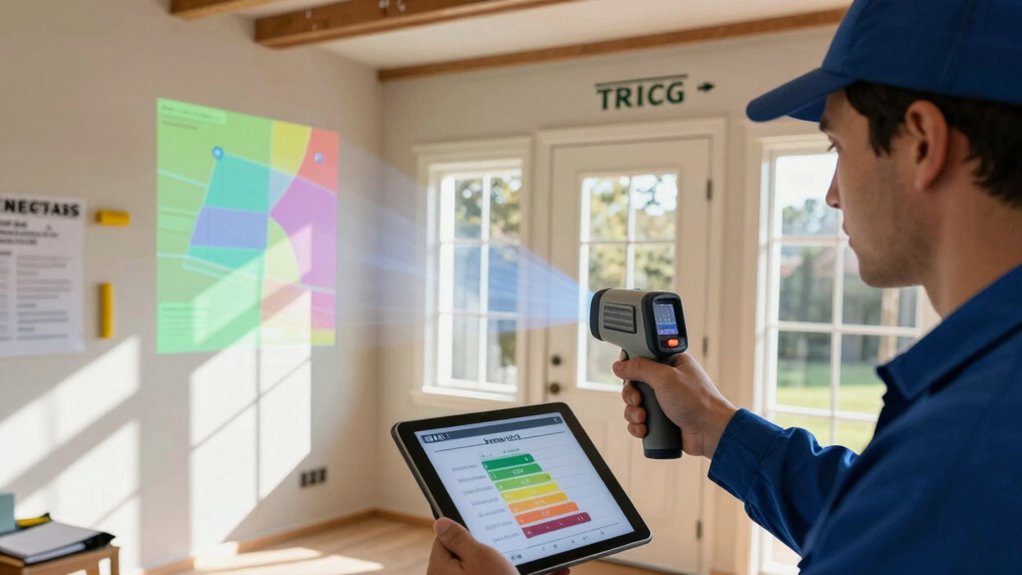
To effectively improve a home’s energy efficiency, you first need a clear picture of current usage and specific goals. You’ll start by auditing monthly energy bills and documenting typical occupancy patterns. Then measure baseline consumption by appliance and system.
Use a simple spreadsheet to track kilowatt-hours, peak within-hour loads, and seasonal shifts. Identify high-use periods and calculate the percent share of total energy from heating, cooling, and hot water.
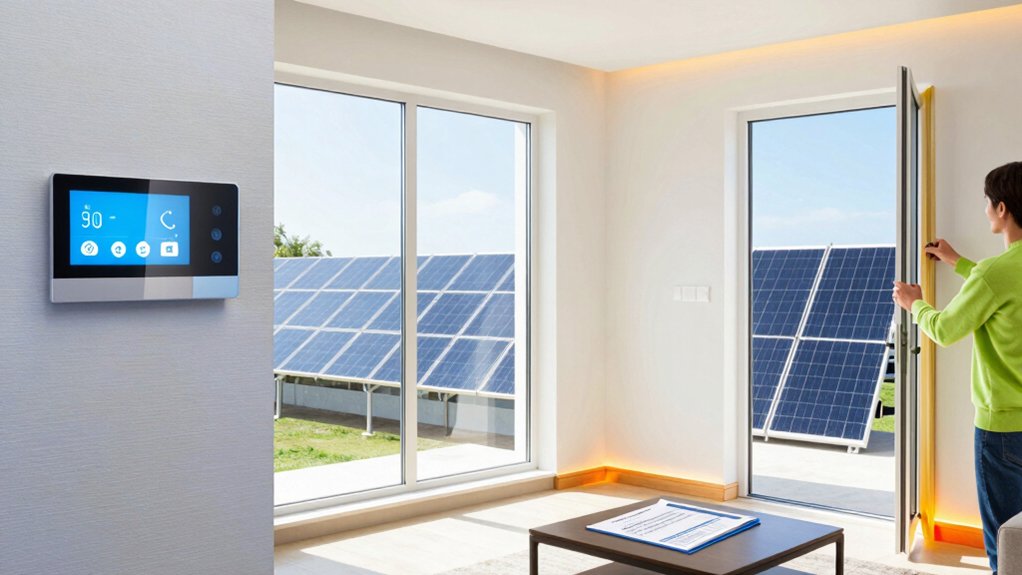
Set measurable targets, such as reducing annual usage by a defined percentage or lowering peak demand. Consider practical options early: solar panels can offset daytime loads, and smart thermostats can fine-tune temperature settings.
Establish a prioritized list with estimated savings to guide subsequent improvements and budget planning.
Insulation Upgrades: What to Expect in Costs and Savings
Insulating upgrades deliver measurable, long-term savings by reducing heat loss in winter and heat gain in summer. The costs you see upfront typically translate into century-level payback if you choose the right materials and installation.
You’ll see clear metrics: R-values per cavity, overall efficiency, and delivered load reductions measured in Btu/hour. Expect attic, wall, and rim-joist upgrades to yield 10–40% lower heating and cooling bills, depending on climate and existing gaps.
Favor high-density batts, spray foams, or blown-in insulation with proper air sealing. Material choice affects moisture control and mold risk, so verify vapor barriers and ventilation.
Tie results to renewable energy integration goals and smart home controls for monitoring, thresholds, and automated adjustments that sustain gains year after year.
Window Improvements: Types, Prices, and Payback
Window types and costs set the baseline for payback through savings, so you’ll want clear comparisons of prices per square foot and insulation performance.
We’ll quantify payback in years using standard U-factor, SHGC, and heat-loss metrics, plus expected annual energy savings for typical homes.
Consider installation considerations like fit, frame material, and professional vs. DIY options to optimize overall cost-effectiveness.
Window Types and Costs
Are you choosing window types and costs with a clear goal in mind—lower energy bills and a comfortable home? You’ll focus on U-values, solar heat gain coefficients, and installer certifications to compare options like double- and triple-glazed units, low-emissivity coatings, and gas fills.
For each option, quantify payback horizons using local energy rates and climate data. Note that thicker glass or multiple panes boost insulation but raise upfront costs. Frame materials matter too: vinyl and wood-clad options typically offer better long-term performance with lower maintenance.
Prioritize designs that reduce drafts and improve airtightness, and consider how window placement affects solar gains alongside existing roof insulation. Finally, align window upgrades with other measures—solar panels and efficient roof insulation—to maximize, not duplicate, savings.
Payback Through Savings
Upfront costs for window upgrades pay back mainly through reduced heating and cooling bills, so focus on each option’s average annual savings and its true installed price.
Double-pane vinyl units typically save 5–15% of heating energy, translating to about $60–$180 annually with modern SEER and local rates; installed costs run $300–$700 per window, depending on frame and glazing.
Low-emissivity gas-filled panes offer 10–20% savings, with $500–$1,000 installed per unit, delivering payback in 5–12 years.
Insulated frames improve performance by 1–2 times relative to standard vinyl, with $400–$900 installs and 7–15% annual energy reductions.
For broad impact, pair window upgrades with smart thermostats and vacant-wall optimization; this aligns with renewable energy goals and measurable, long-term savings.
Installation Considerations
When planning window upgrades, start with installation considerations that directly affect total cost and payoff: frame and glass type compatibility, professional vs. DIY work, disposal of old units, and local building code requirements.
You’ll measure performance by U-factor, SHGC, and visible light transmittance, then map these to your climate and home orientation.
Expect higher upfront costs for triple-glazed, low-E coatings, but see longer payback in heating-dominant seasons.
Consider frame materials against durability and maintenance, and ensure airtight seals to maximize returns.
Coordinate with solar panels integration and smart thermostats for holistic gains, not isolated gains.
Budget for air sealing, flashing, and exteriors to prevent moisture.
Choose installers with quantified warranties, documented performance specs, and post-install testing to verify target energy savings.
Heating System Upgrades: Boilers, Furnaces, and Heat Pumps
Choosing the right heating system upgrade—boilers, furnaces, or heat pumps—can dramatically cut energy use and monthly bills. You’ll evaluate first-pass efficiency, using seasonal performance factors (SPFs) and AFUE ratings to compare options.
Boilers excel with radiant layouts and high-efficiency modulating models, delivering steady comfort at low fuel use. Furnaces, especially condensing units, trade cost for greater compatibility with existing ducts.
Heat pumps offer year-round savings, leveraging outdoor temperatures with supplemental strip heat when necessary. Consider system pairing, such as solar panels supplying auxiliary power for heat pumps or boilers, and geothermal systems for ultra-low operating costs in the right climate.
Size to load, factor maintenance, and assess rebate potential to quantify true lifetime costs and savings.
Cooling System Upgrades: Efficient Air Conditioning Options
As you evaluate cooling upgrades, start by matching system efficiency to your home’s heat load and climate. Then compare SEER (Seasonal Energy Efficiency Ratio) and EER (Energy Efficiency Ratio) alongside installed cost and potential rebates.
You’ll typically prioritize high-SEER variable-capacity systems for fluctuating loads, and consider EER for very hot climates. A properly sized unit minimizes oversizing penalties and reduces short-cycle starts.
Pair equipment with smart thermostats to optimize runtime, set adaptive schedules, and monitor real-time performance.
Assess ductwork and refrigerant lines for leaks, as efficiency gains decline with losses.
Renewable energy integration, such as solar-assisted AC or heat pump water heating, further lowers operating costs.
Choose units with proven reliability, documented performance, and available service networks to sustain long-term savings.
Air Sealing and Ventilation: Cost-Effective Comfort Improvements
You’ll tighten your home’s envelope by sealing gaps effectively, which stops unwanted air leakage and saves on heating and cooling costs. Aim for measurable improvements—target a door and window gasket seal or attic air leaks that reduce total air changes per hour by a practical percentage.
For ventilation, balance intake and exhaust to maintain indoor air quality without overworking your system, using simple metrics like CFM and ACH to guide adjustments.
Seal Gaps Effectively
If you want real comfort and lower energy bills, start by sealing gaps that let conditioned air leak in or out. You’ll focus on perimeter joints, electrical penetrations, and connections around doors and windows, using a combination of high-quality sealants, caulk, and compression gaskets.
Measure openings with a simple isometric approach: test with a blower door or a smoke pencil to identify leaks and quantify their size. Prioritize ducts and framing gaps in unconditioned spaces to minimize heat exchange.
Use weatherstripping on operable gaps and ensure flashing remains intact. This work improves air quality and moisture control by reducing uncontrolled air movement, lowering draft intensity, and stabilizing indoor conditions—without over-sealing, which can create humidity pockets.
Verify improvements with a follow-up air leakage test.
Ventilation Balance Tips
Balancing ventilation with airtightness is essential for comfort and energy savings, and it starts with measuring how much fresh air your home actually needs. Start by testing air changes per hour (ACH) using a blower door or professional assessment, then set target ACH for your climate.
Seal obvious leaks first, but don’t over-seal; allow controlled ventilation to maintain indoor air quality. Choose balanced systems like heat recovery ventilators (HRV) or energy recovery ventilators (ERV) to recover heat and moisture, reducing energy use while invigorating air.
Dimension exhaust and intake rates to match occupancy and activities, and monitor performance with CO2 and humidity metrics. This approach supports renewable energy strategies and emphasizes indoor air quality, delivering comfort without wasting conditioning energy.
Appliance Efficiency Upgrades and Their Price Range
Upgrading appliances for energy efficiency typically pays off through lower operating costs and stronger performance. You’ll see price ranges driven by capacity, features, and efficiency ratings.
Entry-level upgrades, like compact ENERGY STAR washers or standard refrigerators, typically run $500–$1,200, with yearly savings modest but real.
Midrange models—full-size dishwashers, more efficient heat pumps, and upgraded furnaces—often cost $800–$2,500 per unit, delivering noticeable bill reductions and faster ROI.
High-end picks from appliance brands or smart appliances may exceed $2,500–$5,000, but offer advanced diagnostics, remote control, and optimized cycling.
When estimating cost, factor installation, venting tweaks, and potential refrigerant charges.
Prioritize metrics: annual energy use, standby power, and seasonal efficiency.
Align choices with your home’s load profile and long-term performance goals.
Financing Options and Incentives for Efficiency Projects
What financing options and incentives can help you fund efficiency projects without derailing your budget? You’ll prioritize options with predictable cash flow and solid ROI. Start with low-interest loans or energy efficiency mortgages that tie repayment to project savings, preserving monthly liquidity.
Explore utility rebates and government programs that cut upfront costs, often pairing with performance metrics like modeled energy savings. Consider solar incentives and tax credits when you install qualifying equipment; these reduce net cost and shorten payback.
Leverage bundled incentives, where lenders bundle rebates into loan terms, simplifying repayment. Compare total project costs, interest rates, and forgiveness or clawback risk.
Maintain documentation of efficiency gains and compliance to maximize incentives and protect your ROI over time.
Estimating Return on Investment for Your Home Upgrades
Estimating the return on investment (ROI) for your home upgrades starts with a clear, data-driven method: quantify upfront costs, forecast annual energy savings, and translate those into payback periods and net present value.
You’ll build a transparent calculator that links project costs to thermal comfort gains and utility bill reductions. Gather baseline energy use from recent bills, then model post-upgrade consumption using reputable efficiency assumptions.
Include non-energy benefits only if monetized (comfort, durability, resale). Compare ROI, payback, and net present value under realistic discount rates.
Conduct pre- and post-upgrade energy audits to validate savings and refine estimates over time. Document assumptions, sensitivities, and risk.
This disciplined approach keeps upgrades practical, measurable, and aligned with your comfort and financial goals.
Frequently Asked Questions
How Long Does It Take to Recoup Efficiency Upgrades Financially?
Typically, you recoup upgrades in 5–15 years through energy savings; perform a cost analysis and update financial planning to reflect cash flows, incentives, and payback timelines, then monitor annual usage to validate performance.
What Is the Typical Lifespan of Common Efficiency Improvements?
You’ll typically see a 15–30 year lifespan for common efficiency improvements, with material durability and maintenance frequency guiding variance; you’ll replace insulation or windows accordingly. Maintenance frequency stays moderate, ensuring performance stays near peak across decades.
Do Tax Credits Apply to Hiring Installers or Only Equipment?
Tax credits can apply to both equipment purchases and certain installer costs, depending on the program. Check eligibility for installer eligibility, as some credits require certified installers or performance-based criteria to qualify and maximize your savings.
Are There Regional Differences in Upgrade Costs and Savings?
Regional variations exist; upgrade costs and savings vary by climate, housing type, and insulation quality. You’ll see higher upfront costs in dense urban areas, but larger long-term gains with efficient windows, insulation, and high-efficiency HVAC in milder regions.
How Do Occupancy Patterns Affect Energy Savings Estimates?
Occupancy patterns heavily influence energy savings estimates because occupant behavior and usage variability drive actual consumption. You’ll see higher variance in savings when people flex schedules, stream appliances, or neglect efficiency measures, so model with probabilistic occupancy scenarios.
Conclusion
Investing in energy efficiency pays off in steadier comfort and lower bills over time. Start by measuring your baseline, set concrete targets, and track progress with monthly utility data. Expect payback horizons of a few years for modest upgrades, longer for full-system overhauls. Prioritize sealing, efficient HVAC, and insulation first, then windows and appliances. Financing and incentives can shave upfront costs; they’re like a bridge to long-term savings you can quantify in kilowatt-hours saved.


