First, you’ll test the theory that damp is simply a ventilation issue, but the truth is more nuanced. In UK homes, condensation, rising damp, and penetrating damp each play a role, and quick fixes often miss the root cause. You’ll need a practical approach that combines airflow management, insulation, and moisture control, plus targeted repairs to external barriers. Stay with this topic as we break down signs, prevention steps, and when to call in a pro to avoid repeating the problem.
Understanding Damp in UK Homes
Damp in UK homes is moisture that exceeds what the building materials and ventilation can safely handle, leading to visible signs like staining, mold, and musty odors. You’re examining how moisture behaves, not blaming individuals, so you can intervene with measurable steps.
Damp distributes through walls and fabric based on moisture gradients, air exchange, and material permeability, forming observable patterns that guide inspection. You’ll prioritize objective assessment over myths, addressing damp myths with evidence from measurements and history.
Historic buildings can show different moisture dynamics due to construction methods, fabric condition, and ventilation retrofits, demanding tailored evaluation. You’ll document humidity levels, surface temperatures, and substrate condition to set a practical remediation plan that aligns with building type, age, and fabric integrity.
Avoid unfounded conclusions; work with data.
Common Causes: Condensation, Rising Damp, and Penetrating Damp
Condensation, rising damp, and penetrating damp are the principal moisture pathways you’ll encounter in UK buildings, each with distinct drivers and inspection cues.
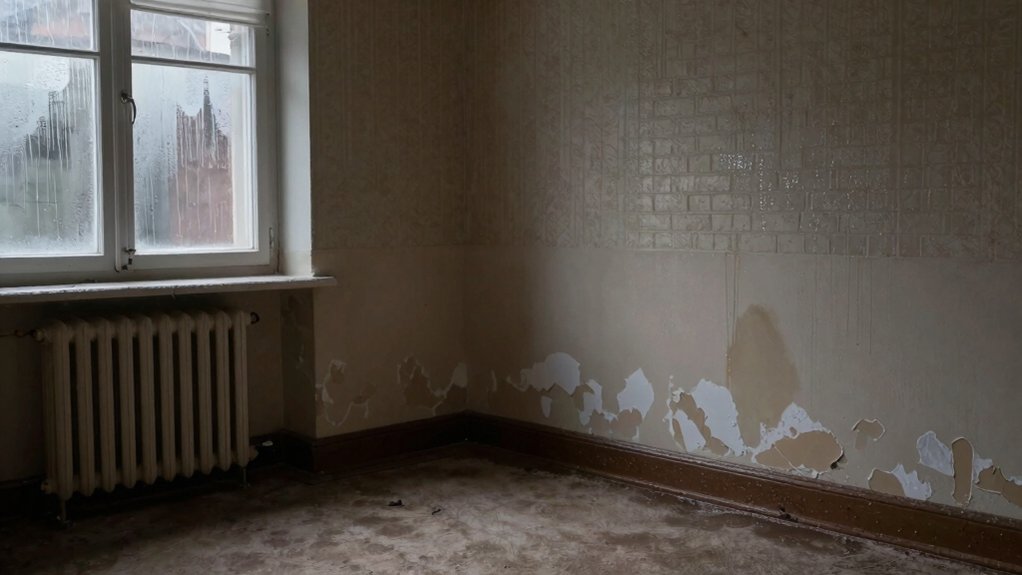
Condensation arises from high humidity and poor ventilation; you’ll see misty windows, damp patches, and higher surface moisture after showers or cooking.
Rising damp comes from moisture traveling upward through masonry due to defective damp-proof courses; expect damp patches at lower walls and timber decay, with salt efflorescence signaling older structures.
Penetrating damp results from exterior flaws letting water inside, such as faulty gutters, cracks, or failed seals; look for staining, mildew, and localized damp areas.
Address these via targeted moisture barriers and informed damp surveys to determine remediation scope, sequencing, and preventive maintenance, ensuring diagnostic precision and durable drying outcomes.
Signs That Your Home Is Damp
If you notice persistent damp spots, you likely have a moisture issue worth diagnosing now. Damp signs are often clear, measurable indicators you can act on.
Look for wall peeling where moisture accumulation weakens adhesive bonds and damages plaster. A musty smell commonly accompanies concealed moisture, signaling hidden damp pockets behind panels or cabinetry.
Increased surface moisture creates sheen on paint and wallpaper, widening existing stains. Check for cold spots on walls or ceilings, which indicate condensation-driven moisture migration.
Look for bubbling paint, delamination of wallpaper, or warped skirting boards—these reveal ongoing damp exposure. Note that persistent damp often mirrors past leaks or insufficient drainage.
Document affected areas, then prioritize targeted repairs, moisture barriers, and ventilation improvements to prevent mold growth and structural deterioration.
Temperature, Humidity, and Ventilation Basics
You’ll see that temperature and moisture rise together, so small heat gains can boost humidity levels if not managed.
We’ll cover practical humidity control strategies and how to tune ventilation for real-world results.
Start with straightforward tips on ventilation effectiveness to keep indoor air at healthy, stable levels.
Temperature and Moisture Link
Temperature and moisture are tightly linked: as indoor air warms, its capacity to hold water increases, so relative humidity rises if moisture input isn’t balanced by ventilation or dehumidification.
You’ll see that heat expands moisture risk: higher indoor temperatures elevate vapor pressures, stressing tolerance for leaks, condensation, and damp spots.
Humidity regulation becomes a constant factor in design and operation: even small gains in moisture load can push RH into uncomfortable or unsafe ranges when ventilation is limited.
Practical measures emphasize consistent air exchange, minimizing moisture sources, and ensuring airtight yet breathable building envelopes.
Thermal insulation helps by stabilizing indoor temperatures, reducing peak moisture generation after cooking or showers.
Together, these elements form a reliable baseline for damp prevention without overreliance on post hoc drying.
Humidity Control Strategies
Humidity control strategies balance heat, moisture, and ventilation to maintain comfortable and safe indoor conditions. You optimize temperature setpoints to keep relative humidity below 60% in occupied spaces, reducing condensation risk. Use steady, moderate heating to avoid peak humidity swings; abrupt changes raise moisture load on walls and fabrics.
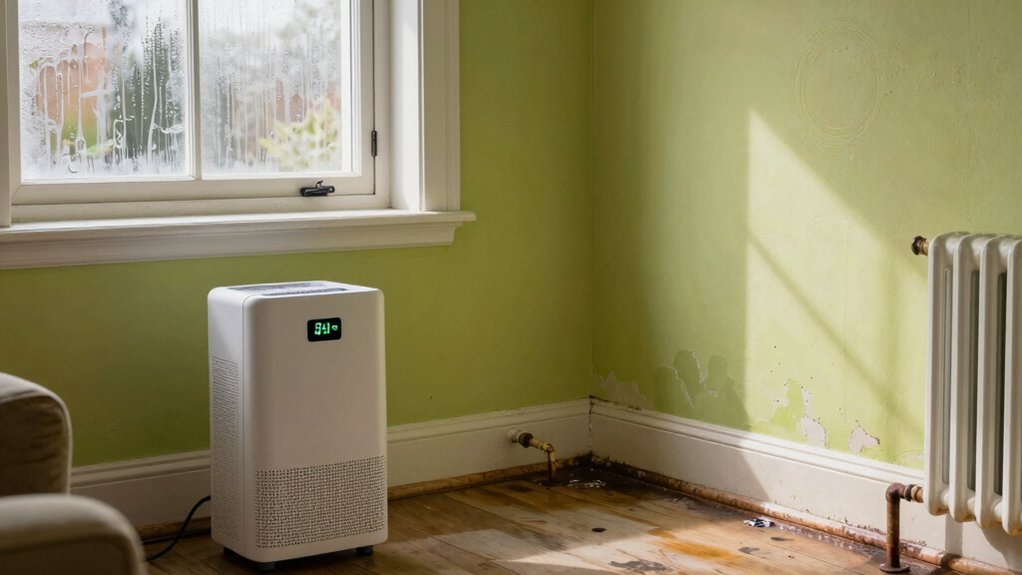
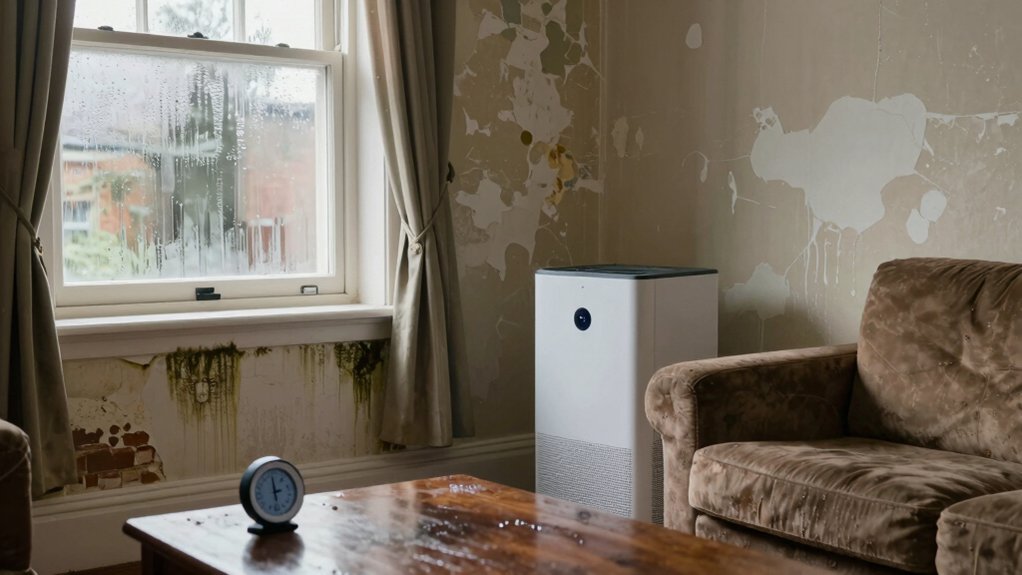
Target airtightness with controlled ventilation rather than drafts, prioritizing heat recovery where possible. For moisture hotspots, position a dehumidifier strategically to extract condensate without cycling on/off excessively; avoid placing units where warm exhaust recirculates into cooler, damp corners.
When painting, choose mold resistant paints in damp-prone zones, then seal breaches to limit hidden moisture paths. Monitor humidity with a reliable gauge, adjusting operations as indoor and outdoor conditions shift. Maintain ventilation schedules to balance air quality and energy efficiency.
Ventilation Effectiveness Tips
Ventilation effectiveness hinges on how well air distributes, exchanges, and is exhausted from a space. You’ll optimize temperature, humidity, and airflow by aligning ventilation rates with occupancy and activity.
Use measured air changes per hour to balance rapid dilution of pollutants with energy efficiency, avoiding drafts that compromise comfort.
Prioritize moisture management by targeting high-humidity sources—kitchens, bathrooms, laundry—to vent and exhaust promptly, while keeping moisture-sensitive rooms pressurized slightly to prevent ingress.
Implement continuous background ventilation where feasible, and couple intermittent boosts with sensible ducting and filtration to maintain clean air.
Regularly inspect seals, damp spots, and controls; address issues promptly to sustain airflow optimization.
Track humidity and temperature trends, adjusting settings to prevent condensation and mold growth.
Practical Prevention: Ventilation and Insulation
Outdoor moisture and indoor air quality are closely linked, so you should implement practical ventilation and insulation measures to prevent damp. You’ll prioritize controlled airflow to remove humidity without reintroducing cold drafts. Use mechanical or passive ventilation that balances extraction with background air supply, especially in bathrooms, kitchens, and laundry areas.
Insulation should minimize thermal bridges around walls, ceilings, and windows to reduce condensation risk on cold surfaces. Seal gaps in attic access, floorboards, and exterior joinery to prevent warm, moist air from infiltrating colder zones. Consider moisture barriers beneath floors and behind walls to slow moisture migration.
Evaluate dehumidifier options for targeted humidity control in high-risk rooms, ensuring proper drainage. Maintain consistent indoor temperatures and monitor humidity levels to sustain long-term prevention.
Fixes for Condensation Problems
To address condensation effectively, identify and correct the underlying causes before applying fixes. You’ll focus on reducing moisture generation, improving air exchange, and controlling surface temperatures.
Practical fixes include selecting appropriate dehumidifier options to manage excess humidity in problem rooms, ensuring correct sizing, and following manufacturer guidelines for continuous use if needed. Use extractor fans with humidity sensors in kitchens and bathrooms, and verify they operate at full throughput when moisture peaks.
Seal gaps around windows and doors modestly to minimize cold surface adoption without trapping moisture. Consider mold resistant paints on affected walls after treatment, and ensure surfaces are dry before coating.
Combine these measures with ongoing monitoring to prevent recurrence.
Remedies for Rising Damp and Penetrating Damp
Remedies for rising damp and penetrating damp require a systematic approach: identify the moisture source, stop further intrusion, and treat affected materials.
You begin with a visual and moisture survey to locate damp pockets, discharge points, and salt efflorescence. Then, implement physical barriers where feasible and ensure adequate ventilation to limit humidity.
Remove or stabilise damaged plaster and wallpaper to prevent ongoing mould growth and further wall discoloration. Clean salt deposits with appropriate techniques, avoiding aggressive chemicals that can damage substrates.
Apply breathable, damp-proof coatings only after drying to a stable moisture level.
For penetrative damp, repair exterior cracks, repoint masonry, and optimise drainage around the building.
Monitor treated areas and recheck humidity to verify sustained improvement.
Choosing Treatments and When to Hire a Pro
When selecting treatments, start with a proven diagnostic snapshot to match the moisture source to the remedy, then weigh effectiveness, cost, and disruption. You evaluate damp diagnosis outcomes from tests or professional assessments to identify whether the moisture is rising, penetrating, or condensation-driven.
Prioritize targeted solutions that address the root cause rather than symptomatic fixes. Consider treatment timing: some interventions work best during dry or stable conditions, others require interim controls to reduce moisture load.
You should match method complexity to the home’s construction and occupancy pattern, balancing long-term durability with short-term access needs. Decide whether you can perform non-invasive measures yourself or if you need a pro for remediation, vapor management, or structural work.
Always document risks, warranties, and installation criteria before hiring.
Maintenance Habits for a Dry, Healthy Home
Even with the right treatment, ongoing maintenance is essential to keep a dry, healthy home. You create a durable baseline by installing moisture barriers in typical problem areas, such as under-floor spaces, basements, and crawl spaces, to limit water vapor diffusion.
Regularly inspect seals on windows, doors, and penetrations, replacing degraded gaskets promptly. Ventilation matters: run exhaust fans during cooking and bathing, and consider a humidity monitor to keep RH between 40% and 60%.
Use mold resistant paints on affected walls after cleaning and drying, to reduce regrowth surfaces. Address leaks at the source rather than masking them.
Schedule seasonal checks for gutters, damp spots, and condensation, and document interventions so future work remains targeted and efficient.
Frequently Asked Questions
How Long Does a Damp Treatment Typically Last?
A damp treatment typically lasts several years if you maintain moisture barriers and efficient ventilation systems. You should recheck annually, repair any leaks promptly, and guarantee barriers remain intact to prevent reoccurrence and sustain long-term dryness.
Are There DIY Damp Solutions That Work Long-Term?
Did you know 60% of DIY damp solutions show modest short-term gains? You can try DIY remedies, but their long term effectiveness depends on moisture source control, ventilation, and condensation management. Prioritize professional assessment for lasting results.
Do Damp Issues Affect Home Resale Value?
Damp issues can dent resale value, as buyers scrutinize moisture control and damp causes. You’ll need documented remediation, ongoing monitoring, and warranties. If you address moisture efficiently, you preserve value; neglect harms appraisal and marketability long-term.
Can Plants Indoors Increase Indoor Humidity Significantly?
Yes—plants indoors can raise indoor humidity noticeably. You’ll see higher houseplants moisture in steamy rooms; monitor indoor humidity, especially during winter. Use proper ventilation to avoid excess moisture, and track how your houseplants affect overall RH.
What Costs Are Involved in Professional Damp Remediation?
You’ll need a cost analysis to estimate remediation, with total costs including assessment, containment, and repairs, plus contingency. Confirm contractor qualifications are verified, insurance covered, and detailed quotes provided before work begins.
Conclusion
You’ve got the tools to keep damp at bay: fix leaks, improve ventilation, and control humidity with sensible insulation. Regular checks, prompt repairs, and proper drainage prevent minor issues from becoming costly problems. Treat damp like a warning beacon, not a nuisance—address it promptly. Remember, prevention is cheaper than cure, and a healthy home is a trusted foundation. Think of it as guarding a dry fortress: a small effort now saves big problems later.