
For pine, you want a finish that protects without hiding grain, adds warmth, and stays easy to repair. Start with a penetrating oil like tung or linseed to bring out figure, then seal with a thin layer to reduce blotching. If you need durability, opt for a clear varnish or polyurethane in satin or semi-gloss to preserve texture. Shellac or wax can add a soft glow, while a UV-stable, water-based finish keeps color true—and you’ll gain more tricks as you continue.
Understanding Pine: Why Finish Matters
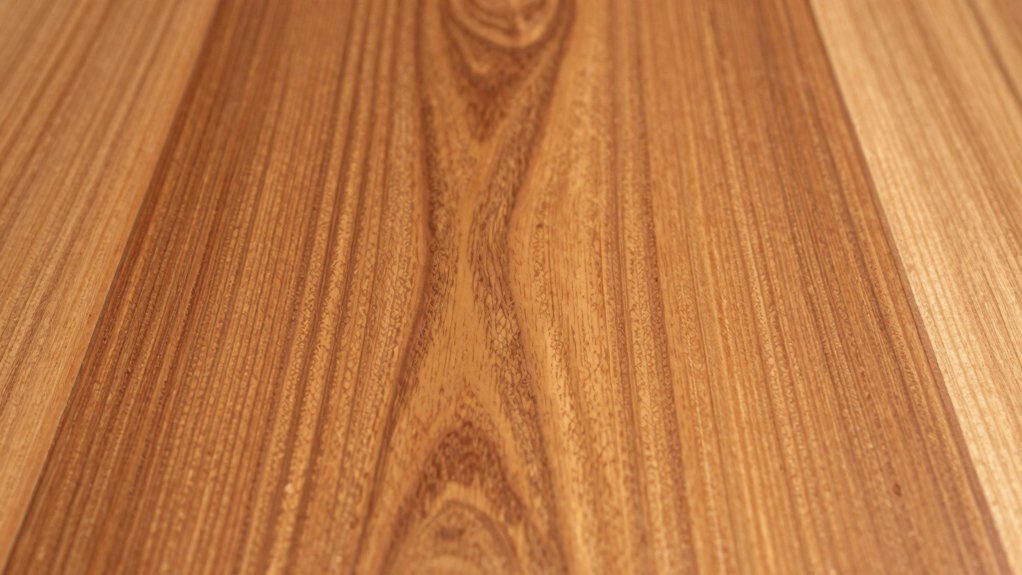
Understanding pine is key to choosing the right finish, because the wood’s grain, resin content, and open pores all affect how a finish adheres and looks. You’ll notice Pine grain varies across boards, influencing concealment of flaws and the final sheen.
Pine resins can raise blotch unless you seal properly, so preparation matters more than with other woods. You’ll also see rapid color changes as it ages; wood aging shifts tone, making some finishes appear warmer or cooler over time.
For durability, match a finish to how you’ll use the piece, not just its appearance. Control grain emphasis with light sanding and a compatible sealer.
Oil Finishes: Warmth and Penetration
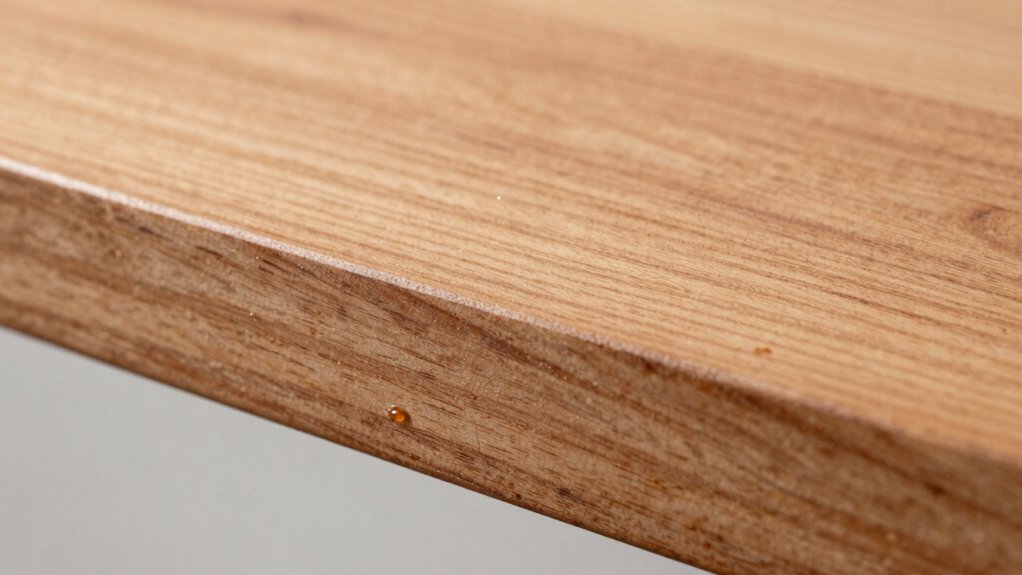
Oil finishes bring warmth and deep penetration to pine, letting the grain glow while sealing the surface from within. You’ll notice the color depth that enhances wood grain without creating a thick film.
Choose a true oil, like tung or linseed, for even saturation and easy maintenance. Apply thin coats, wipe off excess promptly, and let each layer cure fully before the next.
This approach minimizes raised grain and avoids blushing, delivering a natural look with tactile warmth. Oil finishes penetrate, rather than sit on top, offering a forgiving correction path if you overshoot with application.
For color enhancement, consider a low-luster or satin tone to preserve the pine’s character while imparting even, subtle depth. Monitor drying conditions to prevent streaking and uneven absorption.
Varnish and Polyurethane: Durability and Clarity
Varnish and polyurethane offer durable protection with a clear, even finish that preserves pine’s grain. You’ll gain enhanced finish durability, resisting wear, moisture, and daily handling without ambering or yellowing excessively with modern formulas.
Choose low-viscosity products for smoother coats and less brush marking, then thin sparingly if required. Sand between coats to a matte 220 grit for ideal adhesion and a flatter final appearance.
Oil-modified varieties dry quicker, while polyurethane options deliver tougher film; both maintain clarity when applied in thin, even layers. Expect minimal color change, allowing wood grain to read clearly.
Apply multiple thin coats, then lightly scuff and topcoat for a durable, satin to gloss result that’s practical for high-traffic pine surfaces.
Shellac: Natural Yet Light Protection
Shellac offers a natural, light protective layer that preserves pine’s warmth and grain without adding significant color. You apply thin, even coats to build a subtle shield that dries quickly and buffs to a smooth finish.
Use alcohol-based dissolving solution and a clean brush or pad for controlled layering. Sand lightly between coats to maintain surface flatness, avoiding prideful thick builds that obscure grain.
Shellac’s natural sheen remains understated, so you’ll notice a gentle, warm glow rather than a plastic look. It provides surface protection against moisture and minor wear, while remaining easily repairable by reapplying a fresh coat.
If you need a quick, non-toxic option, shellac offers practical, predictable results with minimal setup.
Wax: Soft Sheen and Rejuvenation
If you’re after a quick, low-effort refresh, wax delivers a soft sheen that revives pine’s warmth without altering its color. You apply a thin, even layer with a clean cloth, working in circular motions along the grain. Let it set briefly, then buff lightly to highlight depth and texture.
Wax finishes form a protective film that resists minor wear and moisture without penetrating deeply, keeping the grain visible and the tone stable. For rejuvenation, choose a wax with a compatible base and low odor, and avoid overdosing—extra layers build buildup rather than brightness.
Regular light maintenance preserves the soft sheen and prevents dulling. Use wax finishes sparingly on high-use surfaces to sustain clarity, warmth, and a natural look over time.
Stains: Color Without Hiding Grain
Stains add color depth without masking grain, so you can prioritize tone while keeping texture visible.
You’ll balance depth with the pine’s natural patterns by timing coats and choosing hues that enhance, not overpower, the wood.
We’ll cover application techniques that maximize grain visibility and control color saturation.
Stain Color Depth
Stain color depth refers to how rich and dimensional the finish appears after application, not just the shade on the surface. You’ll see depth emerge when the stain penetrates evenly and highlights the wood’s natural undertones. Achieve this by selecting a stain that balances hue with translucency, so grain texture remains legible without losing color.
Apply in thin, uniform coats; allow proper drying between layers to prevent muddy reflections and uneven saturation. Wipe excess promptly to avoid pooling and loss of definition. To enhance grain enhancement, favor formulas that respond to pine’s pores, revealing subtle figure rather than masking it.
Maintain color consistency across boards by using the same stain batch and applying consistent technique. Document timings and environmental conditions to reproduce the depth you want in future projects.
Grain Visibility Wins
Grain visibility wins when your stain color complements pine without dulling its texture. You choose a tone that highlights the natural grain rather than masks it, balancing contrast with warmth.
Consider the grain pattern: tight, open, or plain—each responds differently to pigment and stain depth. You’ll prefer light to medium browns or amber hues that let subtle contrasts breathe, preserving character without muddying lines.
Apply even coats, allow proper penetration, and wipe off excess promptly to prevent blotching. The goal is clarity, not opaqueness; a finish that respects the wood’s texture enhances perceived depth.
With mindful color and technique, you achieve lasting finish durability, resisting wear while keeping pine’s inherent detail readable. In practice, test samples; confirm how grain responds under lighting before securing the final result.
Application Techniques
To apply color without concealing grain, start with clean, dry pine and a well-prepped surface.
You’ll achieve even color by choosing a wiping stain or a dye stain rather than opaque products. Test on a concealed area to verify depth and hue, then apply with short, even strokes, following the grain.
Work in small sections, wiping excess promptly to avoid dark halos that dull wood grain. Keep the work surface controlled, using light, deliberate passes and minimal product per coat.
Sand lightly between coats with very fine grit to maintain smoothness and resist grain raising. Seal with a compatible topcoat once you’re satisfied with color.
Clear Finishes for Minimal Color Change
You’ll want finishes that minimize amber shift, so choose products that cure clear with little color development.
A thin, even film builds a transparent shield while preserving the pine’s natural hue, avoiding visible patching or streaks.
Prioritize consistent shear, even brush or wipe technique, and quick recoats to maintain clarity across the surface.
Minimal Amber Shift
Clear finishes that minimize amber shift are essential when you want pine’s light color to stay as true as possible. You’ll choose clear, non-yellowing genuine finishes, and you’ll apply thin coats with smooth, even strokes to avoid blotching.
Focus on products labeled UV-stable and low-amber or water-based poly, which reduces color drift while preserving natural wood grain. You’ll test on a scrap to gauge how the finish influences color enhancement before committing to the entire piece.
Maintain a controlled environment during drying to prevent uneven tone. In practice, document your results because subtle shifts matter over time. Expect minimal amber shift yet still observe how the finish, not just the pigment, shapes the final appearance of wood grain and color enhancement.
Clear Film Build
Is a thin, uniform film really possible with steady application and compatible finishes? Yes, and it’s your goal with Clear Film Build. You’ll prioritize compatibility with pine’s resin and grain, choosing finishes that dry hard yet stay flexible enough to prevent cracking.
Apply in light, even coats, allowing adequate flash between passes to minimize brush marks and sag. A true clear film should deepen grain subtly without altering color; that’s your grain enhancement payoff, not opaque masking. Avoid additives that raise viscosity or cause orange peel, which defeats the film’s transparency.
Monitor film thickness with a wet measure technique, aiming for a micron range that remains barely perceptible. For color preservation, favor UV-stable riders and avoid rapid curing. The result: a durable, barely-there finish that preserves pine’s clarity and character.
Even Coat Clarity
When you aim for Even Coat Clarity, the goal is a transparent finish that subtly enhances grain without shifting tone or depth. You choose clear finishes that maintain color integrity and avoid amber or yellowing.
Apply even coats with steady travel and consistent pressure, so the film dries uniform across flats and edges. Between coats, scuff lightly to promote adhesion, then wipe away dust before resuming.
Monitor climate; try to keep temperature and humidity stable to minimize fiber raise and brush marks. For color matching, test on a scrap piece until you see no perceptible hue shift.
Finish durability depends on proper surface prep, film thickness, and cure time. Use recommended topcoats and compatible sheens to maximize durability without altering the pine’s inherent warmth.
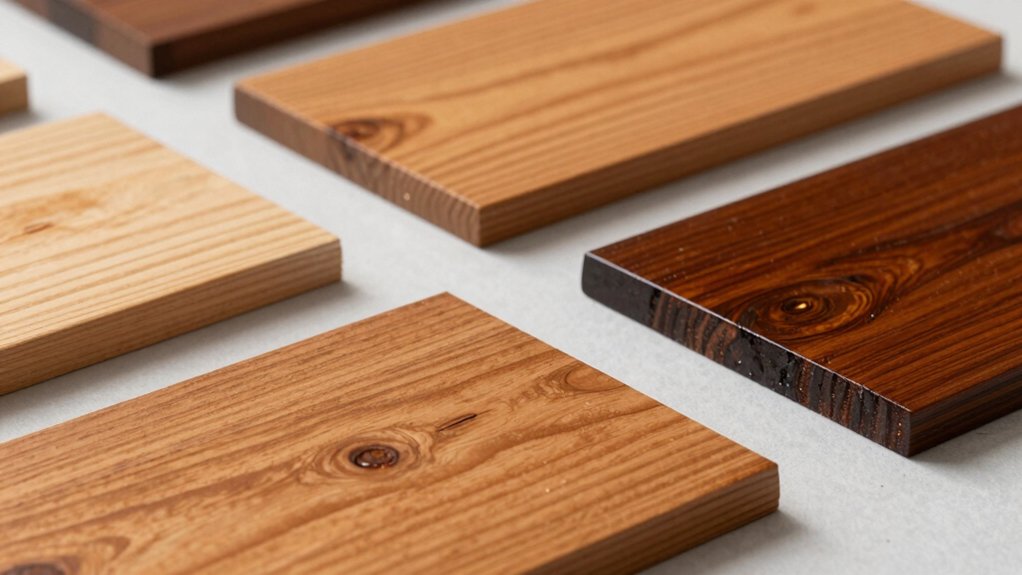
Gloss, Semi-Gloss, and Satin Sheens: How Sheen Affects Pine
Gloss, semi-gloss, and satin finishes each affect pine differently by how they reflect light, resist fingerprints, and level minor imperfections. Your choice changes perceived warmth and depth because the sheen alters surface reflectivity, which determines how much grain shows through.
Higher sheens maximize contrast and reveal texture, which your eye might interpret as more rugged or lively. Matte, or satin, softens details, reducing glare and masking small flaws while yielding a smoother, more uniform look.
When you demand clearer lines and a modern feel, choose gloss for bright, crisp highlights and higher sheen impact. If you aim for a balanced, traditional appearance with forgiving flaws, semi-gloss provides a middle ground.
Consider room lighting and purpose to match pine’s character with intentional surface reflectivity.
Application Tips for Even Coverage
To achieve even coverage on pine, start with even coverage techniques like consistent shoulder-to-shoulder brushing and maintaining a steady pace to avoid lap marks.
Layering for pine matters—apply thin, uniform coats and let each layer dry fully before the next to build depth without sags.
Keep consistent application tips in mind, such as keeping your tool damp but not dripping and watching for grain direction to control texture and color uniformity.
Even Coverage Techniques
Have you ever wondered how to lay down pine finish so it looks even across the surface? Master even coverage with disciplined prep and controlled motion. Start by sanding the substrate to a uniform texture, then remove dust thoroughly.
Maintain a consistent distance from the work and use steady, overlapping passes to minimize streaks. For brush techniques, keep bristles loaded with an even amount of finish and avoid heavy application; work in a deliberate, unbroken stroke, feathering edges to blend.
For spray methods, mask surrounding areas, test spray pattern on a sacrificial board, and apply in light, multiple coats rather than a single heavy layer. Allow adequate dry times between coats, inspect for deviations, and correct small flaws promptly for a flawless result.
Layering for Pine
Layering pine for even coverage starts with deliberate, controlled coats. You apply thin, feathered layers that build, not flood, the surface. Begin with a light glaze along the wood grain to minimize lap marks and reveal surface texture without obscuring grain detail. Maintain steady speed and consistent pressure to avoid ridges; use a high-quality, compatible finish and a synthetic brush or fine-nap roller.
Allow each layer to partially dry to a tacky state before adding the next; this reduces fiber raise and helps you level out any initial irregularities. Inspect for uneven sheen under raking light, then sand only when truly necessary to avoid removing the grain. Sequence your passes to cover all areas evenly, focusing on corners and edges for uniformity.
Consistent Application Tips
Consistent application hinges on steady technique and attention to detail. You control coverage by planning your strokes, timing, and tool choice.
Prepare the surface with even sanding, remove dust, and align grain direction to reduce blotchiness. Maintain a consistent pace, keep a damp edge, and avoid stopping mid-swipe to prevent lap marks.
Work in manageable sections, labeling each area to track progress and drying times. Choose tools that match the finish you want, and test a small swatch for finish compatibility before you commit.
Monitor your environment, especially temperature and humidity, since they affect drying. Remember, surface preparation and finish compatibility shape outcomes more than effort alone.
Finish consistently, and you’ll achieve uniform sheen and protection across the pine.
Choosing the Best Finish for Your Pine Project
Choosing the right finish for your pine project starts with recognizing pine’s traits: soft, prone to tannin bleed, and prone to blotching. You’ll want a finish that protects without sealing in blotches or altering wood grain excessively.
Start with a preconditioned surface to reduce uneven absorption, then choose between oil-based poly, water-based poly, or a satin shellac as a sealer.
For color enhancement, consider a tinted wipe-on poly or dye stain prior to clear topcoats, but test on a hidden area first.
If you prefer a natural look, use a low-sheen polyurethane and a minimal color additive.
Apply thin coats, sand lightly between applications, and allow full cure.
This approach preserves wood grain, reduces blotching, and delivers durable, precise results.
Frequently Asked Questions
How Long Should Pine Finish Cure Before Use?
You’ll wait about 24 to 72 hours, depending on finish type and conditions, before use. Irony aside, your wood grain will thank you after proper surface prep, ensuring even coverage and a durable, aesthetic result.
Can I Mix Finishes for Pine Projects?
Yes, you can mix finishes on pine, but proceed cautiously. Use compatible products, test stain compatibility first, and keep your finishing techniques precise. Start with a compatible primer, then layer with compatible topcoats for a durable, even result.
Is Pine Sealing Required Before Staining?
Yes, pine sealing is recommended before staining. It helps uniform wood grain and improves paint adhesion, preventing blotches. Think of sealing as armor for your wood; you’ll achieve a smoother, more durable finish with consistent color.
Which Finish Dries Fastest on Pine?
You’ll find water-based polyurethane dries fastest on pine. It’s practical and precise, offering quick drying while maintaining finish durability; apply thin coats, ventilate well, and sand lightly between coats for a smooth, durable result.
How to Prevent Blotching on Soft Pine?
To prevent blotching on soft pine, use a sealer and chosen Finish types, and practice thorough Surface preparation. Lightly sand, stain evenly, apply even coats, and monitor humidity; recoat quickly to avoid uneven absorption.


