Around 60% of indoor humidity condenses on cool surfaces at night in homes with poor insulation. You’ll want to know if anti-condensation paint actually cuts that moisture buildup or just masks it, and what real-world results you can expect. It’s not a magic fix, but it can be part of a broader moisture strategy—if you’re prepared to prep surfaces properly and manage ventilation. There’s more to ponder before you commit.
Understanding Condensation: What It Is and Why It Happens
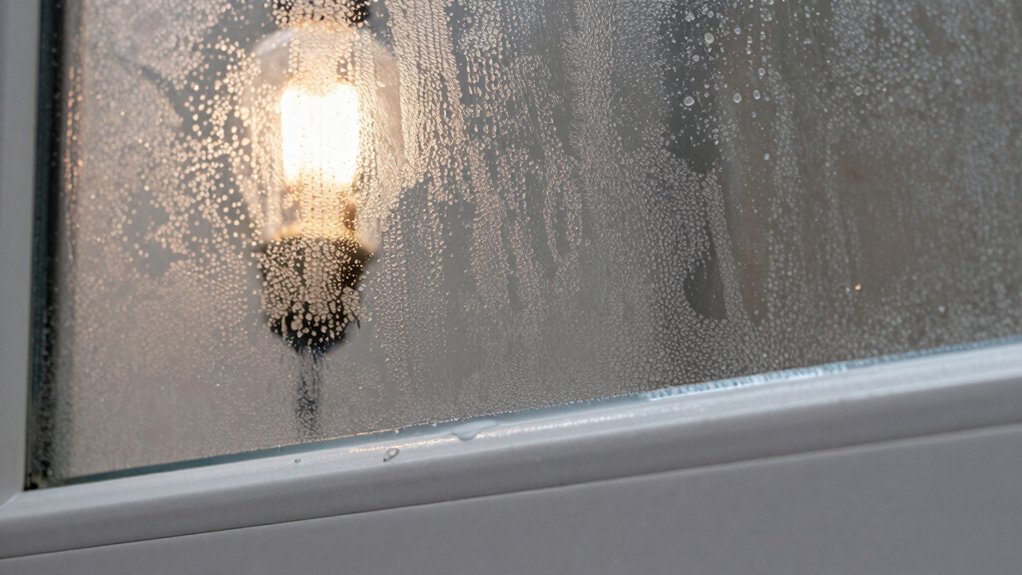
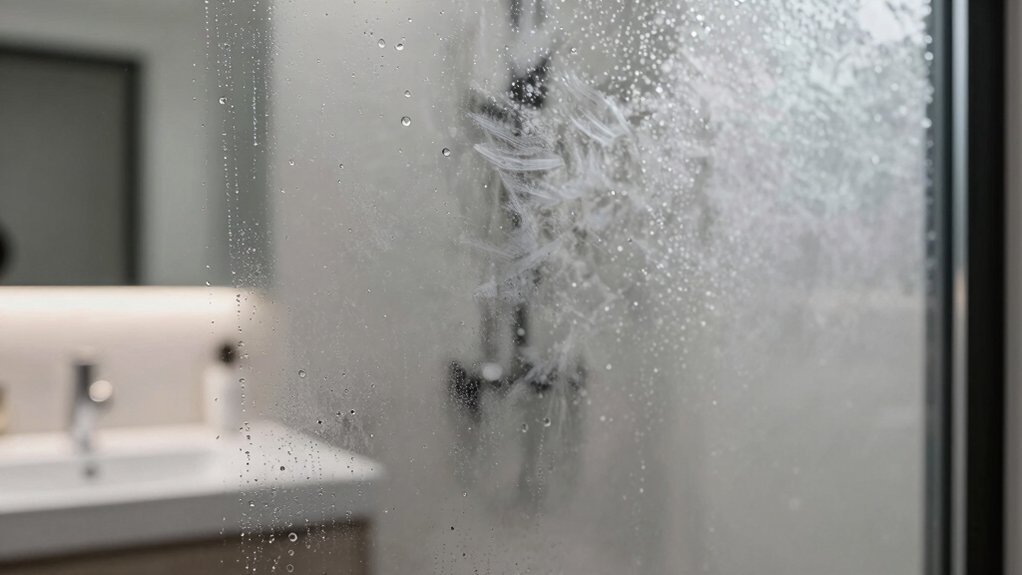
Condensation happens when warm, moist air meets a cooler surface, causing the air to lose enough energy to shift water from a gas into a liquid. You’ll see droplets form on windows, walls, or pipes when humidity is high and temperature differences are steep.
The process hinges on vapor pressure: when air cools, its capacity to hold water drops, so water vapor condenses. Relative humidity measures how saturated the air is; high values increase condensation risk.
Surface temperature matters: colder substrates attract more moisture than warm ones. Airflow reduces buildup by transporting moist air away and replacing it with drier air.
Materials, surface coatings, and insulation influence where and when condensation occurs. Understanding these factors helps you assess exposure, identify problem spots, and plan mitigation strategies.
How Anti-Condensation Paint Works: The Science Behind the Coating
Anti-condensation paint works by managing heat, moisture, and air movement at the painted surface. You’ll see coatings that improve heat transfer consistency, reducing cold spots where droplets form. The science hinges on a balance between surface temperature, humidity, and airflow.
When the surface stays closer to ambient air temperature, condensation odds drop; the coating’s fillers or pigments can influence thermal conductivity, smoothing temperature gradients. Some formulas include hydrophobic additives to limit water film formation, while others carry desiccant components to absorb moisture temporarily.
You’ll also encounter microcapsules or porous particles that modulate vapor diffusion, promoting a steadier surface environment. But performance depends on substrate, coating thickness, and ventilation.
In short, effectiveness arises from subtly altering heat exchange, moisture handling, and air circulation at the surface.
When These Paints Perform Best: Ideal Environments and Use Cases
You’ll get the best results when you operate within moderate humidity and temperatures that match the coating’s cure window.
In practical terms, aim for humidity ranges and temperature thresholds recommended by the manufacturer.
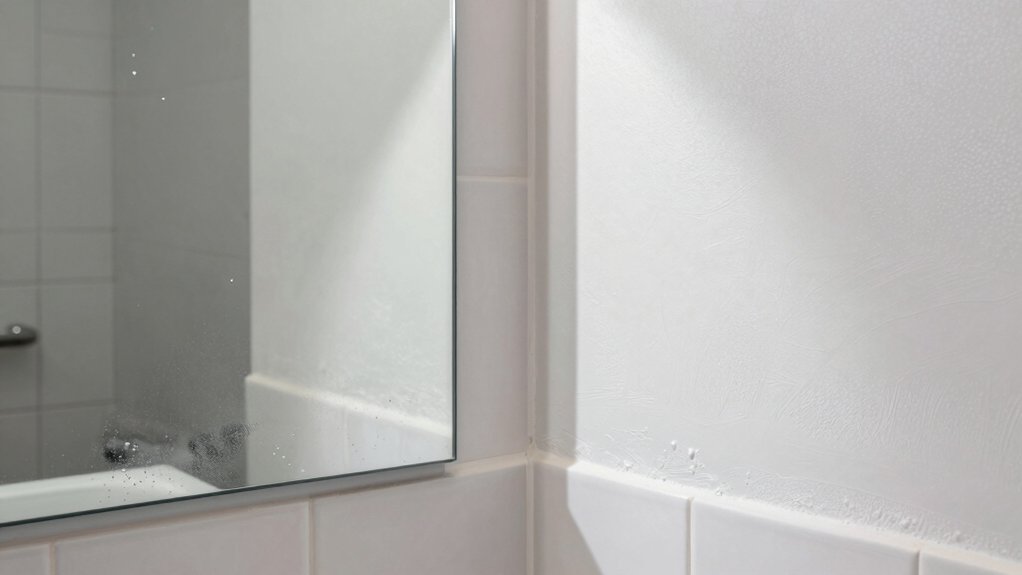
Match your application to typical use cases like bathrooms, kitchens, and basements where condensation risk is highest.
This discussion centers on how these environmental conditions and deployment scenarios influence performance and long-term effectiveness.
Ideal Humidity Ranges
Ideal humidity ranges for anti-condensation paints sit around moderate relative humidity: these coatings perform best when humidity is steady and not extreme, typically between 40% and 65% RH.
In practical terms, you’ll notice fewer condensation hotspots when interior spaces stay within this band, especially during shoulder seasons or in environments with intermittent moisture sources. The paints are designed to respond to moisture gradients, not sudden swings, so consistent RH supports steady film performance and slower water uptake.
Environmental data from lab tests show similar outcomes across substrates like walls, masonry, and metal, provided surface temperatures are above the dew point. Avoid prolonged exposure to RH above 65% or rapid humidity shifts, which can reduce film integrity and delay drying.
Maintain ventilation and monitor ambient conditions for reliable results.
Temperature Thresholds
Temperature thresholds define when anti-condensation paints perform best. In controlled tests, coatings show ideal effectiveness within a narrow temperature range where surface temperatures stay near ambient without rapid swings. You’ll see the strongest moisture resistance when the substrate remains above the dew point yet below temperatures that risk rapid drying or film crystallization.
Typical performance windows lie around 15–25°C (59–77°F), with reduced efficacy outside this band due to slower chemical reactions or diminished film formation. Lower temperatures slow curing and create microdroplet formation, while higher temperatures can accelerate drying but reduce water vapor interaction with the coating.
Consider substrate temperature history, ambient fluctuations, and dwell time, since brief excursions outside the perfect band may still allow partial protection if balanced by consistent conditions.
Application Scenarios
Application Scenarios: these paints excel where humidity challenges are predictable and surface temperatures stay within the ideal band for curing, so you’ll want to deploy them in environments with stable ambient conditions and minimal rapid swings.
You’re most effective in spaces with controlled moisture, steady airflow, and surfaces free of dust and oils. Use them where dew points align with the coating’s curing window, ensuring film formation isn’t interrupted by moisture spikes.
They perform best on interior walls, ceilings, and panels in bathrooms, kitchens, and industrial enclosures where relative humidity remains moderate and temperature remains within 15–25°C.
Avoid exterior applications or areas with sudden temperature shifts, heavy humidity surges, or prolonged rain exposure.
Follow manufacturer cure times, compatible primers, and proper surface preparation to maximize adhesion and long-term performance.
Real-World Effectiveness: What to Expect in Kitchens, Bathrooms, and More
In real-world settings, you’ll see how the coating performs under everyday moisture loads in kitchens and bathrooms.
With space-specific outcomes guiding its effectiveness. Expect differential results based on humidity, ventilation, and surface prep, rather than a one-size-fits-all guarantee.
This section starts by outlining what Real-World Performance and Space-Specific Outcomes look like across common rooms.
Real-World Performance
Real-world performance of anti-condensation paint hinges on how it behaves under typical kitchen and bathroom conditions. In practice, you’ll notice results most where humidity spikes and surfaces cool rapidly, such as showers, sinks, and behind appliances.
The paint’s effectiveness depends on film integrity, proper surface preparation, and adequate ventilation. When applied correctly, it can delay condensation formation during brief warm-to-cool cycles and steady humidity, but it won’t eliminate moisture entirely in high-load scenarios.
Expect a measurable reduction in surface temperature differential and slower droplet formation, not a dramatic, maintenance-free cure. Field results vary by product quality, substrate, and spray or brush technique.
Use it as part of a moisture-management strategy, including proper insulation and ventilation, rather than as a sole solution.
Space-Specific Outcomes
In kitchens and bathrooms, expect the most noticeable results where humidity spikes and surfaces cool quickly, such as near sinks, showers, and behind appliances.
Space-specific outcomes vary by use and ventilation. You’ll see reduced condensation on treated walls during routine cooking and hot-water use, but performance depends on surface prep, coating thickness, and humidity control.
The paint works best on clean, dry substrates and may need a second coat for high-moisture zones.
In practice, you’ll still benefit from good airflow, dehumidifiers, and regular maintenance, since condensate dynamics fluctuate with weather and occupancy.
Expect slower, partial gains in consistently steamy spots like laundry rooms or unvented bathrooms.
Use as part of an integrated moisture-management approach rather than a standalone fix.
Application Tips: Preparation, Application, and Curing
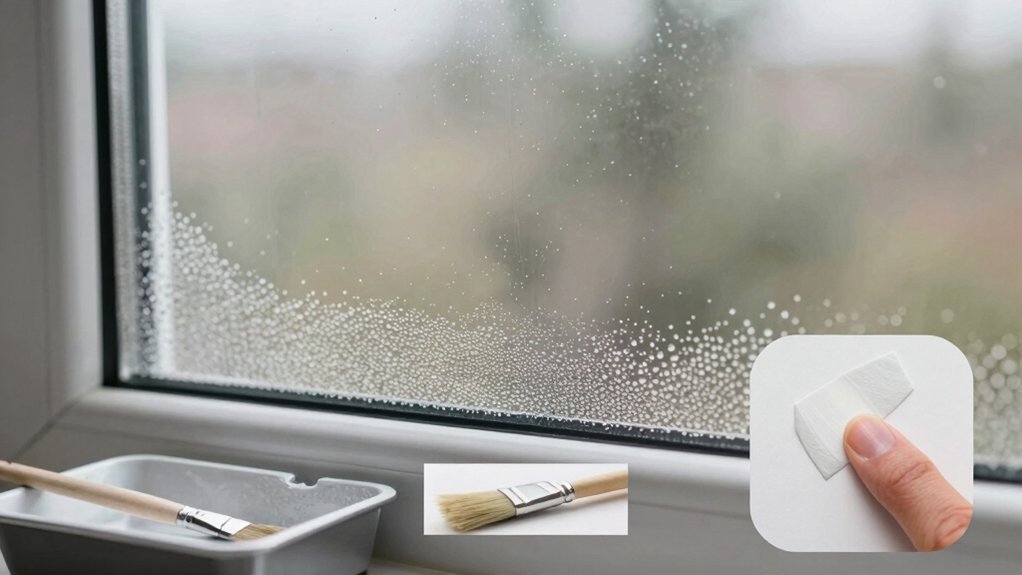
To guarantee the paint performs as intended, start with thorough surface preparation: remove loose material, clean away dust and grease, and repair any cracks or defects before applying. Lightly abrade glossy areas, then wipe with a solvent or isopropyl wipe to *assure* a dull, clean substrate.
Follow the manufacturer’s primer recommendations; some surfaces benefit from a compatible primer to improve adhesion. Stir the paint thoroughly, then monitor viscosity and pot life at typical room temperatures.
Apply in thin, even coats, avoiding runs, sags, and excessive thickness that can trap moisture. Maintain a stable environment—avoid high humidity or rapid temperature shifts during curing.
Allow the specified cure time between coats and after final application; inspect for uniform film formation and complete coverage.
Costs, Maintenance, and Longevity: Budgeting Your Moisture Strategy
Costs, maintenance, and longevity hinge on selecting a moisture-control strategy that fits your budget and performance needs. To judge costs, compare product prices, coverage rates, and required quantities for your space. Factor in labor if you’re hiring pros, plus occasional repainting or reapplication cycles.
Maintenance matters: expect routine inspections, touch-ups, and surface prep before re-coating to sustain effectiveness. Longevity hinges on substrate condition, ventilation quality, and cleaning practices that avoid residue buildup.
Evidence shows better moisture barriers often reduce ongoing repairs, but upfront investments vary by climate and space usage. Create a simple budget: upfront materials, installation or contractor fees, and annual maintenance.
Track performance over time; if condensation returns, reassess coverage area, ventilation, or product compatibility to protect your investment.
Common Myths and Practical Considerations: Deciding If It’s Right for You
Common myths about anti-condensation paint can blur your judgment, so it helps to separate hype from evidence. You’ll assess need, climate, and surface conditions before buying.
Expectation checks matter: these coatings don’t eliminate moisture, they reduce surface condensation under specific indoor humidity and temperature ranges. Read product data sheets and look for proven tests, independent certifications, and real-world results, not marketing buzz.
Consider cost versus alternatives like ventilation, dehumidification, and better insulation; paint is rarely a sole solution.
Application matters: correct surface preparation, environmental limits, and number of coats influence performance.
Maintenance matters too—recoat intervals and cleaning can affect longevity. If moisture persists after proper use and environment control, revisit choices with a professional.
Decide based on measurable, context-specific needs rather than anecdote.
Conclusion
You’ve seen the claims, weighed the science, and watched moisture creep back in despite your best efforts. Anti-condensation paint isn’t a magic fix; it’s a practical part of a larger strategy—paired with ventilation, insulation, and proper prep. When used in the right conditions, it dulls visible condensation and steadies surface moisture, but it won’t erase humidity. The real question remains: will this coating tip the balance in your space, or do you need a broader moisture plan?