
A bathroom remodel often hides a simple truth: the real cost isn’t just tiles or fixtures, it’s the barrier that keeps water from wrecking everything below. You’ll want to know how proper waterproofing protects your health, structure, and budget long after the last grout line is set. From membranes to labor, several factors can push costs higher than you expect. Start with a plan that respects both protection and practicality, before you sign off on any quote.
Understanding the Hidden Costs Behind Waterproofing
Hidden costs in bathroom waterproofing creep in from more than just the main repair. You’ll face contingencies, permits, and material variances that quietly raise the bottom line. Labor hours can expand when you encounter hidden rot, altered framing, or plumbing repositions, and those surprises compound quickly.
Schedule gaps, weather delays, and site protection add to the tally, often without direct notice until invoices arrive. Proper testing, such as moisture meters and inspections, incurs fees you must anticipate, even if the visible work seems straightforward.
Access constraints, scaffoldings, and dust containment require additional equipment and time. Don’t overlook subfloor remediation, drainage adjustments, and sealant durability choices, all of which influence cost longevity.
What Waterproofing Really Protects In Your Bathroom
Waterproofing in your bathroom protects the structural layers beneath, preventing costly framing and substrate damage. It also stops hidden water issues from sneaking into walls and floors, which can quietly degrade components over time.
Protects Underlying Structures
Protecting the underlying structures is the core purpose of bathroom waterproofing: it shields framing, subfloor, and joists from persistent moisture and leaks that can cause rot, mold, and structural weakness. You’ll understand that waterproofing isn’t cosmetic; it preserves the building envelope.
By creating a continuous barrier, you prevent capillary intrusion and water migration into wall cavities and floor assemblies. This containment protects fasteners, connections, and support members from accelerated degradation.
Proper detailing at corners, penetrations, and *progressions* avoids unseen vulnerabilities that could compromise load-bearing elements. The result is a stable base for finishes, fixtures, and cabinets, reducing maintenance cycles and costly remediation.
In short, effective waterproofing preserves structural integrity while supporting longevity and safety in your bathroom renovation.
Prevents Hidden Water Damage
Even when leaks aren’t obvious, moisture can silently damage your bathroom’s structure and finishes. Waterproofing stops that by creating a continuous barrier that resists capillary action and wall-to-floor migration. This prevents hidden water damage by containing moisture at its source, limiting intrusion into studs, subfloors, and concealed joints.
A properly applied membrane and flashing guide water to drainage paths, so you don’t notice problems until renovations are needed. By stopping seepage behind tiles, you reduce the risk of soft spots, warping, and mold growth that aren’t visible on the surface. It also protects grout, sealants, and fasteners from premature deterioration.
In practice, waterproofing acts as a proactive shield, maintaining structural integrity and preserving finishes without relying on DIY patchwork. Your bathroom remains safer, drier, and more durable over time.
Maintains Indoor Air Quality
If moisture isn’t managed, damp spaces become breeding grounds for mold and volatile compounds that can irritate eyes, skin, and lungs; waterproofing helps prevent this by limiting moisture accumulation and controlling infiltrating air.
In practice, a properly sealed bathroom reduces damp surfaces where spores thrive and minimizes off-gassing from building materials. By creating a continuous barrier, you lower the concentration of airborne contaminants that result from moisture-related decay and chemical emissions.
This supports a healthier indoor environment for occupants, especially in small or poorly ventilated bathrooms. Waterproofing isn’t about aesthetics alone; it stabilizes humidity levels and air quality during daily use and after showers.
With reliable barriers, you experience fewer irritants, fewer odor issues, and a more consistent, comfortable indoor atmosphere.
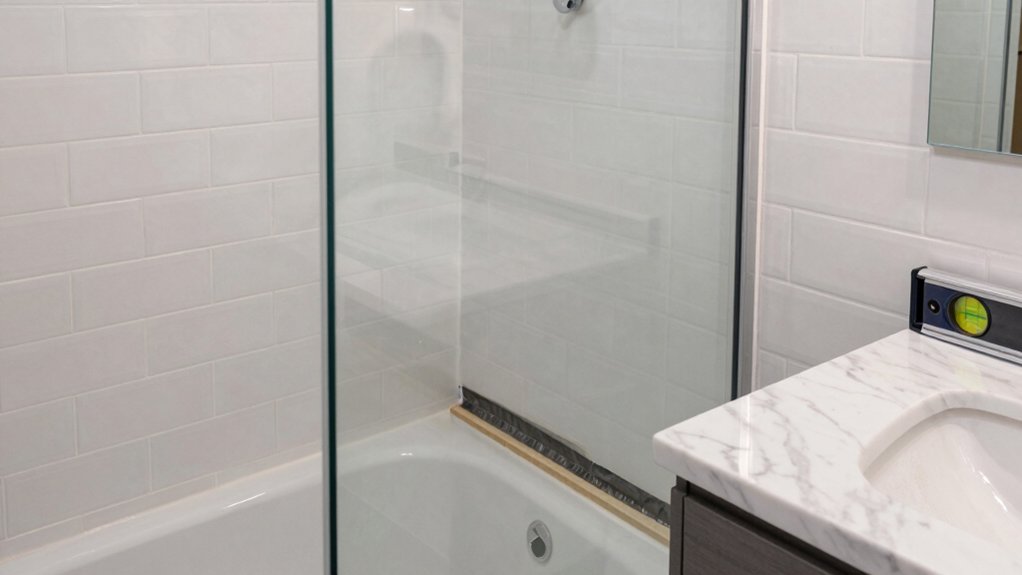
Key Areas Where Moisture Strikes First
Moisture tends to enter first at entry points like seams, joints, and around fixtures, so you’ll want to scrutinize these areas closely.
Hidden dangers lurk in wall cavities, under tiles, and behind cabinetry where leaks can quietly accumulate.
Moisture Entry Points
Essential moisture entry points in a bathroom usually show up first around the shower and tub areas, along with the toilet flange, vanity plumbing, and missealed windows or doors. You’ll notice leaks where waterproofing is thin or compromised, particularly at seam joints, grout lines, and progressions between wet and dry zones. Water often penetrates behind tile, spreading through substrate failure or nail penetrations.
Pay attention to door thresholds and window sills, which can trap condensation and channel moisture inward. Pipe penetrations require proper seals and flashings to prevent wicking. Ventilation performance matters too; inadequate airflow elevates humidity and fosters slick, unseen damage.
Systematically inspect caulk integrity, flashing coverage, and subfloor conditions. Prioritize targeted repairs that restore continuous moisture barriers and reduce rerouting humidity across the bathroom.
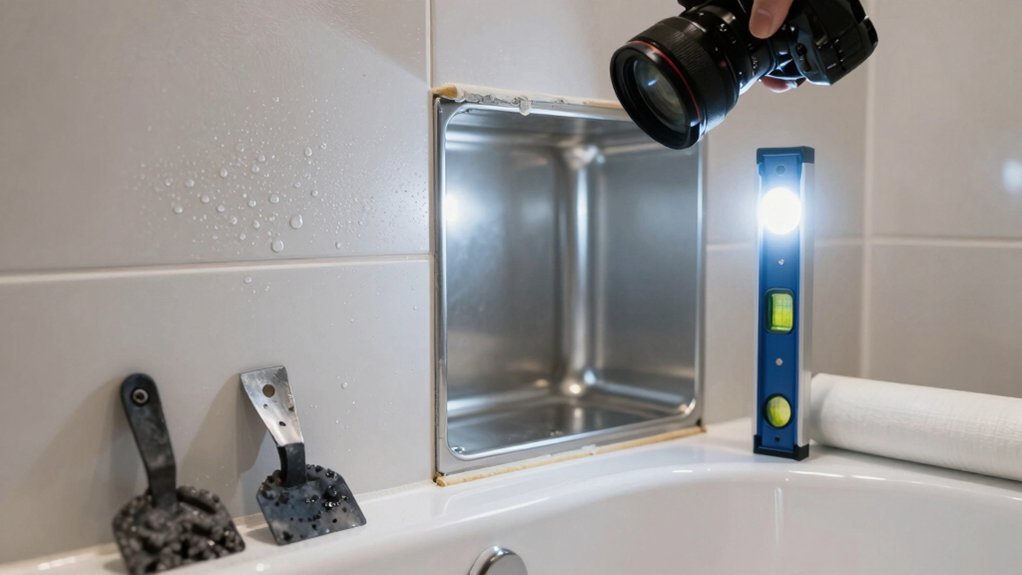
Hidden Water Dangers
Hidden water dangers sneak past obvious signs, often starting where moisture is hardest to see—behind tiles, under linings, and around fixtures. You’ll notice subtle indicators first: peeling grout, musty smells, and soft spots that develop quietly.
Hidden leaks from shower pans, condensation on cold pipes, and improper slope allow water to migrate into walls and studs before surface damage appears. Mold can bloom behind drywall, while mineral buildup hides behind fixtures, masking early corrosion and wood rot.
Electrical risks accompany damp pockets, so you should test for moisture, inspect seals, and monitor around drains and vents. Prioritize professional assessments in tight or complex areas, like around built-ins or damp ceilings.
Early detection minimizes costs, preserves structure, and protects your family’s health.
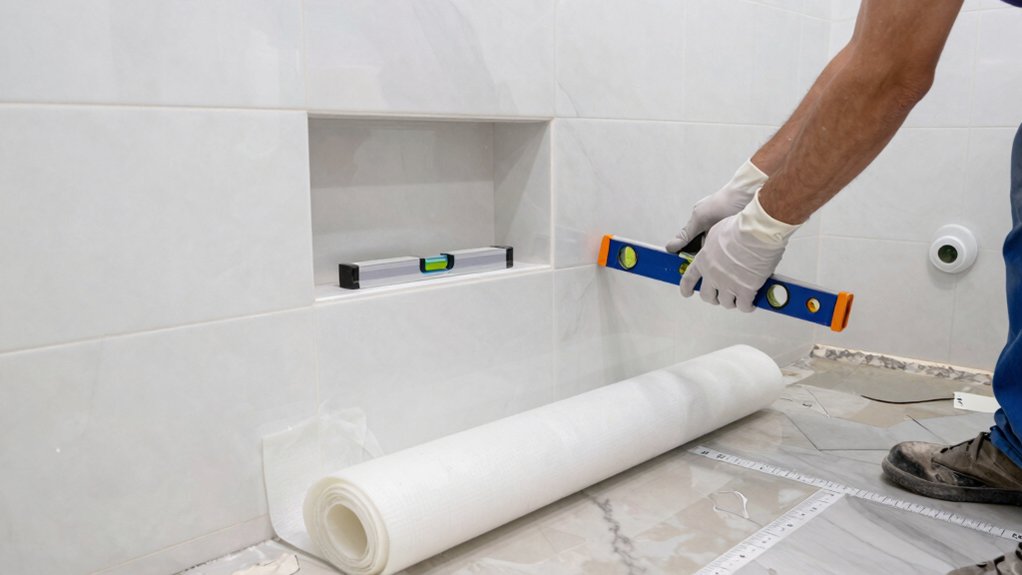
Choosing Materials: Membranes, Thinlays, and Tapes
When choosing materials for bathroom waterproofing, membranes, thinlays, and tapes each serve a distinct role, so select based on the area’s exposure, substrate, and movement. You’ll match a liquid or sheet membrane to high-absorption surfaces, while thinlays address small boards, niches, and corners with smooth, continuous coverage.
Tapes seal joints, seams, and penetrations, preventing capillary wicking where wall meets floor and around fixtures. Consider substrate compatibility: cement backer, gypsum, or concrete require different adhesion, primers, and curing times.
Examine movement: dynamic joints demand flexible membranes; rigid areas tolerate thinner applications. Inspect cure schedules, VOC limits, and compatibility with finishes.
Prioritize installers’ instructions, testing protocols, and warranty terms. Balance cost against risk, ensuring long-term performance, moisture resistance, and ease of maintenance.
Your material choice should deliver durable, uniform protection across the full bathroom envelope.
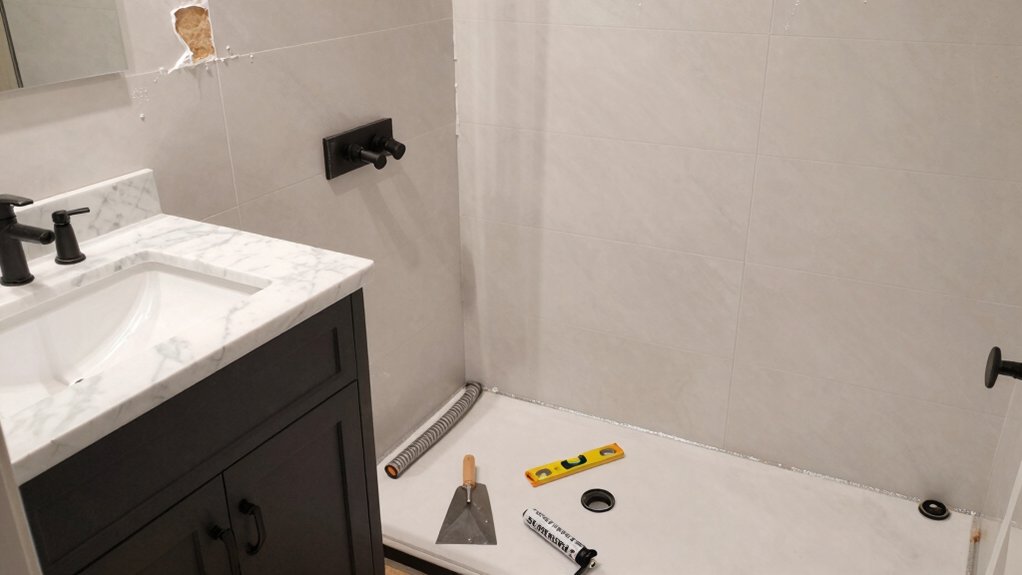
Labor and Expertise: Why Installation Matters More Than You Think
Labor and expertise matter more than you might think: even the best materials fail if the installation isn’t done correctly. When you hire for bathroom waterproofing, you aren’t just paying for products—you’re paying for skilled judgment, meticulous prep, and controlled imperfections.
Proper substrate cleaning, substrate compatibility checks, and precise progression between walls, floors, and drains protect against leaks, mold, and joist decay. A trained installer phases work to maintain manufacturer specifications, uses appropriate fasteners, and documents cure times, temperature limits, and humidity control.
DIY shortcuts rarely address hidden angles, corners, and penetrations where water hides. Your investment pays for reinforced seams, accurate slope, and tested continuity. In short, precision execution safeguards decades of performance, efficiency, and peace of mind.
Common Mistakes That Inflate Waterproofing Bills
Even with top-tier materials, costly overruns often start at the planning stage. You’ll blow through budgets when you skip specs, misjudge surface conditions, or assume one product fits all spaces.
Don’t underestimate the importance of accurate crack-line and wall prep measurements; small errors compound into rework and delays. Avoid over-forecasting by duplicating tests or double-checking substrate moisture levels without a clear protocol.
Misreading warranties invites incompatible systems and hidden expenses if you switch brands mid-project. You’ll inflate costs by outsourcing scope that you can handle in-house or, at minimum, confirm with a licensed pro before purchasing.
Don’t let cosmetic choices drive material waste. Finally, document decisions, approvals, and changes in real time to prevent costly backtracking and misaligned expectations.
Cost-Saving Strategies Without Skimping on Protection
Smart budgeting for bathroom waterproofing means trimming costs without compromising protection by targeting planning, materials, and execution decisions that deliver value. You’ll reduce expenses by prioritizing a precise moisture assessment, selecting durable, cost-effective membranes, and aligning patchwork with long-term performance.
Focus on accurate surface preparation, appropriate substrate normalization, and eliminating redundant layers that offer little protection. Choose a proven, mid-range waterproofing system rather than premium brands when compatibility and warranty meet your needs.
Consolidate trades where possible, scheduling trades to minimize downtime and labor duplications. Use standardized dimensions and off-the-shelf components to avoid custom fabrication costs.
Implement a clear inspection checklist, document warranty terms, and insist on tests for adhesion and watertightness at key stages to prevent future fixes.
Real-World Breakdowns: Typical Price Ranges by Project Size
Real-world bathroom waterproofing costs vary with project size, scope, and material choices, so understanding typical price ranges helps you benchmark estimates.
In small projects, you’ll often see costs centered on a straightforward shower stall retrofit, with labor and materials delivering roughly mid-range figures.
Medium-sized builds—enclosures, multiple penetrations, or overlooked substrate prep—tend to push into the higher end due to extra waterproofing membranes, drainage considerations, and longer labor hours.
Large renovations, including full-tank showers or multiple bathrooms, surge toward upper-tier pricing because of coordination, specialized trades, and extensive surface prep.
Expect variations from regional labor rates, product quality, and inspection requirements.
Use these benchmarks to compare bids, verify included components, and clarify whether moisture testing, pre-fabricated liners, or slurry coats are priced separately.
Maintenance and Longevity: Extending Your Waterproofing Investment
Preventing failures starts long after the initial install, so regular maintenance and timely repairs are essential to extending your waterproofing’s life. You’ll protect investments by scheduling annual inspections, checking joints, seals, and membrane for signs of wear or drift.
Look for staining, musty odors, or tiny damp patches, and address them before they enlarge. Keep drainage paths clear and confirm proper slope to prevent standing water that siphons or overburdens seals.
When you notice micro-tears or degraded sealants, replace them promptly with compatible, high-quality products. Use a professional for complex tasks like flashing, penetrations, and substrate prep to ensure bond integrity.
Document all work, materials, and dates to track performance and plan refreshes. With proactive upkeep, waterproofing remains effective, reducing costly failures and extending service life.
Frequently Asked Questions
How Long Does Waterproofing Typically Last in a Bathroom Remodel?
Waterproofing typically lasts 5 to 10 years in a bathroom remodel, depending on products, installation quality, house movement, and maintenance. You’ll notice safer, leak-free performance when you inspect seals, re-caulk vulnerable joints, and promptly address any cracks.
Can DIY Waterproofing Cause More Costly Mistakes Later?
Yes, DIY waterproofing can create costly mistakes later if you miss proper surface prep, product compatibility, or curing times, leading to leaks, mold, and additional labor. You’ll regret timelines, warranties, and potential structural damage without professional guidance.
What Are Hidden Signs Moisture Already Caused Damage?
Hidden mold, warping studs, and musty odors indicate moisture already damaged structure. You may see peeling paint, staining, grout cracks, or swollen tiles. Handle hidden leaks promptly, since unchecked moisture weakens framing and invites costly repairs. Act now.
Do Waterproofing Costs Vary by Tile Type or Fixture Choice?
Yes, waterproofing costs can vary with tile type and fixture choice due to substrate prep, membrane thickness, and penetrations; high-end tiles and complex fixtures require more precise moisture barriers, larger gaps, and additional installation steps, increasing labor and materials.
Are Warranties Transferable if House Changes Ownership?
Yes, warranties can be transferable; you’ll typically need to notify the manufacturer or installer, complete a transfer form, and may incur a fee. Some warranties stay with the property; others reset under new ownership. Check specifics.


