You might worry that all color methods look the same, but dyed and stained concrete offer distinct outcomes you can leverage for different spaces. Dyed concrete delivers predictable, uniform color, while stained concrete reveals depth and variation through chemical reactions. Each path has practical trade-offs in maintenance and longevity. If you want a controlled look or a bold modern tone, consider how the surface texture and sealing will shape results as you weigh your options. Here’s where your choice truly matters.
Understanding the Basics: Dyed Vs Stained Concrete
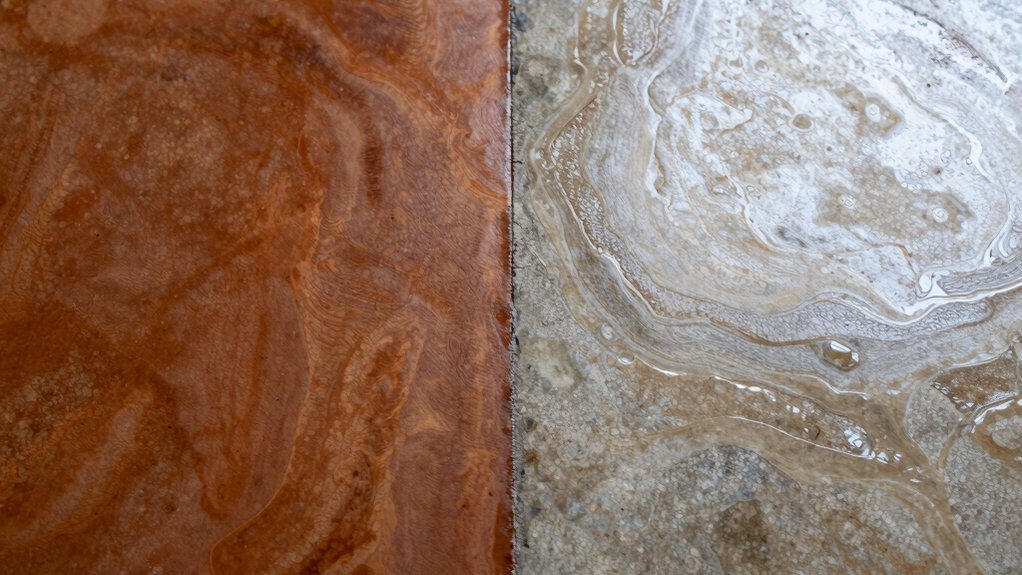
Concrete coloring options come in two common forms: dye and stain. In this guide, you’ll distinguish how each option treats your concrete: dye permeates or coats, while stain interacts with mineral content.
You’ll notice dyes deliver uniform color fast, ideal for contemporary looks, yet they can reveal wear sooner and require precise application. Stains, by contrast, react chemically with concrete, producing variegated, natural tones that emphasize texture and flaws.
You evaluate permanence by asking: does the color stay true under UV exposure and cleaning? You’ll prioritize preparation, sealing, and compatibility with existing finishes.
You’ll also consider the project’s environment, maintenance needs, and budget. In short, you compare penetration, appearance, durability, and upkeep to choose the appropriate approach for your space.
How Dyeed Vs Stained Methods Work
When choosing between dyed and stained concrete, start by noting how each method interacts with the surface: dyes penetrate or coat, while stains chemically react with minerals.
You apply dye to the surface or into capillaries, locking color through molecular uptake; you apply stain to a mineral matrix, inviting a chemical reaction that forms insoluble complexes.
Dyes demand uniform porosity and clean textures for predictable results, whereas stains tolerate slightly irregular surfaces because the color forms within existing mineral bonds.
Curing conditions and moisture levels govern consistency for both methods, but stains are generally more forgiving across slight surface variances.
Preparation remains fundamental: cleaning, neutralizing, and sealing set the stage, ensuring color stability and a durable finished appearance.
Color Options and Finish Options
Color options start with pigment choice and depth of color, then move to finish that preserves or enhances the look. You’ll select oxides, organic dyes, or ready-made colorants to achieve consistent hues and predictable saturation across slabs.
Dyed concrete emphasizes even tone and customization, while stained options highlight natural variation and subfloor character. Consider lightfastness, UV stability, and wear resistance when sizing your palette, because longevity matters as much as vibrancy.
Finishes range from matte to glossy, and from penetrating sealers to surface-applied coatings, each affecting sheen, texture, and maintenance. Your choice should align with environment, foot traffic, and cleaning regime, ensuring the color remains legible and the surface remains durable.
Informed pairing of color and finish yields a coherent, enduring aesthetic.
Application Techniques for Dyed Concrete
You’ll start with dye application methods that match your substrate and desired color depth, then adjust technique to control saturation and uniformity.
Consider color depth control across sections, ensuring consistent vibrancy without patching or streaking.
Finally, follow sealing and curing steps promptly to lock in shade, prevent fading, and protect the finished surface.
Dye Application Methods
Dyed concrete requires deliberate method choices to guarantee consistent color and durability. Choosing the right application technique hinges on the dye form, surface porosity, and desired intensity. You assess the substrate and select a method that matches your project goals.
For water-based dyes, you optimize concentration and dwell time, then scrub or roll to ensure uniform penetration, avoiding pooling.
Solvent-based dyes demand careful ventilation, substrate sealing, and controlled evaporation to prevent streaking.
Powder dyes require thorough dispersion in a carrier before introduction to the surface, with timely agitation to maintain even distribution.
Application thickness matters; too thick yields blotchy results, too thin risks pale tones.
Post-application sealing standardizes sheen, reduces fade, and enhances durability.
Meticulous surface preparation remains essential to achieve repeatable, professional outcomes.
Color Depth Control
When dyeds are applied, depth control hinges on deliberate technique adjustments that balance pigment load with surface texture. You modulate depth by calibrating spray patterns, aging of pads, and interlayer timing to avoid halos and banding.
Begin with a measured pigment-to-water ratio, then test on a representative panel to predict saturation. Uniform agitation prevents pigment settle and ensures consistent penetration.
Control open- vs. closed-finish textures by adjusting pad pressure, travel speed, and overlap, recognizing that tighter textures yield deeper color retention.
Sequence matters: build gradually in thin passes, pausing to inspect edge consistency and midsection uniformity. Document your settings for repeatability, then fine tune with controlled abrasions or light retouching to stabilize tonal evenness without overconcentration.
Sealing and Curing Steps
Sealing and curing steps cap the dyed concrete process, locking in color while protecting the surface from moisture, dust, and wear. You apply a suitably rated sealant after the surface achieves sufficient cure, typically when dusting ceases and laitance is removed.
Choose a sealer compatible with your dye system—water- or solvent-based as appropriate—and follow the manufacturer’s recoat intervals and ventilation guidance. Apply evenly in thin coats, avoiding puddles; back-roll or spray with controlled technique to prevent lap marks.
Curing should align with the sealant’s requirements, avoiding rapid drying or exposure to extreme temperatures. Maintain temperatures within recommended ranges during curing and curing-drying windows.
Document application dates, product lot numbers, and surface conditions for future touch-ups or reapplications.
Application Techniques for Stained Concrete
You’ll start with a clear overview of application methods, distinguishing surface-penetrating stains from topical treatments to set expectations for results.
Next, follow precise surface preparation steps—clean, repair, and neutralize—so the stain adheres evenly and lasts.
Finally, you’ll brief readers on choosing appropriate tools and timing, emphasizing consistency and control to minimize blotches and guarantee uniform color.
Application Methods Overview
Application methods for stained concrete vary by product type and desired effect. You’ll choose from penetrating, reactive, and dye-based systems, each delivering distinct color depth and longevity.
For penetrating stains, you apply thin, even coats, allowing slight translucency to reveal the substrate’s texture; touch up sparse areas rather than overworking.
Reactive stains require controlled moisture and precise timing to promote chemical coloration without blotching.
Dye-based systems demand rapid, uniform distribution to minimize streaks, followed by an appropriate sealer to lock in hue.
In all cases, you evaluate porosity, ambient conditions, and cure state before application.
Tool selection matters: brushes, sponges, or sprayers influence final tone and pattern.
Finally, you document batch consistency and testing on mockups to ensure reproducibility across surfaces and projects.
Surface Preparation Steps
Before you apply stain, prepare the surface meticulously to guarantee color uniformity and long-term durability. Start with a clean slate: remove sealers, paints, and curing compounds that hinder penetration. Vacuum or sweep thoroughly, then mop with a neutral pH cleaner to dissolve residue. Rinse completely and let the concrete dry to a moisture content below 12 percent, confirming with a moisture test.
Profile the floor to a uniform matte finish using a mechanical grinder or fine-sand screening, ensuring no high spots or grout lines show through. Patch any holes or cracks with a compatible material, then re-clean and dry.
Finally, apply a tack coat or lean primer if recommended by the stain manufacturer, ensuring ambient conditions meet product specifications. Consistency in prep yields consistent color.
Durability and Wear Resistance
Durability and wear resistance are the core tests that separate dyed from stained concrete finishes. You assess how each approach preserves appearance under traffic, abrasion, and chemical exposure, not just initial color.
Dyed surfaces usually penetrate or bind pigments with resinous seals, offering uniform protection that resists surface scuffs and fading when properly cured. Stained finishes depend on sealers and topcoats to resist wear, making durability highly contingent on maintenance and the coating system’s thickness.
You’ll notice that dyed options often show steadier skid resistance and edge retention, while stains can reveal color variation where wear exposes untreated concrete. In practice, performance hinges on formulation, proper curing, substrate compatibility, and chosen protective layers, rather than color alone.
Choose based on long-term abrasion expectations and maintenance commitments.
Maintenance, Cleaning, and Longevity
Maintenance, cleaning, and longevity hinge on your selection and upkeep strategy: regular cleaning, timely maintenance, and appropriate sealing directly influence how long color and gloss persist under use.
In dyed and stained surfaces, routine dusting and mopped dampness prevent residue buildup that can mute tone or raise speckling. Use pH-neutral cleaners and avoid harsh solvents that may degrade binder or interfere with seals.
Schedule resealing based on traffic, chemical exposure, and wear patterns, not merely calendar dates; if you notice loss of sheen or increased porosity, reapply sealant promptly.
Address spills promptly with blotting rather than scrubbing, then reseal as needed.
Protect from direct UV and thermal shock by shading or permanente coatings.
Track weather and cleaning cycles to anticipate maintenance windows and preserve color integrity.
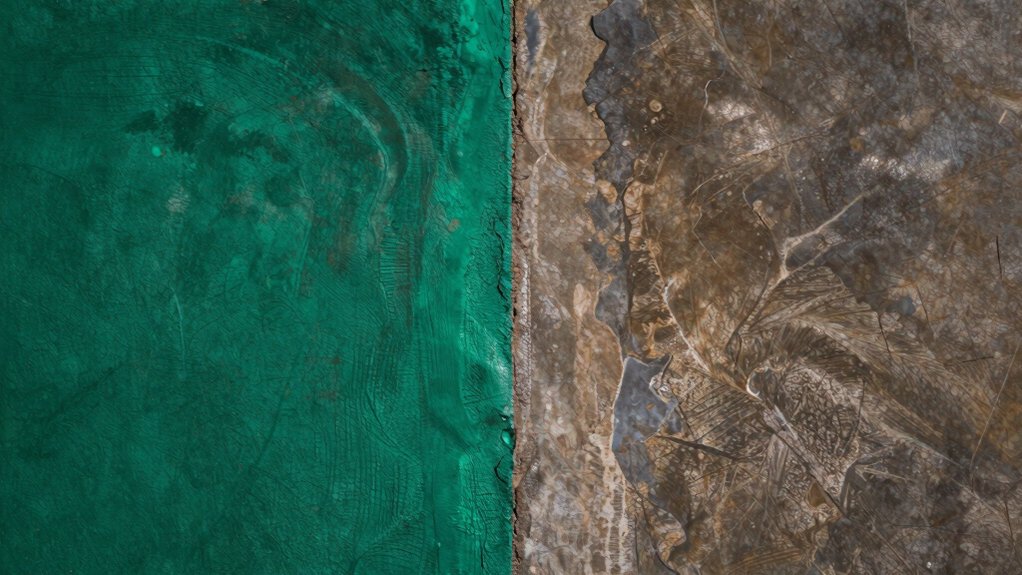
Aesthetic Outcomes: Solid Vs Depth and Texture
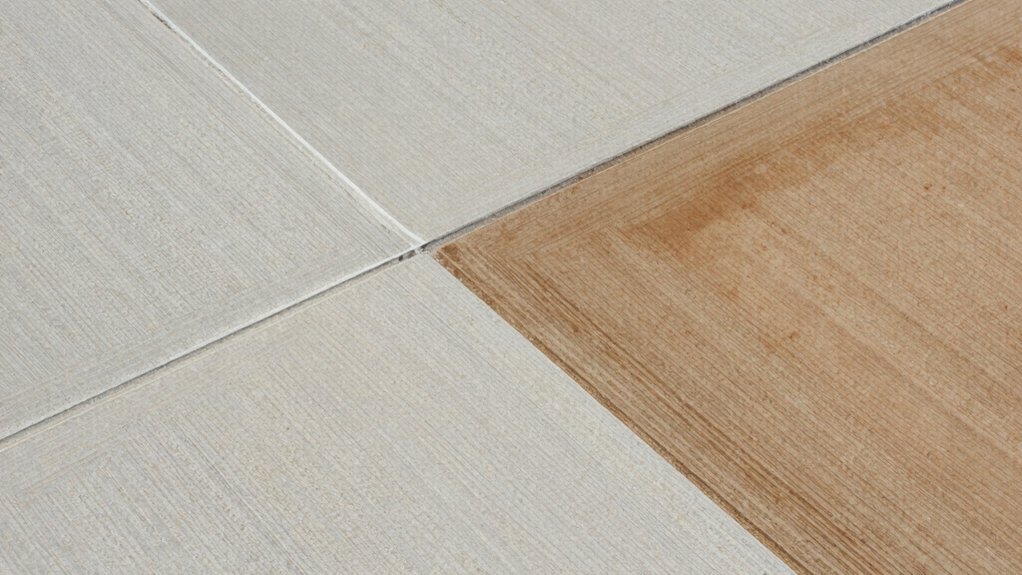
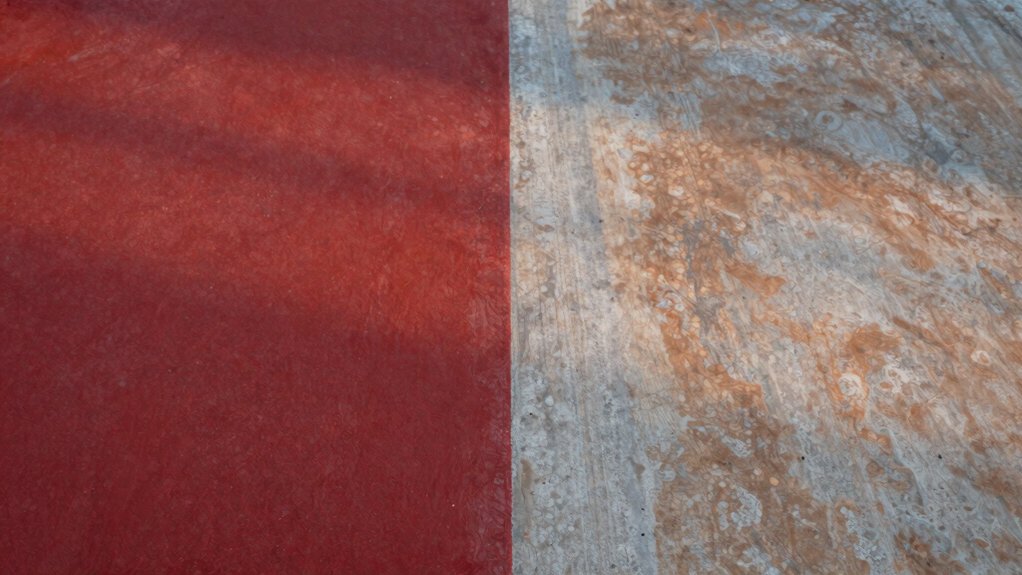
Solid color is straightforward and uniform, while depth and texture emerge from how pigment binds, lies, and interacts with the surface. You observe that dyed concrete yields a saturated, even chroma across, while stained concrete reveals variation shaped by mineral composition, porosity, and application technique.
In practice, solid coloration gives predictability: consistent tone, minimal grain, and clean edges for clean, modern aesthetics. Depth, by contrast, arises as color sinks into micro crevices, accentuating wear patterns and light shifts, producing warmth or patina over time.
Texture matters too: a smooth, sealed finish emphasizes clarity and solidity, whereas a porous or brushed surface enhances multidimensionality, revealing subtle shifts with ambient light. Your choice signals the intended atmosphere—bold uniformity or nuanced complexity.
Cost Considerations and Installation Time
When you compare dyed versus stained concrete, you’ll weigh upfront costs against long-term value, including maintenance and durability.
You’ll also map installation timelines—from surface prep to cure periods—so projects don’t spill over budget or disrupt schedules.
In short, this discussion centers on cost implications and how the chosen method shapes your overall timeline.
Cost Implications
Cost implications for concrete coloring hinge on the method you choose and the scope of the project. Dyed concrete typically costs less upfront than staining because dyes are fewer materials and simpler to apply. However, long-term color stability and uniformity can affect maintenance costs.
Stained options often incur higher initial labor and material fees, given the need for precise surface preparation and sealing to achieve even penetration. Both approaches require surface preparation, but staining frequently demands more control over color consistency and cure time.
You should budget for a protective sealer, re-application intervals, and potential color fading or tonal shifts. Local labor rates, substrate conditions, and project size drive final quotes more than the color method alone.
Plan for professional execution to avoid costly remediation.
Installation Timeline
For installation timelines, your cost considerations hinge on method selection, surface condition, and proper prep.
Dyed concretes typically finish faster than stains, since dyes penetrate uniformly and require fewer sealing steps, but they demand flawless surface prep to avoid voids.
Stained finishes often involve multiple coats, controlled application, and color pack curing, extending timelines and increasing labor.
Surface texture, slab size, and ventilation affect curing times and odor management, influencing crew scheduling and project milestones.
Preparation, including etching, grinding, and dust containment, directly drives both duration and cost.
Protective layers, setback buffers for weather, and inspection windows add invisible slack but reduce rework.
Plan contingencies for surface repairs and blotting, and align material delivery with on-site sequencing to prevent idle time.
Practical Tips for Choosing the Right Method
Choosing the right method hinges on your project goals and the environment. To decide, assess color permanence, maintenance, and wear tolerance.
If you need rapid color integration with minimal surface prep, dyed concrete offers intensity but less fading resistance in UV-exposed areas.
Stains deliver subtler variation that hides wear over time and enhances texture, though color depth may shift with sealers and aging.
Consider surface porosity: high-porosity substrates accept color more evenly, while dense mixes require surface prepping or penetrating sealers.
Evaluate maintenance cycles: dyed options often require resealing to preserve vibrancy; stains benefit from periodic top coats to lock in tones.
Finally, test on a representative sample, documenting application, curing, and sealer compatibility, then compare lifecycle costs and aesthetic goals before committing.
Conclusion
So you want dyed or stained concrete—because nothing says “character” like choosing between control and mystery. If you crave predictability, go dyed; it’s reliable color you can plan around. If you relish chance and texture, stained delivers depth you can’t fake. Either way, seal it, maintain it, and expect some variation. The irony: the more you try to predict the result, the more you’ll learn to admire the unpredictable beauty—whether you planned it or not.