
Maximize basement space by smart layouts that carve distinct zones without crowding, using partial walls, built-ins, and vertical storage to keep floors clear. Layer lighting with ambient, task, and accents, plus mirrors to brighten and visually expand the area. Control moisture with proper ventilation, vapor barriers, and reliable drainage. Choose multi-purpose, modular furniture that adapts to needs while staying cohesive. Curious how to weave all these elements into one stunning, functional basement? You’ll discover more with what follows.
Smart Layouts for Small Basements
Smart layouts maximize a small basement’s potential by defining clear zones and preserving open sightlines. You map traffic flow first, placing the living zone near natural light and the storage nook along the far wall. Keep doorways minimal and use partial walls or furniture to carve spaces without crowding air.
Use ceiling lines and rug boundaries to reinforce zones without clutter. When choosing basement ceiling ideas, opt for low-profile designs that elongate rooms rather than crush them.
For flooring options for basements, pair moisture-resistant materials with cohesive color palettes to unify areas. Add built-ins that tuck away odds and ends, freeing floor space.
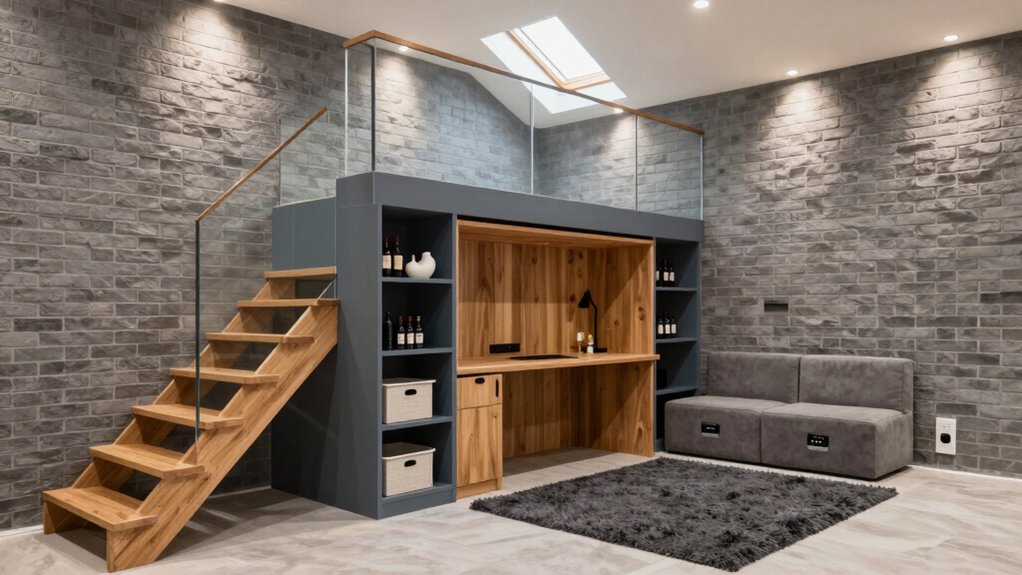
Finally, plan vertical storage to maximize height, avoiding bulky pieces that close in the room.
Lighting Hacks to Brighten Dull Spaces
Brighten your basement by layering light sources that mix ambient, task, and accent glow. Use strategic mirrors to reflect natural and artificial light. Then add soft, luminous accents to create depth. This approach highlights the Brighten With Layers and Mirror and Glow Tricks you’ll explore next.
Brighten With Layers
Layering light layers—pendant fixtures, recessed cans, and soft task lamps—creates a dynamic glow that flees dullness without overpowering the space.
You’ll balance brightness by combining ambient, task, and accent lights, ensuring every nook feels intentional. Choose color schemes that reflect natural tones and cool neutrals to amplify perception of space, then add warm accents to prevent clinical flatness.
Strategically place furniture to avoid shadowy corners while keeping walkways clear, enabling light to bounce across walls and ceilings. Dimmers give you instant mood control, from lively work sessions to cozy movie nights.
Use wall washers to reveal architectural textures and architectural details to highlight depth. Layered lighting should feel cohesive, guiding the eye without shouting.
Mirror and Glow Tricks
Mirrors don’t just reflect space; they multiply light and texture, turning dull corners into bright, inviting nooks. In this section, you’ll apply mirror tricks to widen perception and unify color palettes. Place a tall mirror opposite a window to bounce daylight through the room, reducing the need for artificial glare.
Choose framed pieces that echo existing hardware for cohesive tone. Layer lighting with glow techniques: soft backlighting behind shelves, sconces flanking mirrors, and a dimmer on ceiling fixtures. Keep glare minimal by diffusing sources with frosted glass or matte finishes.
Use aligned mirror edges to create clean verticals, enhancing ceiling height. Remember spatial rhythm: vary mirror sizes, but maintain balance to avoid clutter or repetition. This approach brightens without sacrificing style.
Moisture Control and Climate Management
You’ll start by tightening humidity with practical controls and smart monitoring, so your basement stays comfortable year-round. Consider reliable drainage and vapor barriers to prevent dampness from seeping in. Then pair that with insulation designed for dryness to reduce temperature swings.
This balanced approach covers humidity control techniques, drainage and vapor barriers, and insulation for dryness, setting a clear path for the rest of the discussion.
Humidity Control Techniques
Humidity control is essential for basement comfort and longevity; you can prevent mold, musty odors, and warped surfaces by managing moisture and temperature together.
In this guide, you’ll map a precise approach that balances ventilation, insulation, and relative humidity. Begin with deliberate dehumidifier placement to target damp zones, ensuring airflow cycles across corners and away from dust traps.
Pair devices with continuous monitoring—smart sensors alert you to rising RH before condensation forms. Use vapor barriers behind walls and avoid over-sealing, which can trap moisture.
Maintain consistent indoor temperatures to reduce seasonal swings that stress materials. Plan routine checks for signs of moisture intrusion, promptly addressing any leaks.
This disciplined routine supports mold prevention and preserves finishes, air quality, and structural integrity without excess effort.
Drainage and Vapor Barriers
Drainage and vapor barriers form the backbone of moisture control, guiding water away from the basement and keeping walls dry. You’ll assess exterior grading and interior drainage paths, choosing solid footing for gutters and downspouts that direct runoff away from the foundation.
Implement reliable drainage solutions: a perimeter sump system, French drains, and a well-placed pier foundation where needed, ensuring consistent hydraulic pressure is relieved.
Inside, prioritize vapor barrier installation to seal walls and floors from diffuse moisture, selecting breathable yet resistant materials suited to your climate.
Pair barriers with a thoughtful finishing approach that avoids trap zones and mold risk, emphasizing clean lines and accessible access points.
Precision in installation minimizes future costs while maximizing comfort and space usability.
Insulation for Dryness
Have you considered how proper insulation can transform moisture control and comfort in a basement? You’ll start with high‑performance batts or spray foam to minimize temperature swings and create a continuous vapor barrier, reducing condensation on walls and ceilings.
Choose materials rated for basement use, ensuring compatibility with concrete and moisture exposure. Pair insulation with sealing strategies—tight seams, gaps around outlets, and penetrations—to curb drafts that invite humidity.
Layer rigid foam against interior walls before finishing, enhancing thermal mass and reducing mold risk. Combine this with basement waterproofing measures and proper drainage to prevent standing moisture.
When done right, you’ll enjoy stable temps, quieter spaces, and a safer environment for living, storage, or workouts.
Multi-Purpose Rooms That Maximize Value
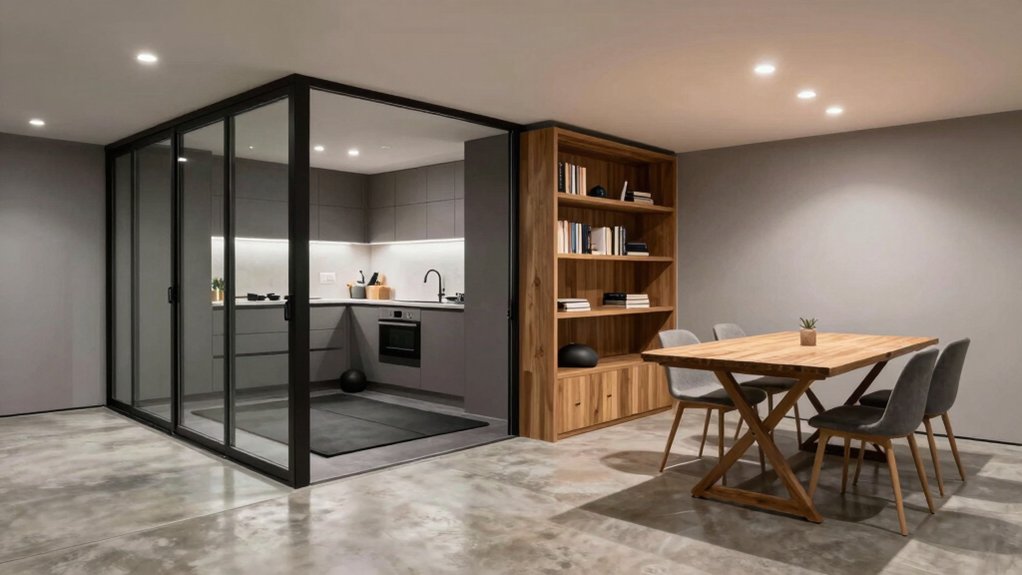
Ever wondered how to stretch a basement’s footprint without expanding it? You design multi‑purpose rooms that adapt to your needs, prioritizing flow and function. Begin with zones: a flexible living area, a compact workspace, and a guest nook that doubles as storage.
Use modular furniture to reconfigure spaces in minutes, preserving openness when you’re entertaining and creating privacy when you’re working. Integrate practical tech like hidden charging hubs and foldaway desk solutions to avoid clutter.
Choose themed decor that ties zones together without overpowering them, and select lighting that anchors each area while preserving cohesion. For quiet, apply soundproofing techniques between rooms and above ceilings to maintain calm throughout the level.
Finish with durable finishes, clean lines, and a cohesive palette.
Storage Solutions That Free Up Floor Space
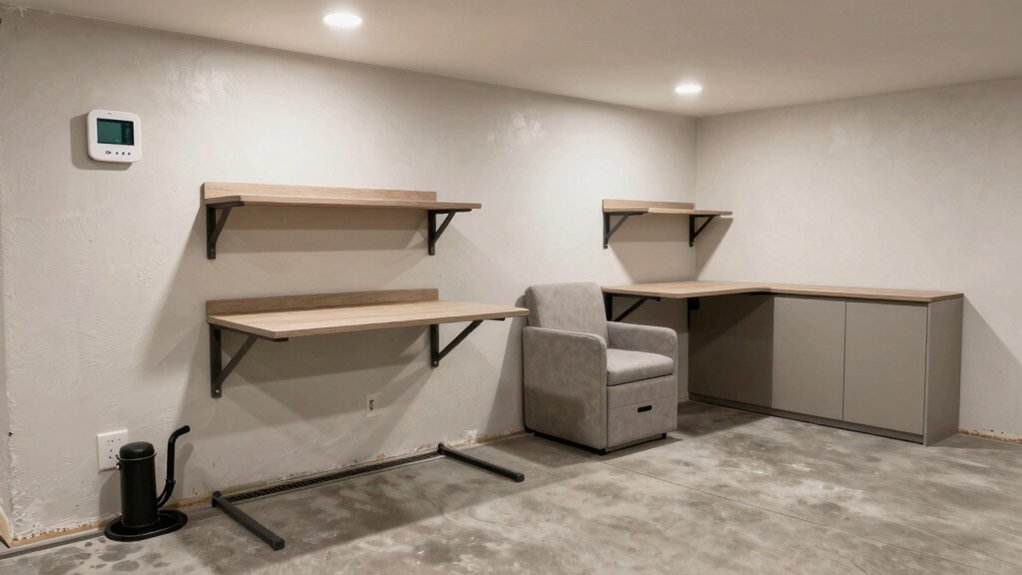
Turn the idea of flexible, multi‑purpose rooms into practical, space‑saving results with smart storage that tucks away what you don’t need. You’ll prioritize built‑in solutions, like wall cabinets and hinged desks, to keep floors clear and flow uninterrupted.
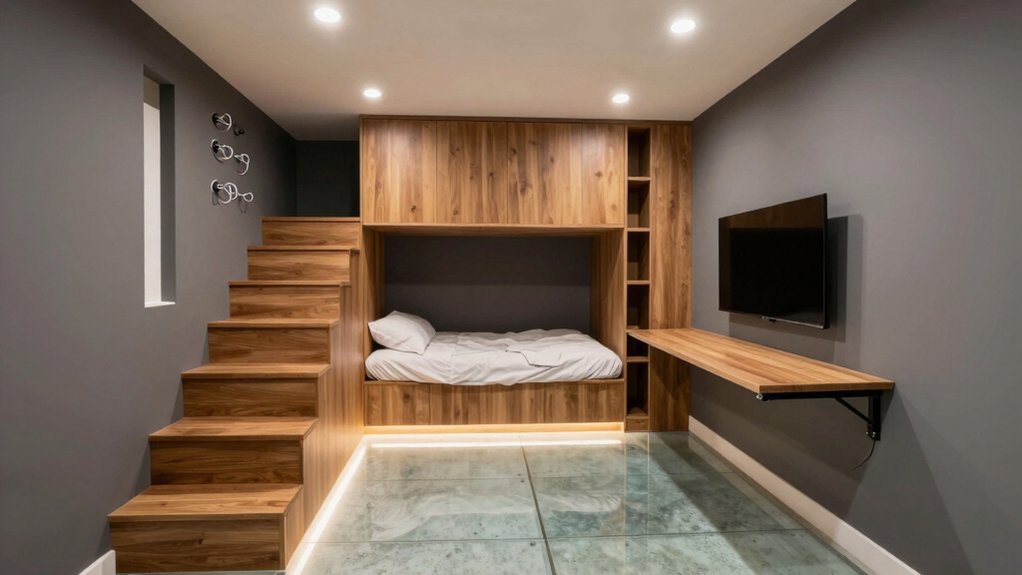
Choose vertical gains—overhead shelves, tall wardrobes, and lofted storage—to reclaim surface area without crowding the room. Opt for modular furniture that shifts from work zone to display nook, reducing clutter while preserving function.
Integrate hidden compartments in seating and under stairs to store seasonal items out of sight. Pick furnishing options that balance form and function, so the space remains breathable.
Finally, align color schemes with your storage strategy: light tones for openness, accent hues for depth, and cohesive finishes for a polished look.
Budget-Friendly Upgrades With Big Impact
Smart, budget-friendly upgrades can deliver big impact without gutting the space. You can upgrade reflectivity and warmth with strategic ceiling finishes that feel fresh yet affordable. Consider recessed lighting, lightweight panels, or acoustic tiles to brighten and soften acoustics without a full remodel.
Pair these with smart shelving and smart storage bins to reclaim cluttered corners, making the room appear larger and more organized. When choosing flooring options, prioritize durability and moisture resistance; look for vinyl planks, ceramic tile, or engineered wood that suits your climate and foot traffic.
Add a cohesive color palette and simple molding to create polished lines. Finally, repurpose furniture, add mirrors, and install removable curtains to frame zones without heavy construction. These tweaks maximize space and style on a budget.
Conclusion
You’ve got the blueprint—now finish with confidence. By embracing smart layouts, bright lighting, moisture control, and multi‑purpose spaces, your basement becomes a showpiece you actually use. Prioritize storage that frees floor area and budget-friendly upgrades that yield big returns. Imagine this: a compact, legal egress window, a modular media nook, and a hidden pantry that slides out when needed. In a real case, a daylight-hued remodel doubled usable space without expanding the footprint. Your turn to redefine the basement.


