
Assess the wall first: note loose plaster, efflorescence, peeling paint, and moisture issues, then plan masking for edges. Gather tools and materials, set up a well‑lit, ventilated work zone, and confirm PPE is on. Prep the substrate with cleaning, etching, priming, and a consistent texture. Mix the plaster to a lump-free, workable consistency, then apply the first coat in controlled passes, letting it firm. After smoothing and curing, apply a second coat, skim, and sand. If you keep going, you’ll master the rest.
Assessing the Wall Surface and Prep Work
Before you mix or apply any plaster, start with a thorough assessment of the wall surface and necessary prep work. You identify current conditions, substrate type, and any prior coatings. Inspect for loose plaster, efflorescence, or peeling paint, and note repairs needed.
Measure wall straightness and identify high and low spots; plan to mask edges and corners accordingly. Evaluate moisture conditions and ventilation, because improper moisture control leads to cracking.
Determine suitable substrate preparation: cleaning, etching, or priming, and select compatible plaster for the wall texture you intend to achieve. Plan patching, embedding lath or mesh if required, and define sequencing to avoid overlaps.
Document findings, establish standards, and communicate expectations to the team to ensure consistent prep quality.
Gathering Tools and Materials
Gather the right tools and materials before you start plastering. Begin with a focused checklist: plaster mix, bonding agent if needed, clean water, a hawk, trowel, margin trowel, plastering float, and a mixing container.
Verify tool condition—sharp edges, handles secure, no cracks. Plan tool selection to match wall texture and batch size; select metal hawk and stainless trowels for durability, and a margin trowel for tight corners.
For materials, choose a consistently sized plaster mix and a bonding agent appropriate for the substrate, plus plasterer’s water dosed to achieve desired workability. Organize containers, rags, and a bucket mixer.
Confirm safety basics, then lay out a logical sequence: mixing, loading, applying, and smoothing, with minimal mid-task interruptions. This reduces delays and maintains quality.
Setting Up a Work Area and Safety Measures
Setting up a work area and enforcing safety measures starts with a clear, organized plan: designate a well-lit, ventilated workspace, cover floors and nearby surfaces, and create a dedicated zone for mixing and tool storage.
You establish boundaries to prevent spillover and interruptions, then assign roles for material handling and cleanup.
Prioritize protective gear, including eye protection, gloves, and a dust mask, and ensure everyone adheres to a consistent PPE protocol.
Maintain workspace organization by labeling containers, storing tools in dedicated racks, and keeping aisles clear.
Implement a routine inspection of guards, ladders, and steps before use.
Document access, emergency procedures, and contact information.
Ascertain sign-off on safety checks, so the team acts deterministically and minimizes risk during plastering tasks.
Mixing the Plaster to the Right Consistency
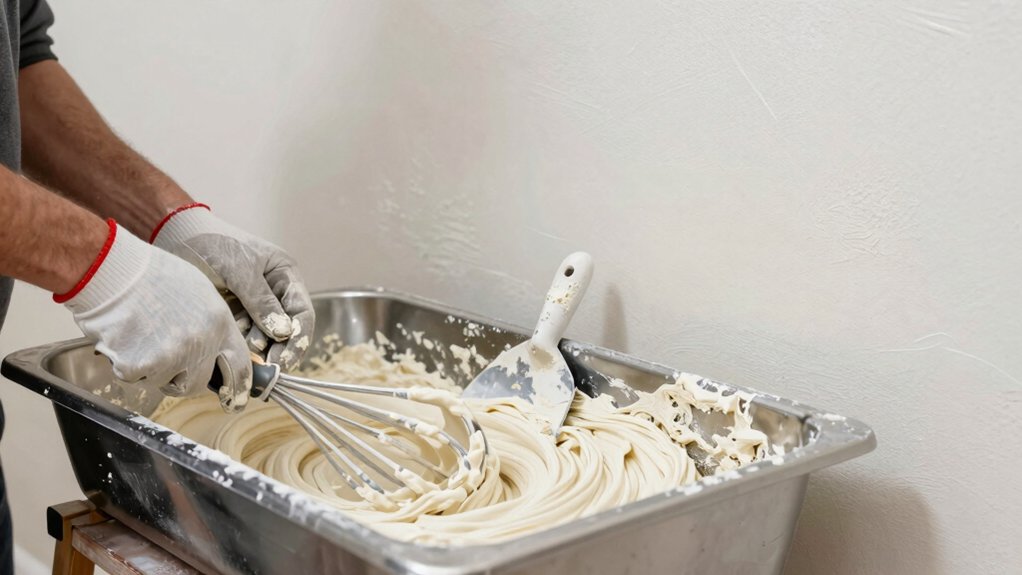
To achieve the right plaster consistency, you’ll start by preparing the mix according to the project’s specifications and the plaster bag instructions. You’ll measure materials precisely, then combine dry components first to ensure uniform distribution.
Add water gradually, using a clean container, while mixing with a drill or whisk until the mixture is free of lumps. Monitor the consistency by lifting the tool; it should flow with slight resistance but hold shape briefly.
If the mix is too stiff, add small amounts of water and remix. If too runny, add dry plaster and mix again. Document adjustments for batch consistency and repeatability.
This phase centers on plaster mixing accuracy and consistency adjustment to achieve a workable, set-ready plaster.
Applying the First Coat: Key Techniques
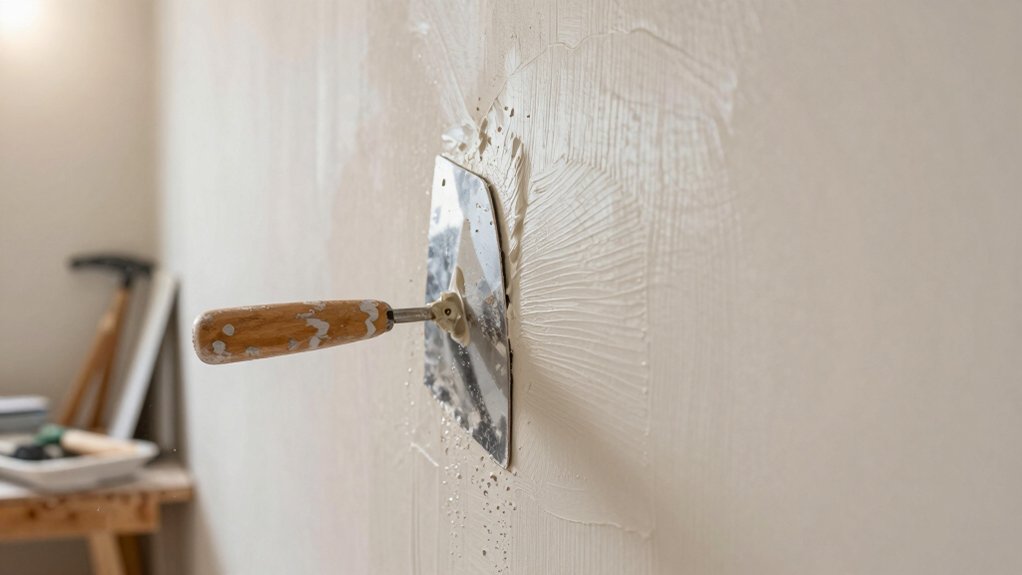
Once the plaster is mixed to the correct consistency, apply the first coat promptly to establish a true, uniform key. You’ll prioritize even distribution across wall surface preparation, ensuring no dry edges or ridges stay visible. Maintain a consistent thickness, guided by your float pressure and movement, to prevent settlement cracks later.
Use controlled, deliberate strokes, crossing patterns to embed aggregate and remove air pockets. Work in manageable sections, aligning joints with caution to avoid cold seams. Monitor substrate feel and tack, adjusting your hand speed accordingly. Keep tools clean and loaded with plaster to maintain adhesion continuity.
Record any deviations for follow-up corrections, and verify that the first coat adheres firmly before proceeding to the next step of curing. Avoid delays, stay disciplined, and finish with uniform texture.
Dishing and Embedding for a Strong Bed
You’ll establish a solid bed by following Bed Preparation Steps, ensuring the surface is clean, dry, and properly scored for adhesion.
Next, apply the Embedding Techniques Guide to position and bed plaster evenly, maintaining consistent thickness and control.
If Dishing Defect Remedies arise, address them immediately with targeted corrections to preserve a true, strong lie of plaster.
Bed Preparation Steps
Bed preparation is critical for a solid plaster bond, so start by dishing the wall to create a depressional key and then embed a bonding coat to lock in a strong bed.
You’ll verify that the substrate is clean, dry, and free of laitance, dust, and protrusions. Next, assess wall texture and perform surface preparation to achieve uniform roughness without overdosing bite.
Apply a consistent coat thickness, maintaining a level reference and avoiding air voids. Use mechanical abrading only where required to expose sound material, then re-clean the surface before the bonding layer cures.
Keep a tight schedule for drying, and test adhesion in a representative area. Document conditions, material batch data, and any deviations to guarantee repeatable results and predictable performance.
Embedding Techniques Guide
To guarantee a solid bed, begin with dishing to create a key that traps the bonding coat and then confirm the substrate is clean, dry, and free of laitance, dust, and protrusions.
You then embed the plaster by introducing material into the dish and smoothing with deliberate, uniform pressure to achieve a uniform depth. Maintain consistent bed thickness and control compaction to prevent air pockets that weaken adhesion.
Monitor wall texture during embedding to ensure a true surface, and adjust tooling to avoid excessive groove formation.
Apply moisture control measures before setting, keeping ambient humidity within specification and using absorbent dividers if needed.
Document curing times, verify finish uniformity, and proceed only after the bed shows stable hardening and bond integrity.
Dishing Defect Remedies
Dishing defects undermine bond strength, so address them before embedding anew; start by identifying shallow pockets and uneven depths, then plan targeted remedies that restore a true key. You assess substrate irregularities with a straightedge, note hollows, and map depth variance across the wall.
Remove loose material, clean dust, and establish a uniform base using a pre-wet, bonded scratch coat where needed. Apply a controlled layer of plaster, pressing to fill low spots while preserving a level plane; avoid overpacking, which risks embedding.
For sustained results, maintain wall texture consistency and moisture control during cure, checking for parallelism and plumbness. Recheck adhesion after partial set, then proceed to final skim coat.
Document measurements and adjust subsequent coats to ensure a solid, even bed.
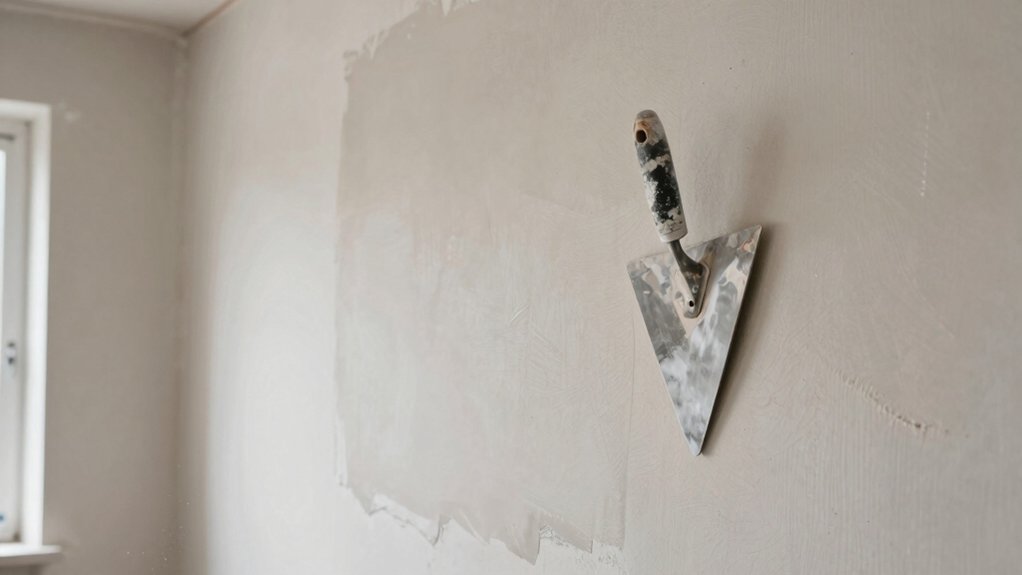
Letting the First Coat Set and Smoothing
After you apply the first coat, let it set briefly before smoothing; this initial period hardens the plaster enough to work with while remaining workable. You’ll notice a slight skin forms, which guides subsequent shaping.
Begin smoothing with deliberate, even strokes, maintaining consistent pressure to avoid digs or ridges. Use a clean trowel at a shallow angle to compress the surface without overworking it.
Monitor your drying times; don’t rush beyond the skin’s readiness, as premature tooling can trap fine cracks. Target a uniform surface texture, correcting high spots and filling low areas with light passes.
Wipe excess material from edges and corners to prevent pull-away. Once the coat firms, perform a brief final pass to align edges, then set for curing.
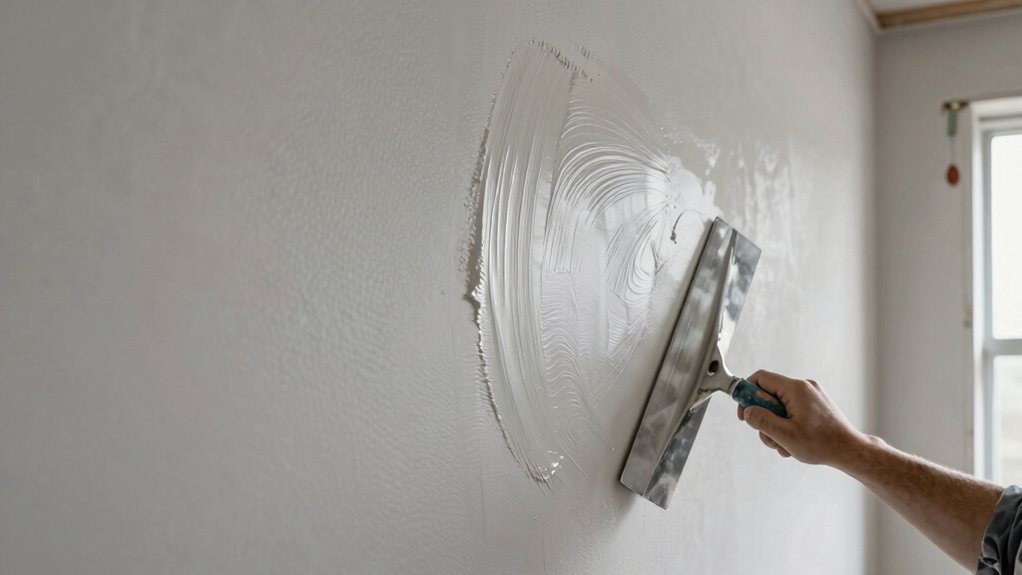
Applying the Second Coat for Evenness
You’ll assess evenness by applying the second coat in controlled passes to build uniform thickness.
Focus on Evenness Through Passes, adjusting your pressure and speed to minimize ridges.
Then plan for Sanding for Smoothness to finish any remaining irregularities.
This keeps the process clear, actionable, and aligned with a precise, managerial workflow.
Evenness Through Passes
To guarantee an even finish, apply the second coat in controlled passes that progressively even out high spots and fill remaining lows. You’ll assess the wall after the first pass, marking deviations and planning successive pass thicknesses.
Begin with a light, consistent plaster mix to preserve plaster consistency, then apply a broad, even layer across the surface. Move in deliberate strokes, maintaining a uniform rate to avoid creating new ridges.
After each pass, check for texture uniformity and use a clean trowel to feather edges, eliminating trowel marks without overworking the surface. Maintain a smooth application by keeping adjacent areas at the same thickness and avoiding thin spots.
Conclude with a final skim to ensure flatness, ready for curing and subsequent finishing steps.
Sanding for Smoothness
Sanding for Smoothness is the step that refines the second coat to achieve uniform texture and flatness. You approach this with clear targets: remove ridges, fill small hollows, and establish a consistent satin finish.
Begin after the second coat sets enough to hold firm but still soft. Inspect for crow’s feet, stipple marks, or high spots, and plan passes that address each issue without overworking the surface. Use medium grit paper or a sanding block, moving systematically in even strokes across all walls. Maintain constant pressure.
Then switch to a finer grit to achieve surface preparation that invites paint and finish adhesion. Wipe away dust, verify uniformity, and document any remaining imperfections for touch-up or second pass. This ensures joint smoothing and durable, predictable results.
Finishing With a Skim Coat and Sanding
Once you’ve achieved a smooth joint line, apply a skim coat to even out minor imperfections, then let it set before sanding. Begin with a thin, consistent layer using a plaster mixer or tucker knife to minimize tool marks. Scrape and lightly feather edges to create a seamless *blend* with the surrounding wall.
Allow cure time per product guidelines, then inspect for ridges or hollows and address them with a second light coat. Sanding should proceed with fine-grit paper, maintaining a steady, oval motion to avoid gouges. Wipe dust thoroughly before painting or texture finishing.
Finish by checking moisture barriers integrity around corners and outlets, ensuring a uniform surface. Document results, noting any deviations for future projects.
Curing, Maintenance, and Common Troubleshooting
Curing, maintenance, and common troubleshooting begin with timing and inspection: verify that plaster has reached its recommended cure period before handling or painting, and monitor temperature and humidity to prevent cracks.
You should document cure progress daily, noting surface firmness, stiffness, and absence of delamination. If delamination or crazing appears, pause work, reassess wall preparation, and adjust environmental controls before proceeding with plaster curing.
Maintain consistent airflow to avoid trapped moisture, and use a hygrometer to keep relative humidity within recommended ranges.
Inspect joints and corners for hairline cracks after initial set, then seal with compatible patching material if needed.
Schedule periodic maintenance checks, address efflorescence promptly, and adhere to cure timelines to ensure long-term stability of the plaster finish.
Conclusion
You now have a clear, actionable path to plastering an interior wall. Follow the prep, mixing, and coat sequence precisely, and monitor set times to prevent defects. Maintain a clean, safe work area and verify finish quality at each stage. Address issues promptly—patch, skim, and sand as needed. By sticking to the process, you’ll avoid cutting corners and keep surprises to a minimum. In the end, you’ll have a professional result, and your effort will pay off handsomely. Stay the course.


