
Drying time for plaster of Paris depends on coat thickness and your environment. Thin coats set in a few hours with surface hardness preceding interior hardening in stages. Heavier pours take longer because internal moisture must diffuse outward. Temperature, humidity, and ventilation speed or slow the process, while good airflow helps even drying. Avoid drafts that cause cracking. To improve results, pace drying and test firmness with light taps. If you keep going, you’ll uncover more details and tips.
Factors That Affect Drying Time
Several factors determine how quickly plaster of Paris sets and dries. You assess setting time by examining Surface preparation, ambient humidity, and temperature, since each condition shifts the balance between hydration and evaporation. You guarantee surfaces are clean, dust-free, and primed to promote consistent coverage, reducing localized drying delays.
You monitor chemical reactions, noting that gypsum hemihydrate converts to gypsum as water binds, releasing heat that influences cure rate. You control moisture exposure; excessive dampness slows surface hardening, while rapid evaporation risks cracking.
You gauge mix ratios precisely, because undersaturation or oversaturation alters pore structure and capillary flow. You consider airflow, which can either remove surface moisture effectively or cause uneven drying.
You document observations to establish a predictable, reproducible timeline for future applications.
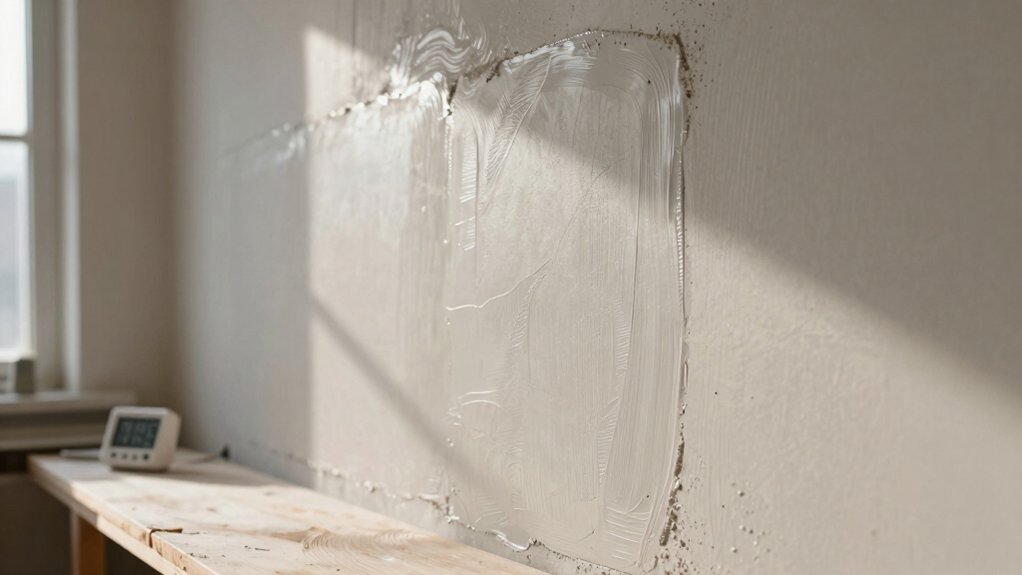
Thin Layer Drying: What to Expect
As you move from general drying factors to thin-layer behavior, you’ll notice drying times shrink noticeably when the plaster is applied in a fine, even coat.
In this regime, surface preparation becomes critical: remove dust, oils, and residual moisture so the plaster can establish a consistent edge and uniform moisture loss.
Expect faster surface-set indicators, but drying proceeds in two phases—surface crust formation followed by interior hardening.
Chemical additives can alter pore structure and water activity, modestly accelerating evaporation without compromising strength.
Use controlled ambient conditions, avoiding drafts that strip moisture unevenly.
Measure progress with a precise touch test and note temperature and humidity alongside coating thickness.
Thin-layer drying yields more predictable timelines than thicker applications, yet you should still avoid premature handling until the interior reaches a stable rigidity.
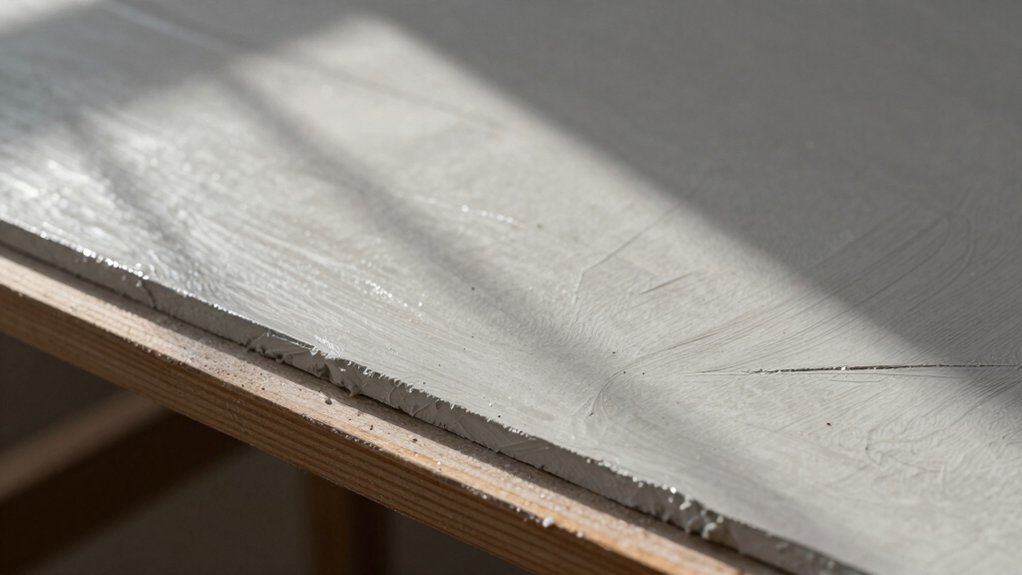
Thickness Matters: Drying in Heavier Coats
When plaster is applied in thicker coats, drying becomes diffusion- and moisture-gradient driven, not simply surface evaporation. You must recognize that air exposure at the surface controls the boundary, but internal transport governs overall set.
In practice, layer thickness directly affects curing time: the deeper the coat, the longer moisture resists outward movement, extending timetables beyond thin-film benchmarks. Expect a multi-phase drying profile, with rapid surface dampening followed by sluggish interior migration.
Empirical observations show moisture fronts lag behind surface dryness, creating internal stresses if you rush measurements. To predict drying, measure cumulative mass loss over time and relate it to coat thickness.
Use conservative estimates for curing time, especially when subsequent layers or finishes rely on complete internal drying before handling or sanding.
Room Temperature and Humidity Influence
Temperature and humidity set the baseline drying rate you’ll observe in plaster. Warmer, drier air speeds evaporation, while cooler or humid conditions slow it, affecting time estimates.
Monitoring both factors helps you adjust expectations and compare results across environments.
Temperature’s Role
Even at a constant ambient temperature, plaster of Paris dries more quickly in drier air and more slowly in humid conditions. You assess drying time by temperature in relation to moisture exchange, not by heat alone. Higher temperatures accelerate evaporation rates from the surface, while cooler conditions slow cure kinetics and extend working time.
In practical terms, ambient temperature near typical room levels reduces surface moisture faster, but internal moisture can lag, delaying full set. You should consider climate considerations when planning batches or transfers between rooms, aligning temperatures to minimize rapid surface drying that traps moisture inward.
For consistent results, control air movement and avoid drafts that unevenly remove moisture. Use application techniques that promote uniform exposure, avoiding thick sections that resist even drying.
Humidity Impact
Humidity can dominate plaster drying even at constant temperature, because air moisture directly alters evaporation rates and cure kinetics. You’ll notice that higher ambient humidity slows evaporation, extending set time and leaving a wetter surface longer than a dry room.
Conversely, low humidity accelerates evaporation and can induce surface cracking if moisture moves too quickly to the air. The humidity impact on cure kinetics means you may see delayed hardening, especially in layered applications, where inner moisture needs coordinated outward diffusion.
Temperature interacts with humidity, but moisture effects dominate when vapor pressure is near the plaster’s equilibrium.
Monitor ambient RH and airflow to forecast drying windows, adjust thickness, and avoid rapid moisture loss that compromises final strength. Accurate records improve timing predictions and quality outcomes.
Airflow and Ventilation Guidelines
You should assess how ventilation rate, airflow pathways, and local environment factors interact to influence plaster drying.
We examine how increasing fresh air exchange, establishing clear air channels, and controlling temperature and moisture together affect drying time.
This discussion grounds recommendations in measurable impacts on evaporation, air movement, and humidity progression.
Ventilation Rate Tips
Ventilation rate is a critical factor in plaster drying, as it directly influences moisture removal and curing quality. You control drying by managing fresh-air exchange and stagnant-air buildup, which affects humidity gradients and surface film formation.
Prioritize ventilation importance by maintaining steady air turnover without creating drafts that disrupt curing. Aim for measurable air changes per hour that match your space size and plaster thickness, rather than generic estimates.
Monitor relative humidity and temperature alongside airflow to avoid oversaturation or rapid surface loss. Use modest, continuous ventilation rather than intermittent bursts to sustain a stable moisture gradient.
Employ ducted exhaust or mechanical fans where possible, ensuring intake and exhaust paths don’t short-circuit. This approach supports predictable drying timelines and consistent final strength, facilitating airflow optimization.
Airflow Pathways
Airflow pathways determine how moisture moves away from the plaster surface and through the space. You map these routes by observing how air enters and exits the room, noting obstacles, gaps, and openings that guide or block flow.
Ventilation patterns matter because they govern the rate at which evaporated moisture is replaced by drier air, reducing local humidity near the surface. You should assess whether air swirls, stagnates, or moves in short, interrupted currents, then identify how window drafts, door gaps, or fan placement alter conditions.
Drying Environment Factors
Drying environment factors hinge on how ventilation patterns move moisture away from plaster surfaces. You must control airflow to avoid pockets of humidity that slow drying. Adequate air exchange reduces surface moisture, speeding the curing process and stabilizing plaster thickness.
Maintain steady, mild cross-ventilation; avoid direct, intense drafts that cause rapid surface drying and cracking. Handle ventilation with purpose: use exhaust to remove humid air and intake to supply fresh air without creating temperature shocks.
Monitor relative humidity and temperature, since these influence chemical reactions intrinsic to the curing process. Insufficient ventilation slows the curing process and promotes efflorescence, while excessive airflow can desiccate too quickly.
Plan drying windows around environmental conditions, ensuring consistent airflow patterns that support predictable, empirical outcomes in plaster setting.
How to Test for Dryness
To determine whether plaster of Paris has set and reached dryness, start with a practical visual and tactile check: look for a uniform color and a firm touch, then test with a gentle press.
You assess adhesive strength by gently depressing the surface; if it resists indentation evenly, it’s closer to dry. Light taps should yield a hollow sound only after full cure.
Use consistent pressure to avoid misleading impressions. Surface preparation matters: ensure edges are smooth and there’s no tacky residue before applying pressure tests.
Don’t rely on surface sheen or coolness alone. Record a qualitative pass/fail based on firmness, lack of fingerprint impression, and consistent texture.
If uncertain, wait and recheck after observation of minor changes in texture and rigidity.
Speeding Up the Drying Process Safely
Once you’ve established the plaster’s initial set and observed its surface behavior, you can safely accelerate drying by controlling objective variables rather than relying on guesswork.
Precision governs this adjustment: optimize airflow, ambient temperature, and humidity to drive consistent evaporation without creating cracks. In practice, use measured fans or vents to establish uniform air exchange, avoiding localized drafts that unevenly cure surfaces.
Moderate heat remains acceptable, but stay below thresholds that stress the gypsum matrix. Monitor size, thickness, and surface exposure, noting that thinner sections dry faster and more uniformly.
Incorporate mixing techniques to assure consistent moisture distribution before finishing. Also account for storage considerations; keep material covered when not in use to prevent moisture gain or loss that skews drying rates.
Slowing Down Drying to Improve Finish

Even when faster drying seems convenient, slowing down the cure can improve surface finish and dimensional stability. You can achieve this by controlling mixing and environmental factors rather than forcing rapid set.
Start with mixing techniques that minimize air entrainment and achieve a uniform slurry. Overworking the mix invites inconsistencies that show on the surface as pinholes or rough patches.
After pouring, introduce a gradual cure by maintaining a stable, moderate temperature and avoiding drafts that cause rapid surface evaporation.
Storage methods matter: cover exposed surfaces lightly or use sealed forms to sustain moisture where needed, preventing differential shrinkage.
Monitor humidity and cure time, adjusting as necessary to balance strength with sheen. Precise, methodical pacing yields smoother finish and predictable dimensions.
Common Pitfalls and Troubleshooting
Common pitfalls in plaster of Paris drying often stem from inconsistent mixing or environmental control. You’ll notice cracking, warping, or a powdery surface when ratios are off or lumps remain. Mix thoroughly to a uniform slurry, then rest briefly before casting to reduce air pockets that elongate drying.
Temperature swings, high humidity, or drafts disrupt curing; keep the work area steady, between 68–72°F (20–22°C), with moderate humidity. Air quality matters: dust from sanding or cure byproducts can affect setting integrity, so use appropriate containment and ventilation.
Safety precautions are essential: wear gloves, eye protection, and a mask when sanding or mixing. If you see sudden surface cratering or sticky centers, reassess mix consistency, mold design, and ambient conditions before proceeding to avoid further defects.
Finishing Touches After Drying
After the plaster has dried, you’ll assess surface readiness for finishing and identify any touch-ups needed.
You’ll apply finishing techniques—smoothing, sealing, or priming—based on the material’s porosity and the project’s intended use.
This approach keeps results predictable and supports uniform adhesion for subsequent coats or paints.
After Drying Care
When plaster has dried, your next step is to address finishing touches that guarantee a smooth, durable surface. You assess surface preparation first: inspect for microcracks, sanding ridges, or dust that could hinder adhesion. Lightly dampen high spots and re-sand only as needed to achieve uniform texture.
Next, evaluate adhesive selection; choose products compatible with gypsum-based plaster and your substrate, and confirm open time aligns with your workflow. If you intend to prime, select a plaster-compatible primer that enhances bonding without penetrating too deeply. Apply a thin, even coat, then allow full cure before any subsequent coatings.
Document material lot numbers and environmental conditions during application to ensure repeatable results. Premature sealing or improper prep compromises durability and finish quality.
Finishing Techniques Now
Finishing techniques after drying focus on creating a durable, uniform surface ready for priming or painting. You assess the plaster for uniform hardness and minimal porosity, then address defects with precise planing or light sanding.
Surface preparation is critical: remove dust, fill small holes with a matching plaster mix, and re-sand to achieve a smooth, level plane. You test adhesion by a small tack or scratch, guaranteeing the surface accepts subsequent coatings.
Color matching matters when repairs are visible; choose a finish compound that blends with the surrounding tone and texture. Apply a thin, even skim coat only where needed, then re-sand after curing.
Document any inconsistencies, as precise color and texture alignment reduces final touch-ups and ensures a consistent, ready-to-prime surface.
Conclusion
Drying plaster of Paris depends on layer thickness, ambient conditions, and airflow, so expect faster set in thin coats and slower cures in humid rooms. An empirical example: a 1/4-inch skim coat in a well-ventilated 70°F room dries to handle in about 20–30 minutes, but a 1-inch pour may take several hours to fully cure. You’ll improve predictability by controlling temperature, humidity, and ventilation, avoiding drafts that cause cracking and uneven finishing.


