
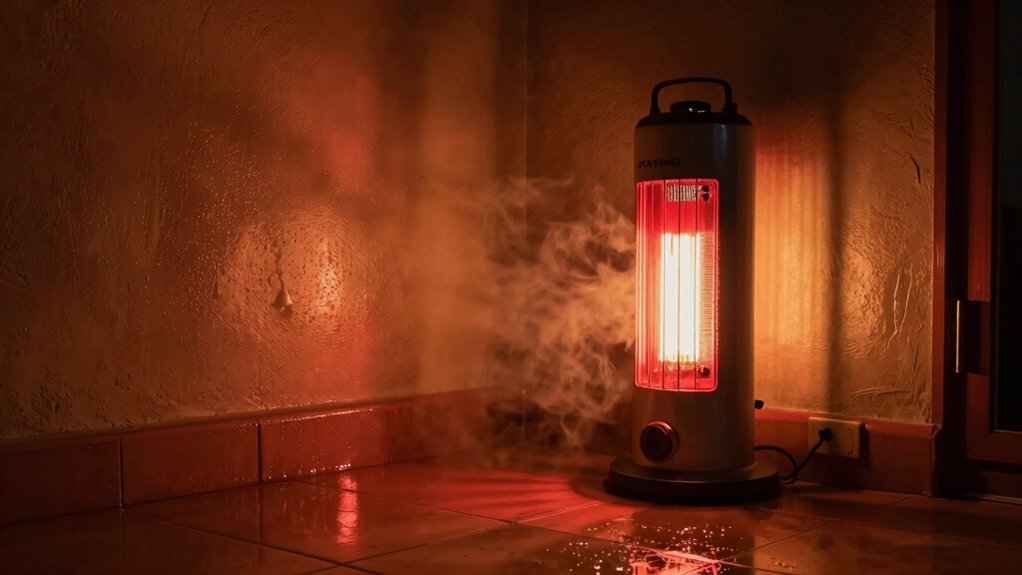
Infrared heaters directly warm damp surfaces and occupants, not the air, so you get faster drying and comfort with fewer cold spots. The IR spectrum penetrates towels, walls, and floors, raising surface temperatures and reducing condensation cycles. You’ll see targeted warmth on walls, floors, and fixtures, plus safer, controlled surface temps via feedback sensors. Place fixtures strategically to optimize uniform coverage and minimize heat loss. If you keep exploring, you’ll uncover precise setup and safety tips for damp environments.
How Radiant Heat Works in Damp Spaces
Radiant heat transfers energy directly from the heater to objects and people in the room, not through the air, which matters in damp spaces where moisture can affect air movement. In damp environments, you feel warmth where the surface absorbs infrared photons, not where air warms.
Infrared emitters deliver wavelengths that penetrate towels, walls, and floors, elevating their temperatures without relying on convection. You’ll notice a rapid onset of warmth on furnishings that radiate heat back toward you, creating a balanced comfort pattern across the space.
Sensor feedback typically controls output to maintain target temperatures, reducing heat losses from humidity-driven convection loops. The system’s efficiency depends on emissivity, surface distance, and the thermal mass of surrounding materials, all of which determine heat transfer rate and perceived comfort.
Drying and Comfort: Why Infrared Beats Humidity
As humidity complicates comfort, infrared heating offers distinct advantages for drying surfaces and maintaining consistent warmth. You’ll notice faster evaporation of moisture from materials because radiative transfer delivers heat directly to damp substrates without warming the surrounding air excessively.
This minimizes convective moisture buildup and reduces drying time for walls, fabrics, and equipment adjacent to damp zones. The emitted spectrum targets surface layers, raising temperature at the point of contact while preserving air stability, which helps sustain a steady indoor climate even as humidity fluctuates.
You experience more uniform drying across irregular surfaces, with fewer cold spots that impede moisture release. Infrared stress-minimizes condensation cycles by sustaining surface temperatures above dew point, supporting efficient comfort without overshoot.
Targeted Heating for Walls, Floors, and Surfaces
Targeted heating for walls focuses on wall heat transfer pathways to reduce thermal bridges and improve surface comfort.
For floors, prioritize floor warmth focus to minimize heat loss and enhance occupant feel without excessive energy use.
On surfaces, implement precise surface temperature control to maintain consistent radiant output and prevent hotspots.
Wall Heat Transfer
How does heat move through walls when you’re aiming for targeted warming? Heat transfer through walls combines conduction, convection, and, to a lesser extent, radiation from radiant panels.
In solid components, conduction follows Fourier’s law: temperature differences drive microscopic lattice vibrations and electron movement, transmitting energy from hot to cold layers. Wall assemblies with insulating cavities reduce conduction by lowering thermal conductivity and limiting surface-to-surface gradients.
On the interior surface, convection circulates warm air, delivering energy to the wall’s bearing frame and reducing cold spots.
Radiant elements embedded in or facing walls emit infrared energy that directly heats wall surfaces, creating localized warming without bulk air movement.
Thermal mass and moisture content influence transient response, surface humidity, and drying dynamics, impacting long‑term efficiency and comfort.
Floor Warmth Focus
Floor warmth focus centers on delivering targeted heating through floors to complement wall and surface warming. You assess radiant heat distribution by evaluating conductive floor materials, thermal mass, and pad layouts to guarantee even emission.
You prioritize low-temperature, high-efficiency operation, leveraging IR emitters positioned to minimize convex heat zones and maximize contact with occupants. You consider floor substrate type, insulation depth, and thermal resistance to predict temperature ramps and steady-state values.
You quantify floor surface temperature targets to avoid hotspots while maintaining comfort within defined zones. You monitor system response to occupancy patterns, using feedback from sensors to adjust emission intensity.
You document installation tolerances, load shifts, and maintenance intervals to sustain consistent performance and prevent damp-related thermal gradients.
Surface Temperature Control
Surface temperature regulation enables precise warmth delivery to walls, floors, and surfaces while maintaining overall system efficiency. You configure radiant panels to target specific substrates, leveraging emissivity differences and thermal mass to minimize heat loss.
By mapping surface temperatures with sensors, you prevent hot spots and ensure uniform comfort without overheating adjacent zones. Implement controlled sequencing, using rapid-response elements for transient loads and slower elements for steady states.
You’ll rely on feedback loops that adjust power input in real time, compensating for insulation variations, air currents, and moisture presence. Consider surface type, mounting height, and reflective coatings to optimize radiant transfer.
Regular calibration of sensors and safeguards against overheating preserve system longevity, reduce energy demand, and sustain damp-related comfort across rooms.
Choosing Infrared Heaters for Damp Environments
Choosing infrared heaters for damp environments requires matching heater type and protection ratings to the space’s moisture levels and ventilation.
In damp areas, select devices with IP ratings appropriate to expected splashes and humidity; IP44 or higher is often prudent, with enclosure standards that resist corrosion.
Opt for radiant panels or lamps designed for continuous exposure to moisture, avoiding units intended for dry interiors.
Consider wattage relative to volume, target temperature rise, and heat distribution—you want uniform coverage without hot spots.
Verify electrical circuit capacity and grounding, ensuring GFCI where applicable in wet zones.
Corrosion-resistant terminals and weatherized controls extend longevity.
Contemplate maintenance access for salt and mineral buildup, and plan for safe clearance from combustibles.
Finally, confirm manufacturer guidance on damp installation, warranty scope, and service requirements.
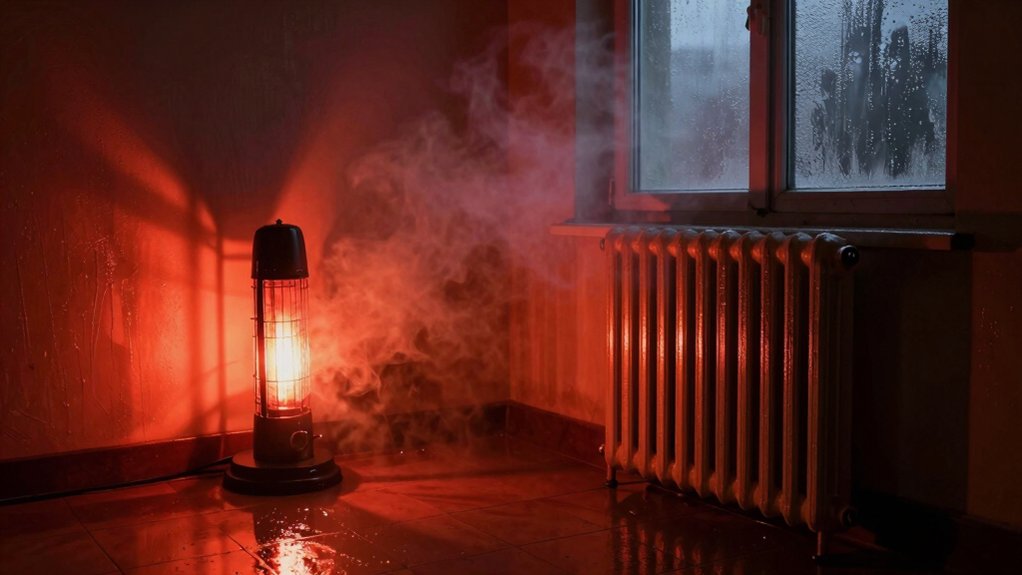
Safe, Efficient Use in Basements, Bathrooms, and Garages
In basements, bathrooms, and garages, you should position infrared heaters away from damp surfaces and direct contact with water to prevent moisture-induced faults.
Use models with built-in humidity resistance and maintain consistent heat delivery by matching output to room size and insulation levels.
Implement dampness controls—monitor condensation, ventilate adequately, and follow safe clearance and electrical guidelines to sustain efficient, safe operation.
Safe Basement Use
Safe basement use requires careful placement, ventilation, and moisture control to prevent condensation, mold growth, and fire hazards. You should position infrared heaters away from walls, ceilings, and materials that absorb humidity or store heat, maintaining minimum clearances specified by the manufacturer. Use dedicated circuits with appropriate overcurrent protection and avoid extension cords in damp environments.
Ascertain basements have active ventilation or exhaust to exchange moist air with drier spaces, especially during high humidity or after wet activities. Monitor humidity with a calibrated hygrometer, aiming for 40–60% relative humidity. Choose appliances with thermal cutoffs and corrosion-resistant components.
Keep fuels, solvents, and flammable items distant from heaters, and install smoke and carbon monoxide detectors operable at basement levels. Regular inspections verify mounting integrity, electrical connections, and venting effectiveness.
Efficient Heat Delivery
Efficient heat delivery in basements, bathrooms, and garages hinges on proper infrared placement, targeted heating patterns, and controlled air movement to minimize energy waste and maximize comfort.
You should map heater positions to zone-critical areas, ensuring even radiant coverage without overheating ducts or corners. Use coverage charts to select wattage per square meter, avoiding excessive shadows and thermal contrasts that prompt temperature cycling.
Align heaters with ceiling or wall mounts to reduce heat loss through cold surfaces, and favor low-profile fixtures that minimize glare and obstruction.
Implement short, intentional cycles with thermostatic control to sustain stable temperatures, not spikes.
Calibrate oscillation or fan-assisted modes to promote gentle air mixing without creating drafts.
Regularly verify insulation quality, as performance depends on envelope integrity and ductless, rapid response.
Dampness Management Tips
Managing dampness in basements, bathrooms, and garages hinges on controlling moisture sources, improving airflow, and optimizing heating patterns to prevent condensation without wasting energy. You’ll monitor humidity levels with calibrated sensors and set practical thresholds to trigger ventilation or dehumidification.
Use infrared heating to create uniform surface temperatures, avoiding cold spots that invite moisture deposition on walls and floors. Seal obvious air leaks around doors, windows, and penetrations, then stagger heat cycles to sustain a slight, continuous warmth that discourages condensation without overshooting setpoints.
Prioritize air exchange during occupancy and after showers or laundry, using exhaust or balanced ventilation. Keep drain pans clean and slopes adequate to daylight drainage. Regular maintenance, filter inspection, and sensor calibration sustain predictable performance and dampness control.
Troubleshooting Common Damp-Related Issues With Infrared Heat
Why do damp conditions complicate infrared heating? Damp surfaces absorb and scatter IR energy, reducing effective radiant transfer and creating uneven heat distribution. When moisture condenses on walls or floors, emissivity changes, causing cooler spots that slow drying and invite cold bridges.
You’ll want to verify surface temperature differentials with a non-contact infrared thermometer, then correlate readings with moisture maps to identify high-humidity zones. Use sealed, calibrated panels with controlled output to avoid overheating damp areas, which can drive moisture deeper into substrates.
Guarantee ventilation remains sufficient to remove evaporated water without convective heat loss eroding gains. Monitor dew point relative to surface temps; adjust spacing, mounting height, and wattage to maintain stable comfort without promoting condensation.
Regularly inspect seals, insulation, and drainage to prevent recurring damp events.
Frequently Asked Questions
Do Infrared Heaters Reduce Mold Growth in Damp Spaces?
Do infrared heaters reduce mold growth in damp spaces? They can inhibit mold by drying surfaces and lowering humidity, but effectiveness depends on placement, insulation, airflow, and continuous operation; improper use may worsen conditions or promote microbial spores.
Can Infrared Heat Affect Humidity Levels Directly?
Heat from infrared devices doesn’t directly lower humidity; it evaporates moisture and can shift conditions, but you’ll still measure the same absolute water vapor amount. You regulate humidity through ventilation, dehumidification, and heat distribution accuracy.
Are There Health Concerns With Infrared in Damp Areas?
Yes, infrared in damp areas can pose health concerns if misused; guarantee proper installation, ventilation, and humidity control. Avoid skin overexposure, monitor for overheating, mold growth, and electrical hazards; use rated appliances with grounded circuits and safe clearance.
How Quickly Do Infrared Heaters Dry Damp Walls?
Dramatically, infrared heat can reduce moisture by up to 25% in the first week under steady operation. You’ll dry damp walls faster when you direct panels to hotspots, maintaining consistent temperature and airflow while avoiding overheating or luxe surfaces.
Do Moisture Levels Impact Infrared Heater Efficiency?
Yes, moisture lowers infrared heater efficiency because damp surfaces absorb and scatter radiation, increasing surface emissivity and thermal mass. You’ll experience slower warming, reduced heat transfer, and higher energy use as moisture content rises.
Conclusion
You’ll love how damp spaces finally dry, right? Infrared heat sinks into walls and surfaces, delivering warmth exactly where humidity clings—no extra humidity, obviously. It quietly proves you don’t need dehumidifiers, fans, or controlled ventilation… just a wall, a heater, and perfect windless air. Of course, you’ll enjoy the precision, efficiency, and safety notes—until moisture returns, then you’ll reluctantly admit the system isn’t magic, just well-tuned heating that pretends to cure damp forever. Irony: science over sorcery.


